DIY Holiday Place Cards

FullSizeRender

So many family members come to my grandparent’s house for the holidays, so it can get quite overwhelming.  Following the question “When can we open our presents?”, “Who’s sitting where?” is top on the interrogation list.  With a table merely over 7 feet, a homemade buffet, and over 20 guests, we tend to forget our spots at the table, and mix our food with someone else’s.  Sounds crowded, doesn’t it?  Luckily, my family will not have to suffer finding our seats again with these easy DIY place cards!

IMG_3372

To start off you’ll need:

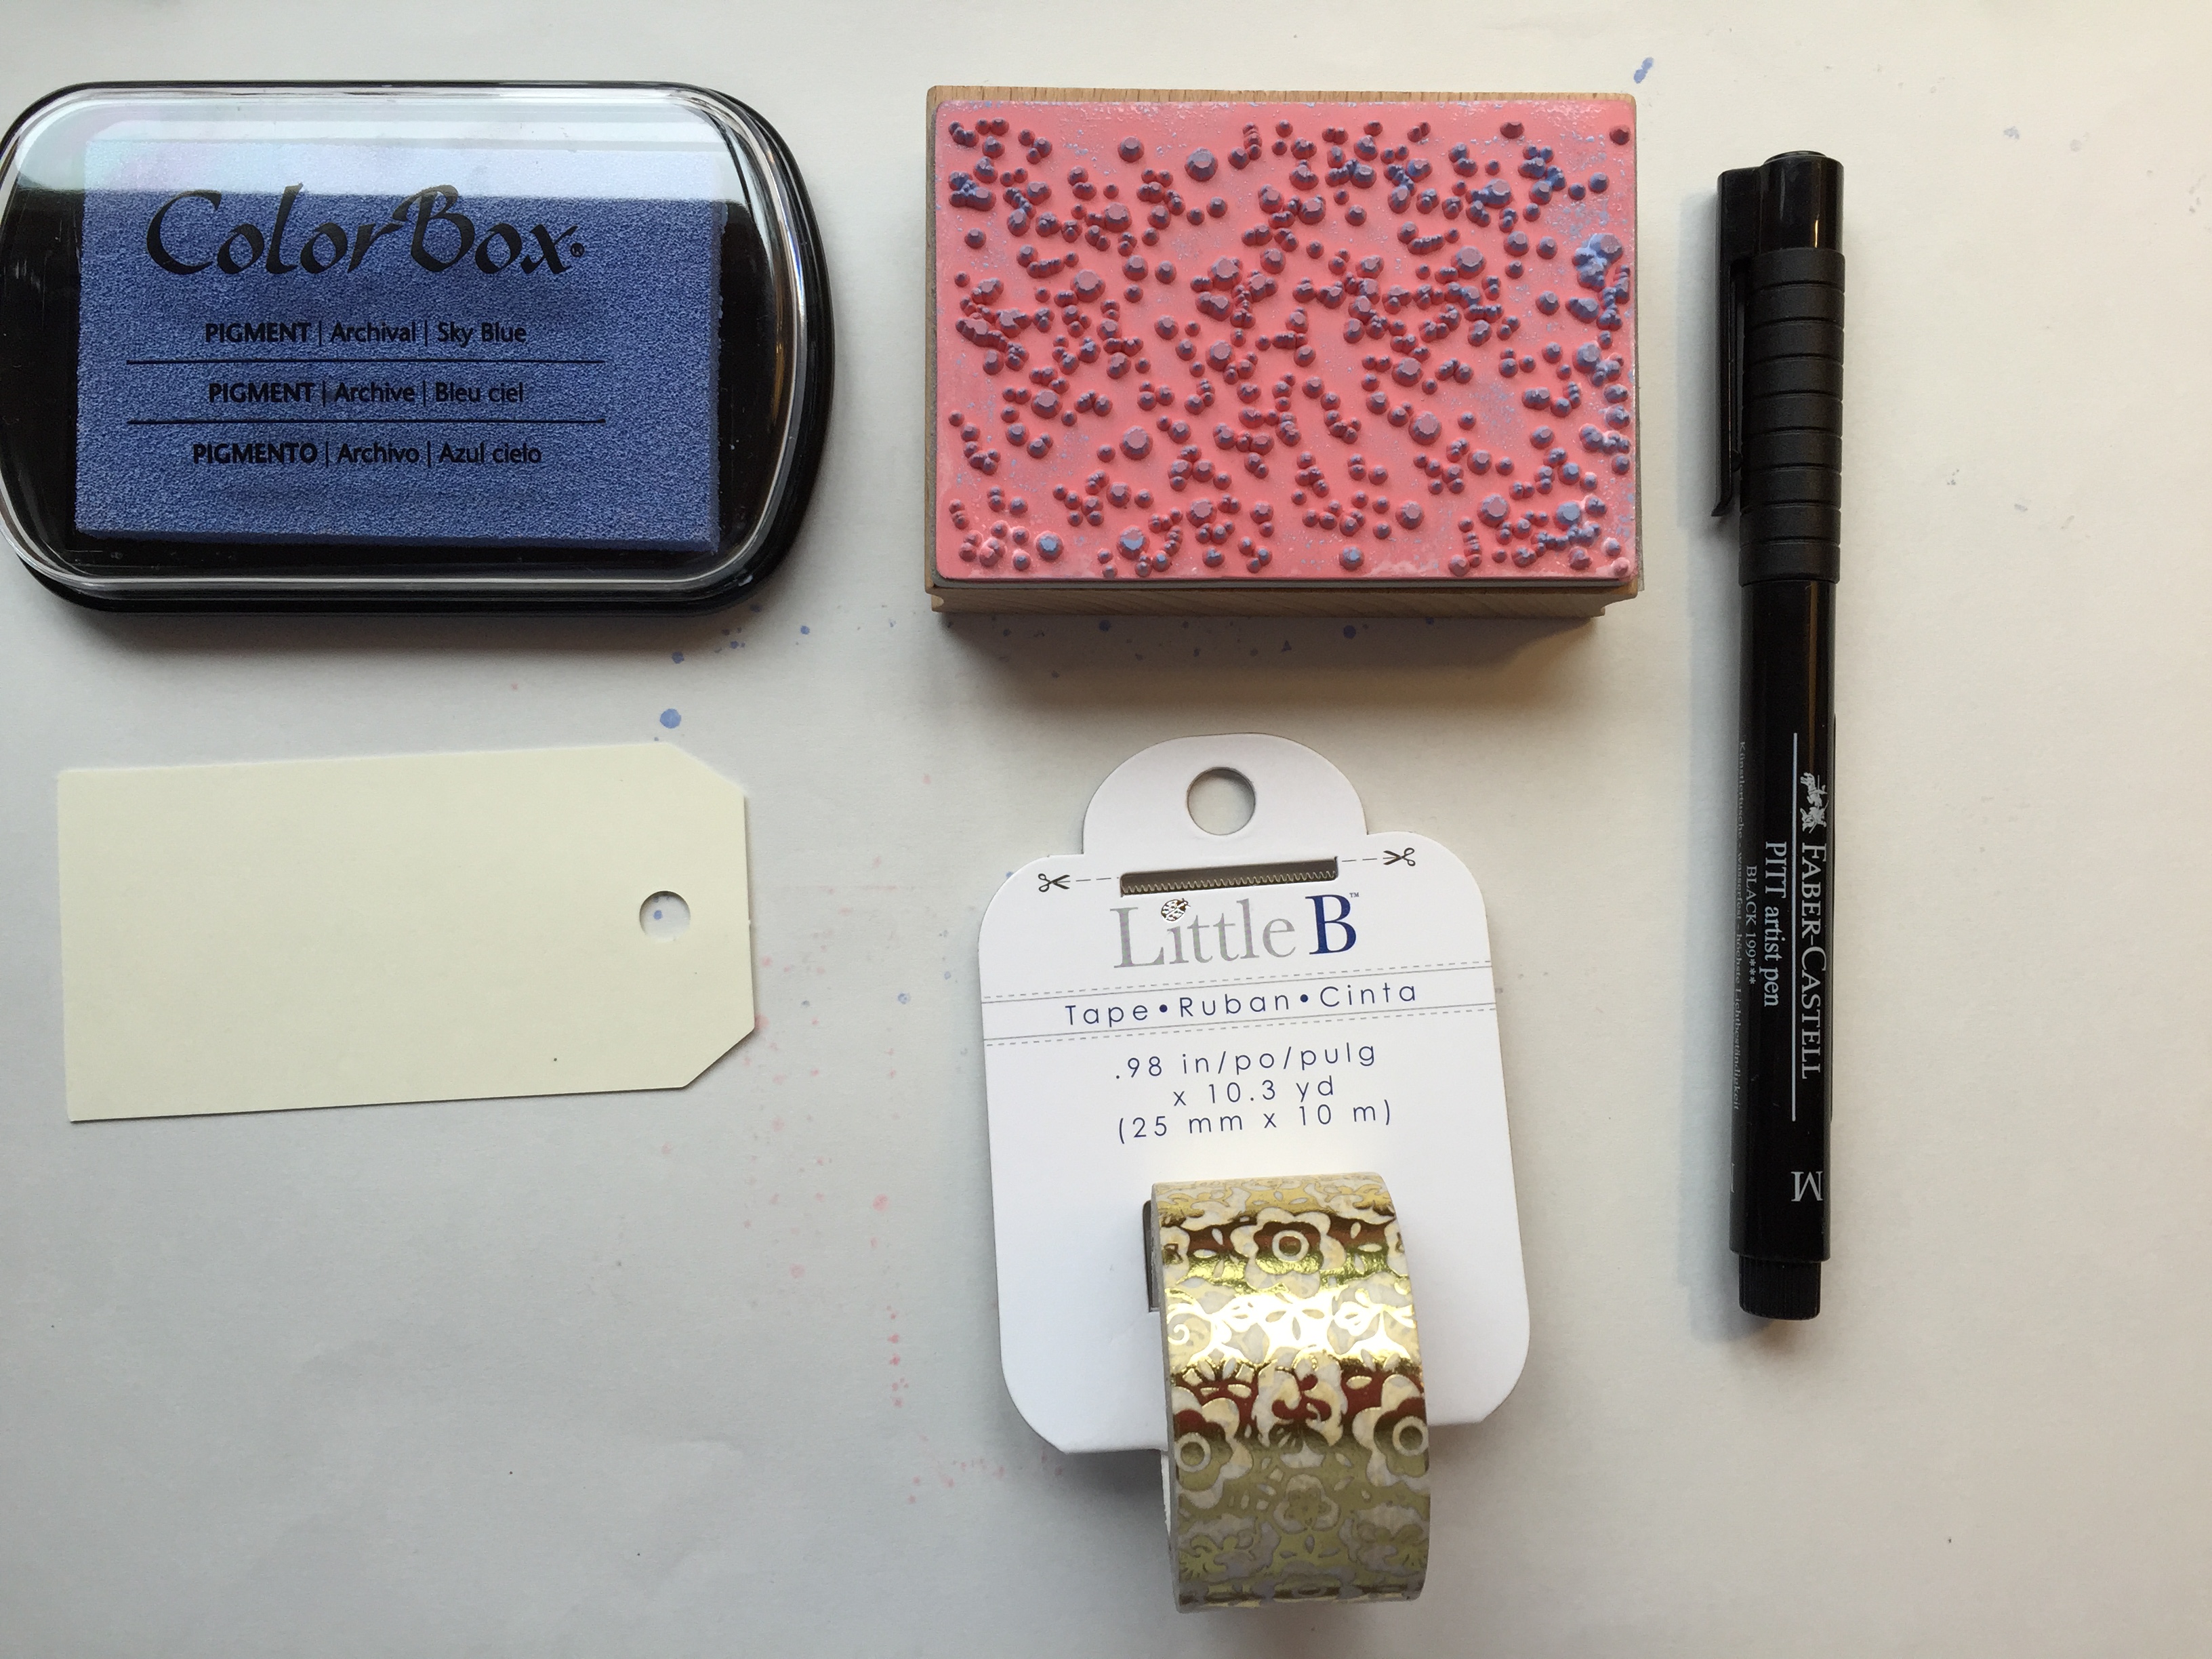
  • Card stock or artist’s thick drawing paper (I chose an ivory color)
  • no bleed marker/pen (very fine point sharpie)
  • metallic marker
  • scissors or paper trimmer
  • ruler (I really like using a quilt ruler)

IMG_3373


Instructions:

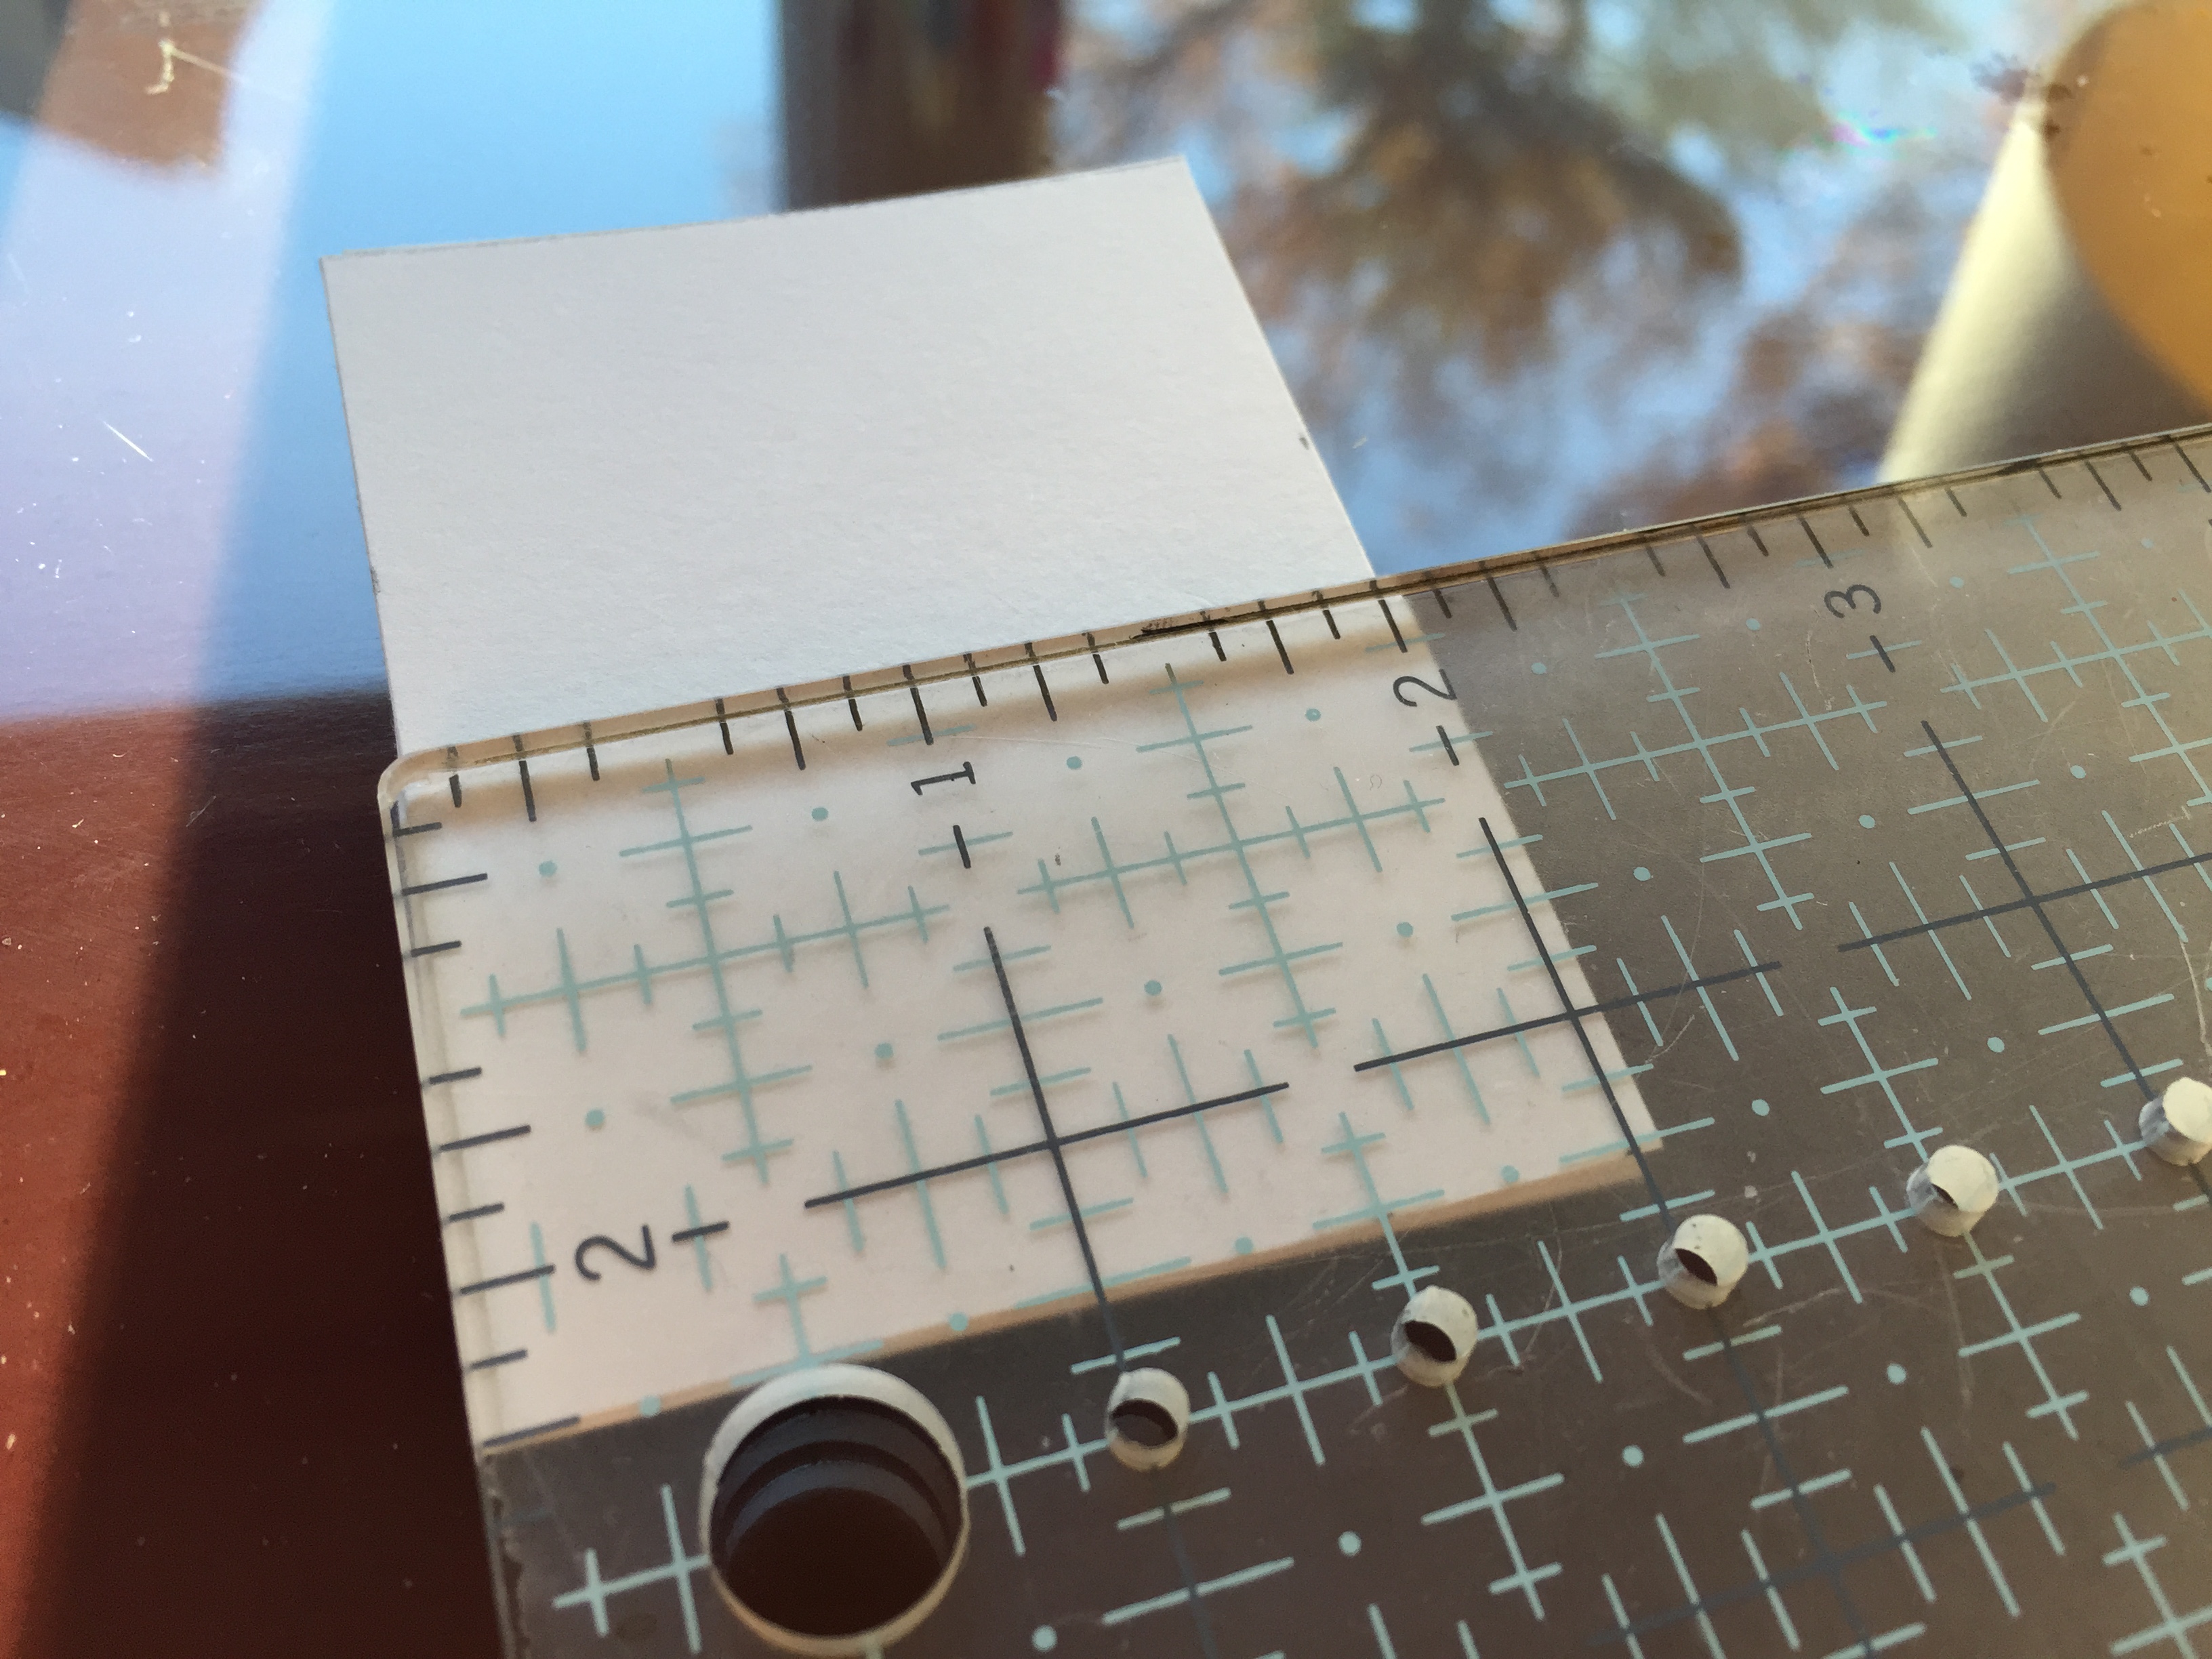
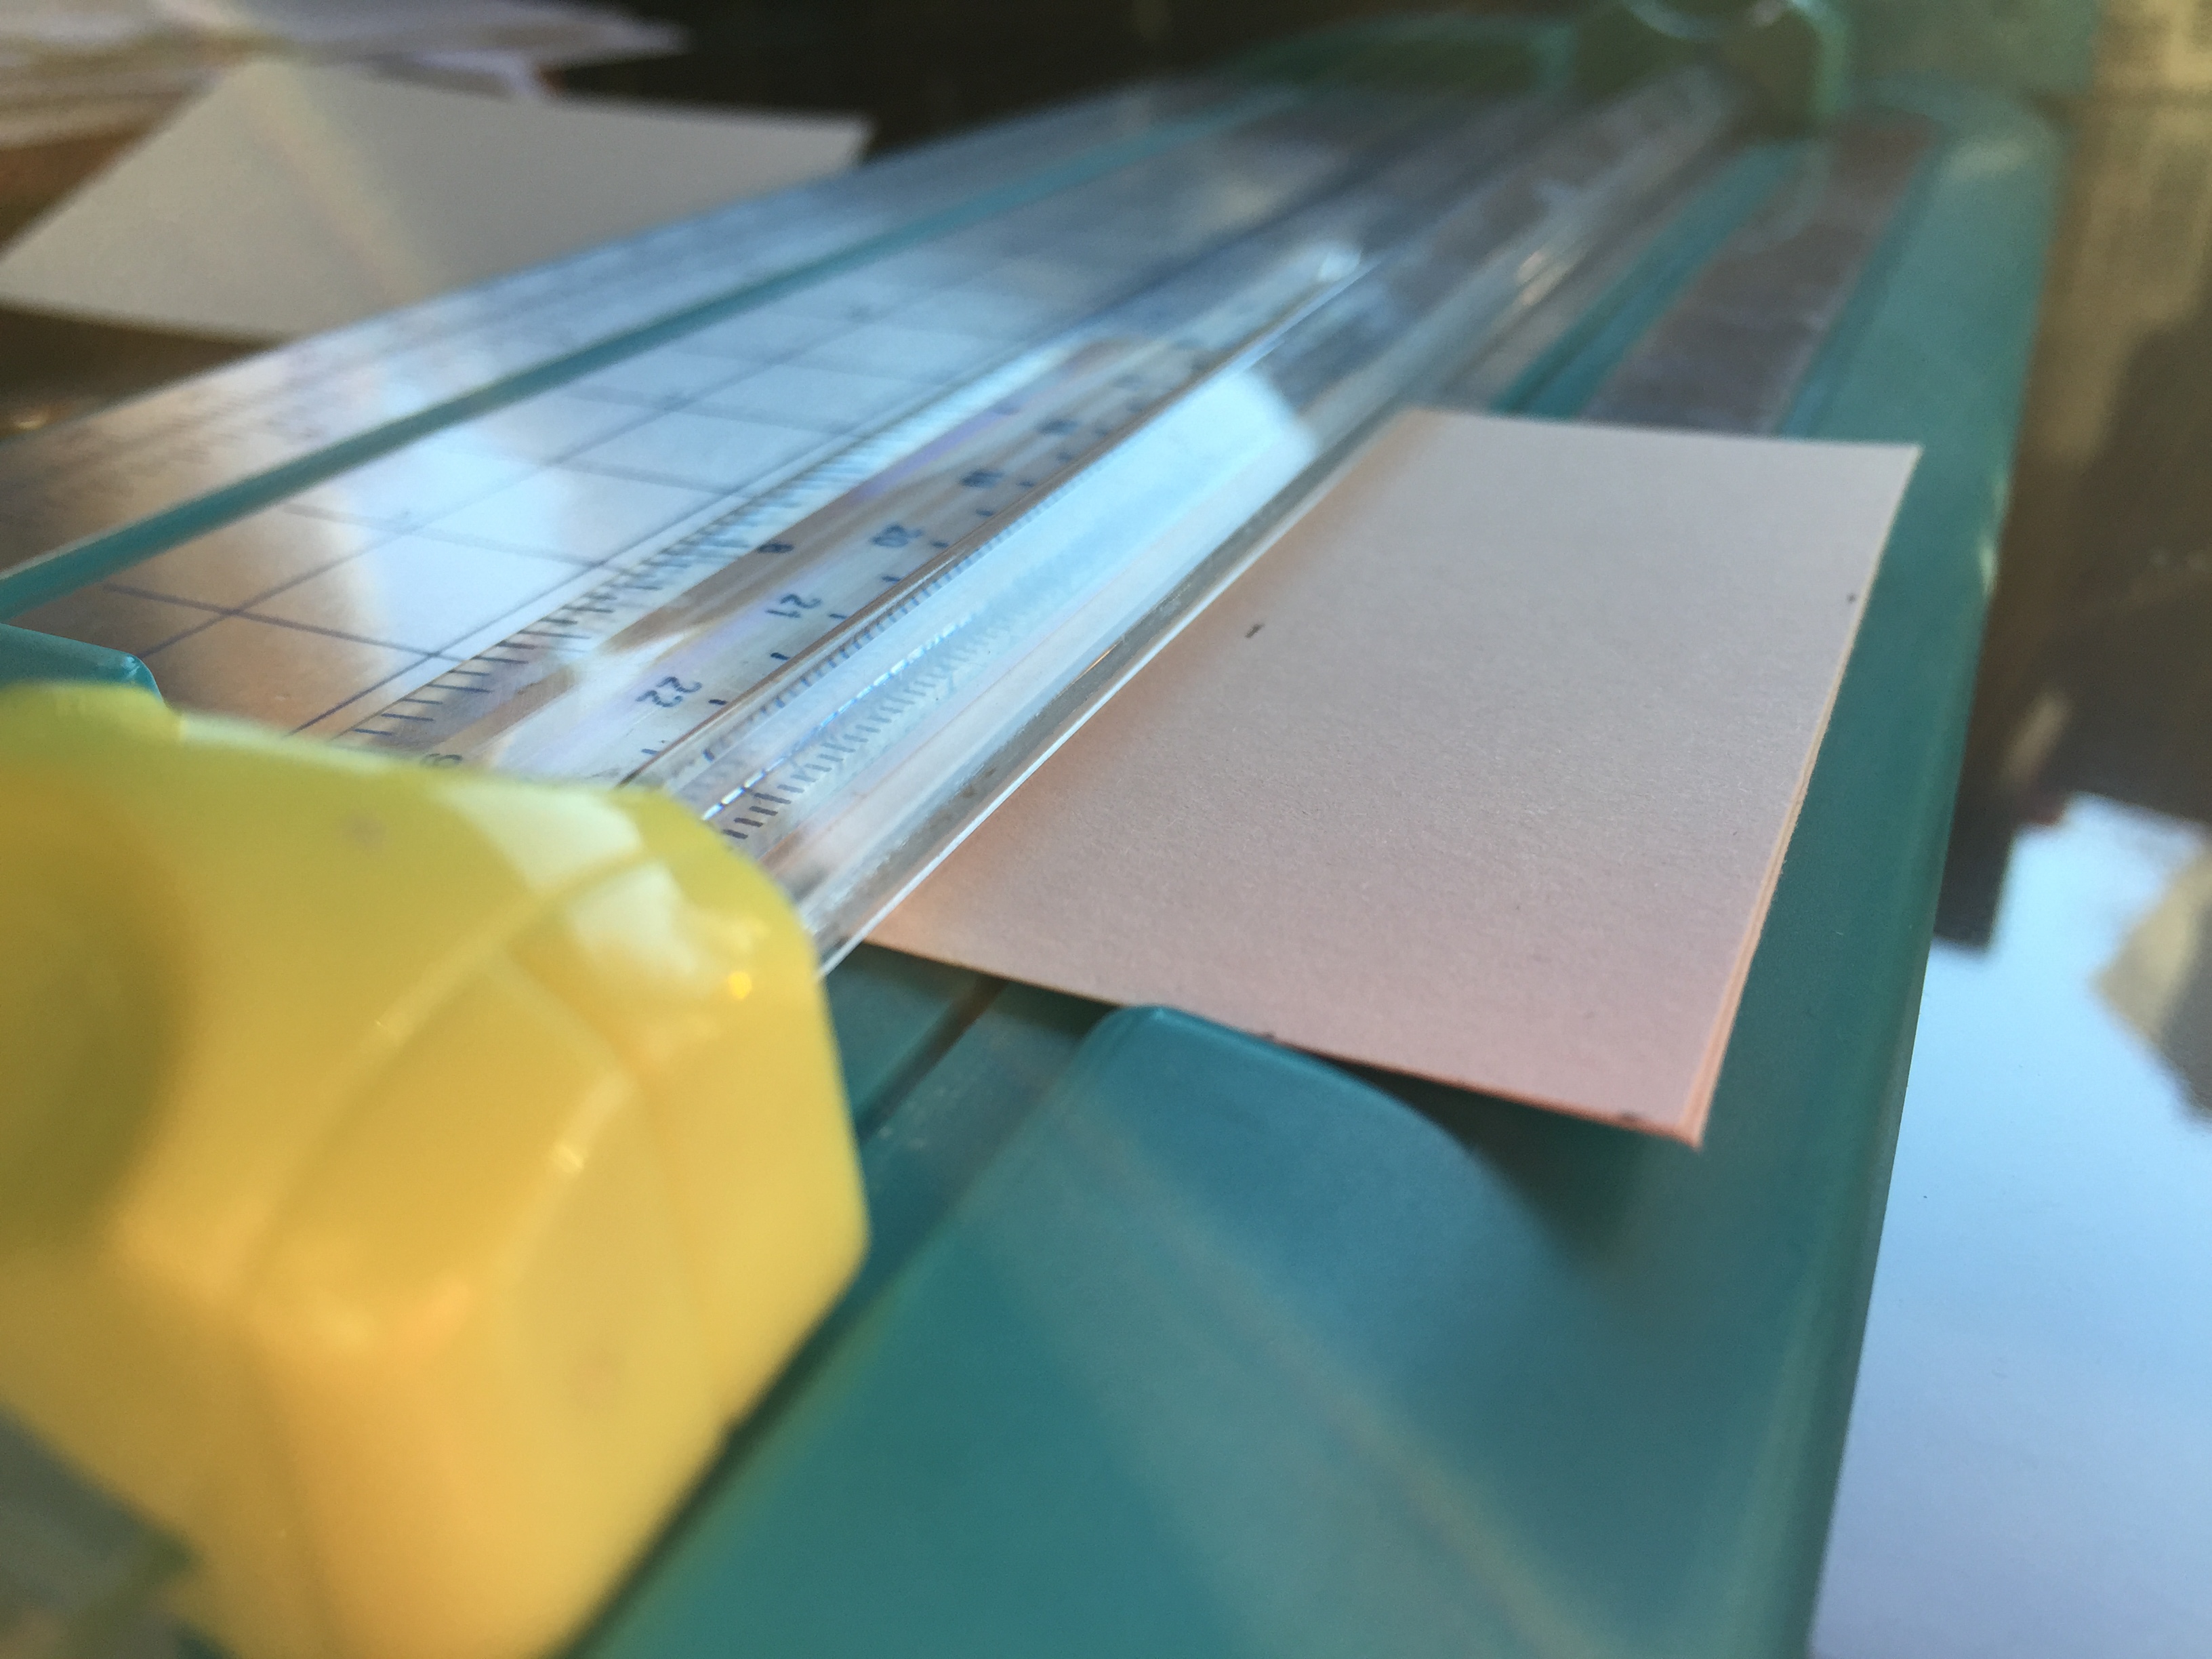
  1. Measure out 2.75 inch (for the length), and 2 inch (for the width).Cut out the rectangles with scissors or paper trimmer for a more precise cut.
  2. Measure 1 inch on the 2  inch side.  At the 1 inch mark crease it.  My paper trimmer has the option to  crease. If yours doesn’t, use your hands to crease the card.
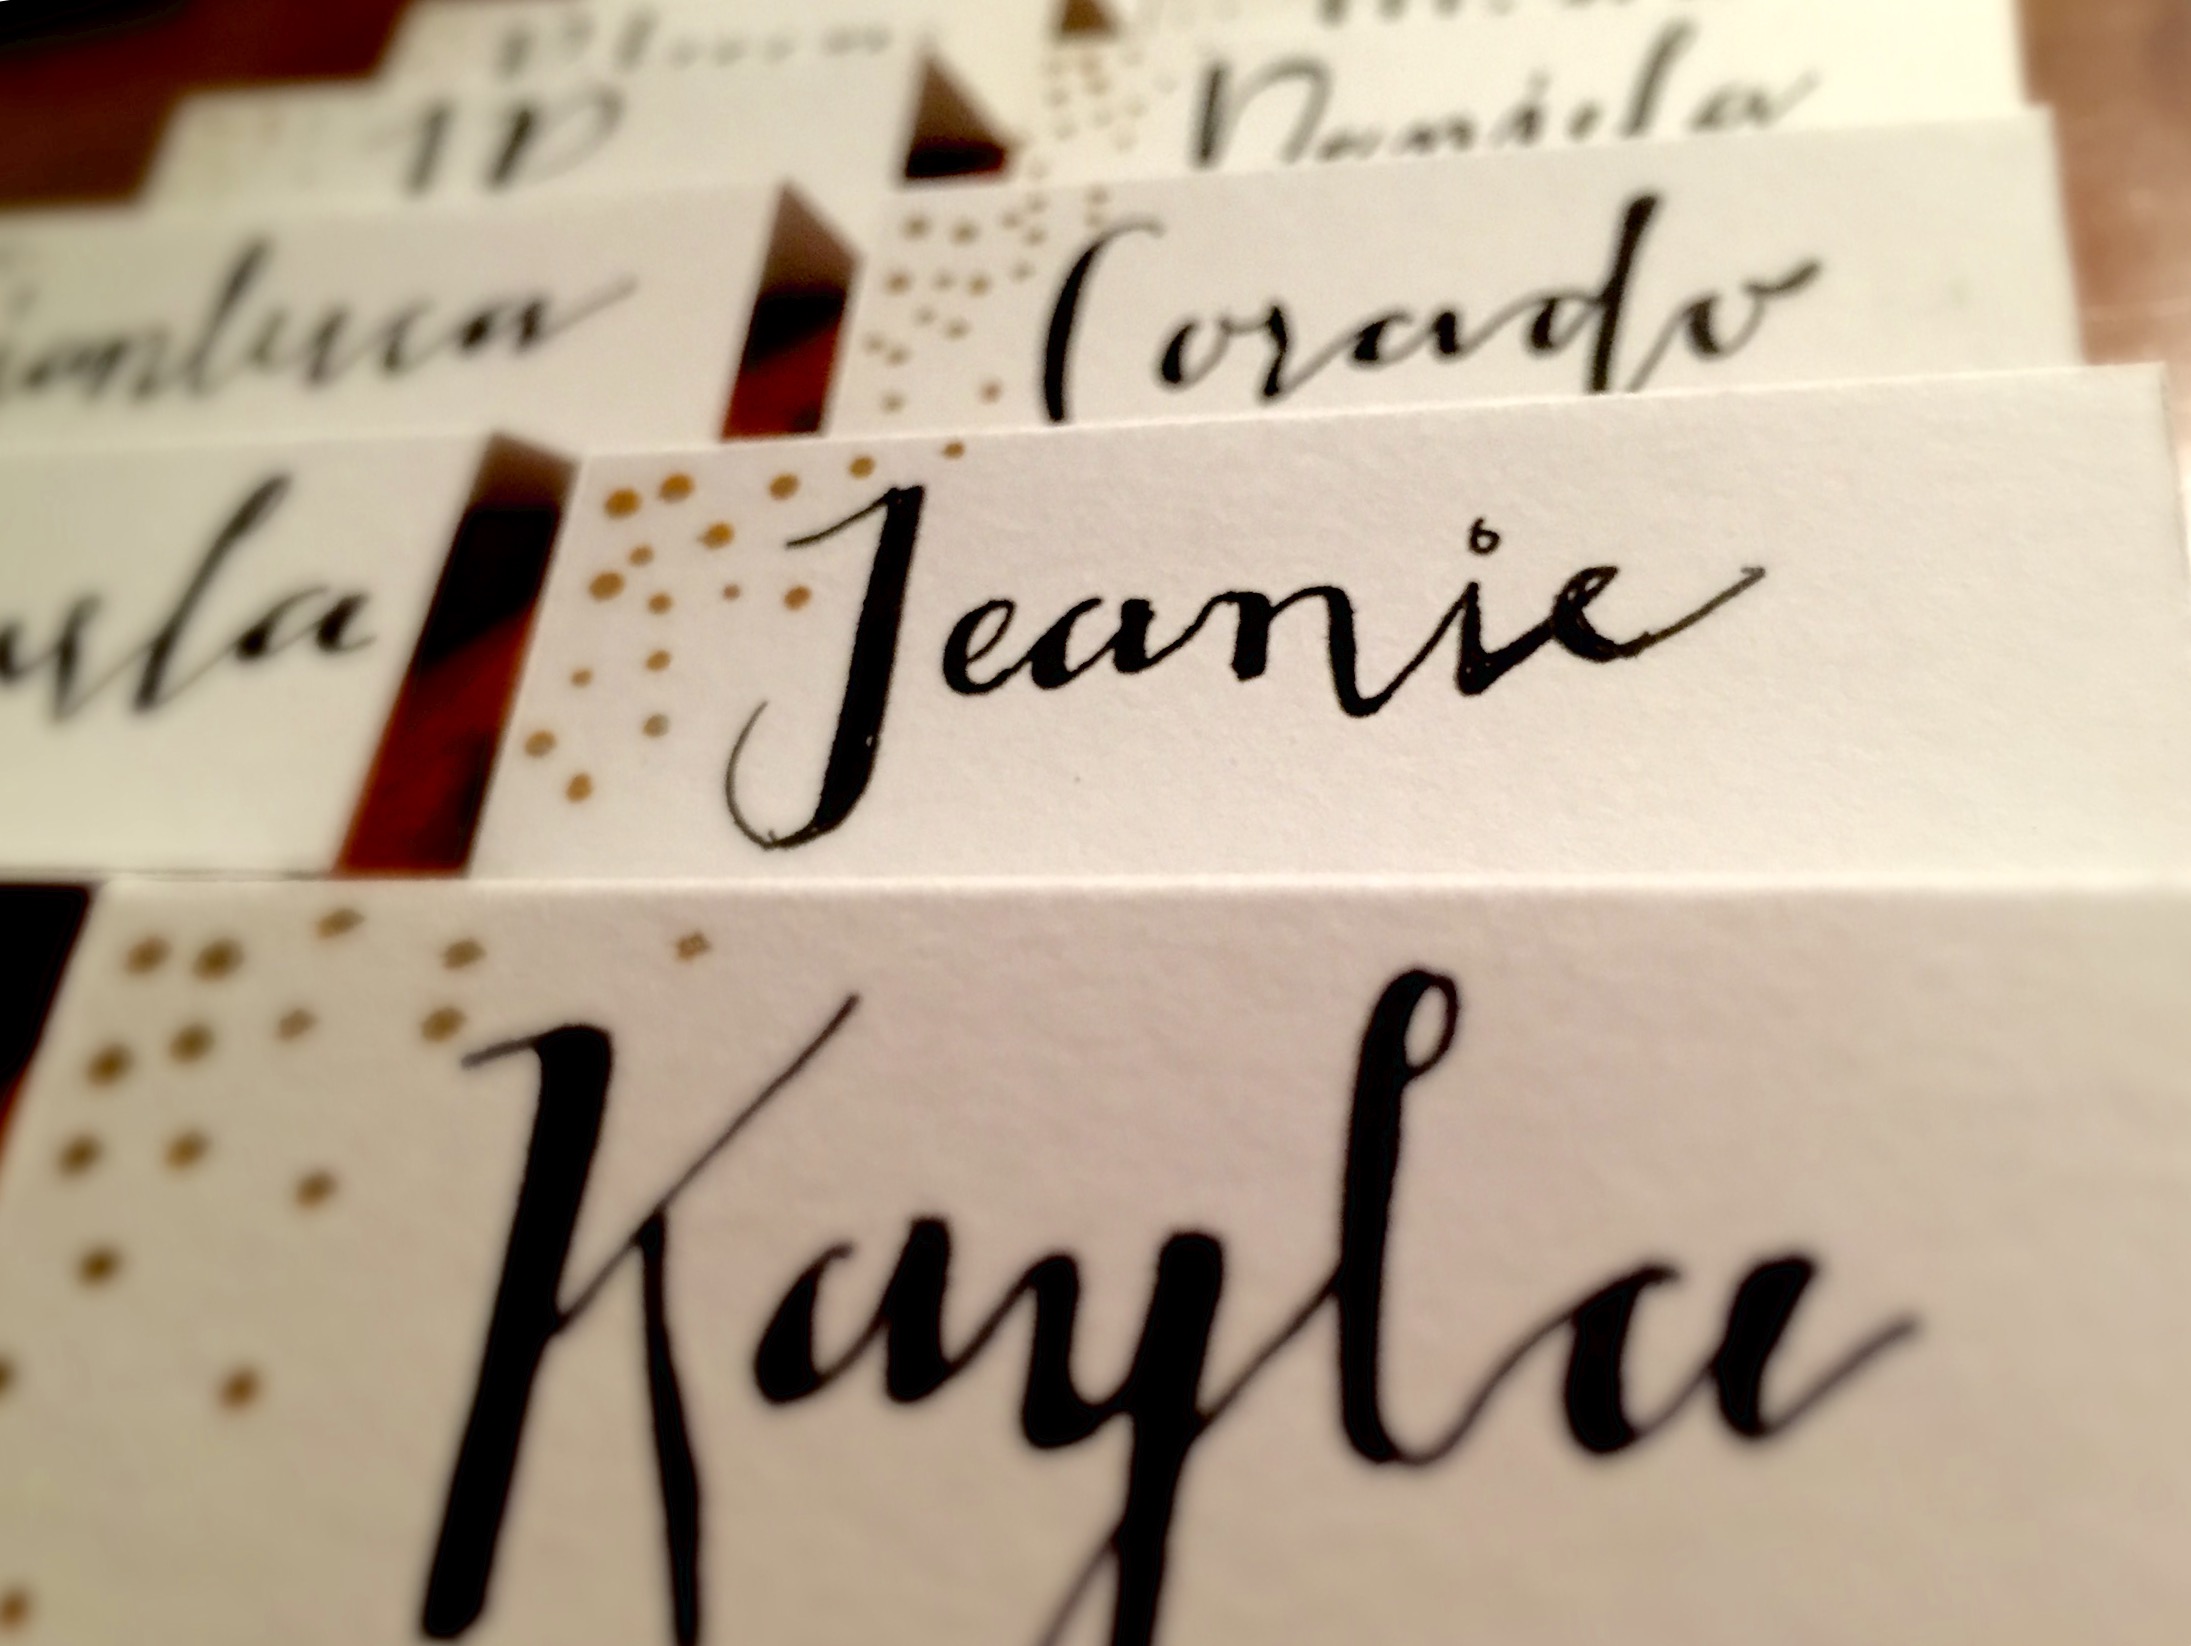
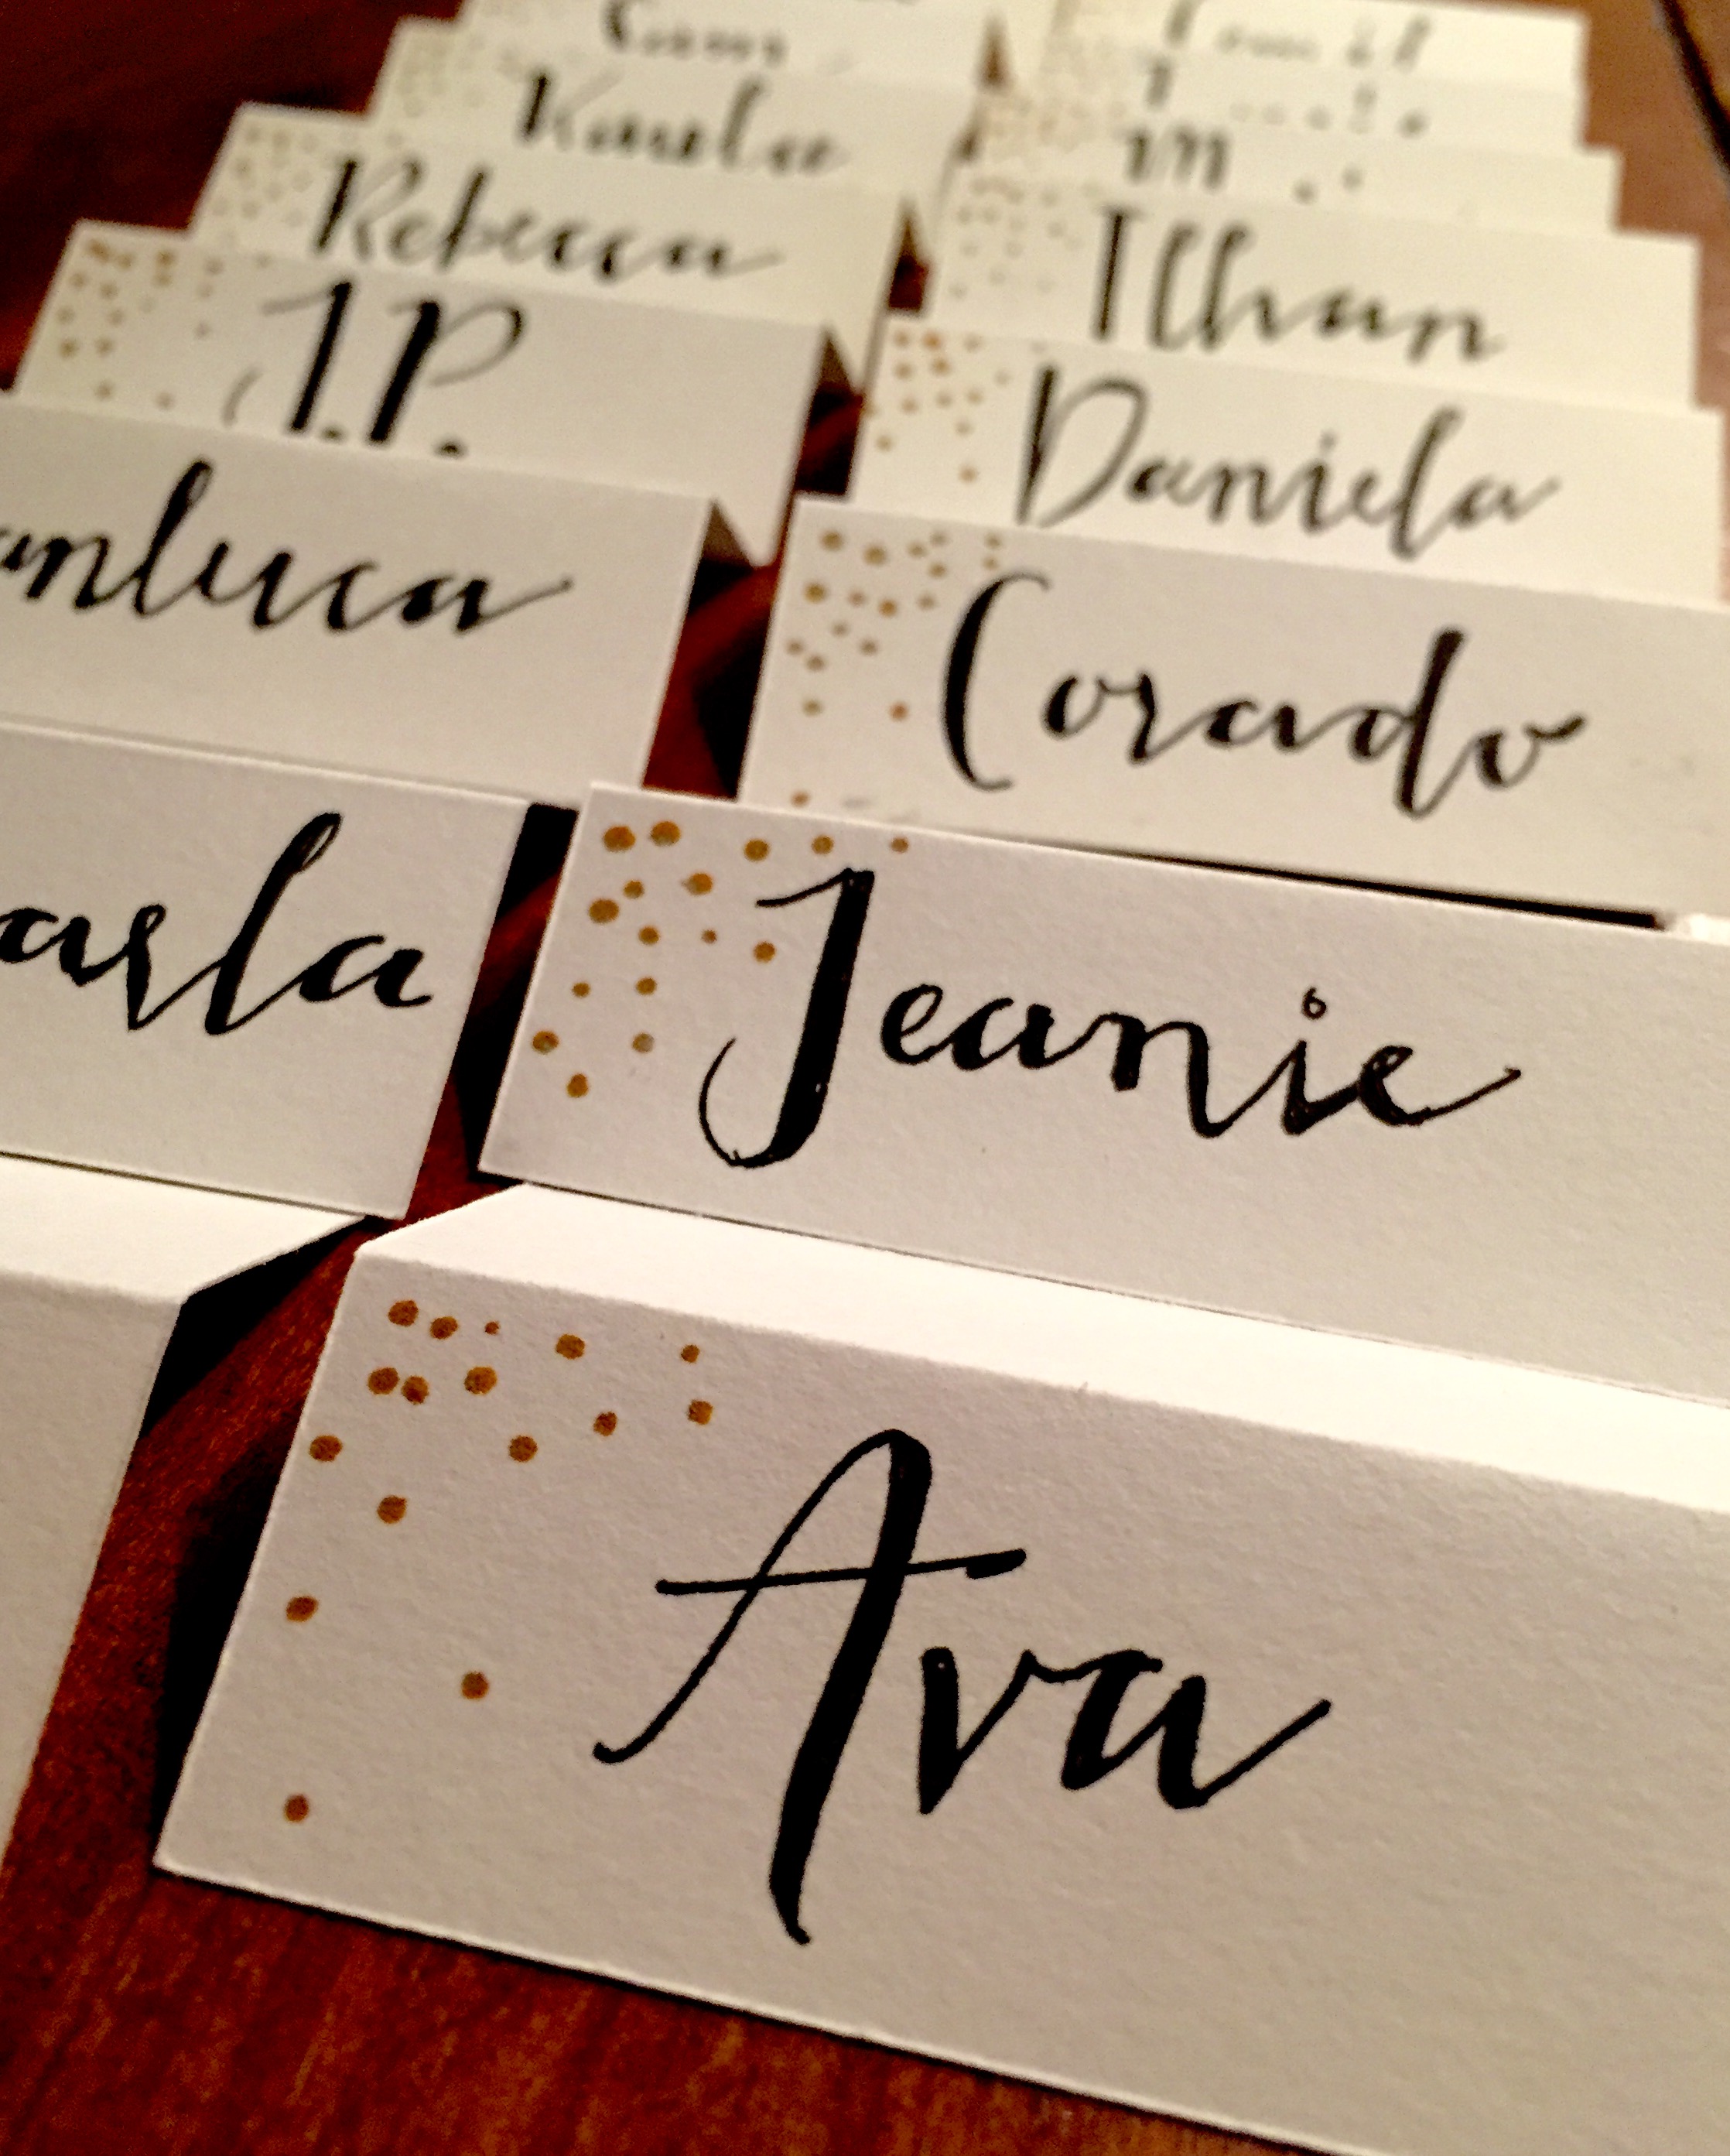
  3. Write the names with your black marker.  Make sure it doesn’t bleed by using a marker like sharpie’s very fine point marker.  I got inspired by these fonts.  The trick to writing good font is to lay out where your letters will be in pencil.  Then, after you write the names down in permanent marker, focus on where you should put an extra coat of marker to make the line more bold.  Also, if you don’t have a steady hand, try to do more forgiving fonts that have a more organic feel.  For this look and the one shown, I really liked the “Jacques & Gilles” font.
  4. Take any color metallic marker (about the same size tip as a fine point sharpie).  Then, on the top left corner, begin to dot the ink of the marker close together.  As you fade out (nearer to the name), spread the dots farther apart. This will add a little bit of holiday spirit to your name tags!  If you want, you can even add another metallic color such as rose gold, or another design.
  5. Make sure to save these works of art for the years to come, along with some extra ivory card stock paper, just in case your guest list changes or some place cards get soiled.

FullSizeRender-1

4 Easy, Quick Halloween Outfits

We’ve all been there when we have no idea what to wear for halloween.  Or the last minute Halloween party!  Luckily, these few ideas mostly include what you have in your closet with maybe just a few more dollars!  Look for clothes like these in your closet, but in case you don’t have them, click on the link for help.


Amelia Earhart

Woman pilot and fashion icon –  Amelia Earhart is a wonderful, easy choice!  Inspiration:

Jacket

$59.90, Forever 21

Top

$49.90, Zara

Pants

$21, Merona

Goggles

$14.95, Elope


Kate Middleton

Elegant, kind, and simple, Kate Middleton always exerts beauty.  All you need is her ring to complete the look!

Dress

$36.97, Ivy + Blue

Ring

$22.99, Metal Masters Co.

Earrings

$48.75, Ross-Simons

Shoes

$39.95, Kelly & Kate Isabel


Anna Wintour

Anna Wintour is the ultimate fashion business woman.  You can be too with these few picks:

Wig

$15.88, Amazon

Sunglasses

$14.99, Target

Sweater

$39.99, J. Crew

Dress

$69,90, J. Crew Factory

Necklace

$24.90, Forever 21


Jennifer Morrison as The Dark One from “Once Upon a Time”

Baby powder?  Check.  Lipstick?  Check. Sunscreen?  Check.  All the things in your home can be turned into Emma Swan, The Dark One:

Baby Powder (to make your hair white)

$7.49, Johnson’s

Lipstick

$14.90, Sephora

Sunscreen (to whiten your face)

$13.59, Badger

Jacket

$55, Asos

Leggings

$24, Donna Karan

Boots

$24.94, DeBlossom Jayne


DIY Tags

IMG_2524

Spending money on simple tags? Here’s your solution – DIY tags!

All you need is ink, tags, tape, stamp, and a permanent marker.

IMG_2513

First, you’ll want to get tags similar to the one I have above.  Then get a simple stamp, such as paint splatter as your background, along with an ink box of the color you like.  I recommend the Color Box brand because their pigment is super rich which is perfect for this project!  Pick a tape that has a fun print that goes along with your theme (Halloween, birthday, etc).  I found that Little Bee had adorable options.  Lastly, make sure you have a permanent marker with you for writing!  Anything from sharpie to faber castell works great.  You want something that has a lot of ink and fluidity.  Also, the tip should not be too thin.  I got all my supplies from A.C. Moore, but they should be available at any art store.

Ok, let’s start!

  1. Take your stamp and press evenly on the ink pad.
  2. Stamp the print onto your tag.  Repeat with other cards.
  3. Take 2 pieces of tape and place them on both sides of the tag.  With a scissor,  cut off the edges that are sticking out.  Hole punch the small circle on the edge of the tag.  Repeat with other cards.
  4. Write anything you want with your marker.
  5. Put it on presents, or simply hand out as business cards!IMG_2522IMG_2523