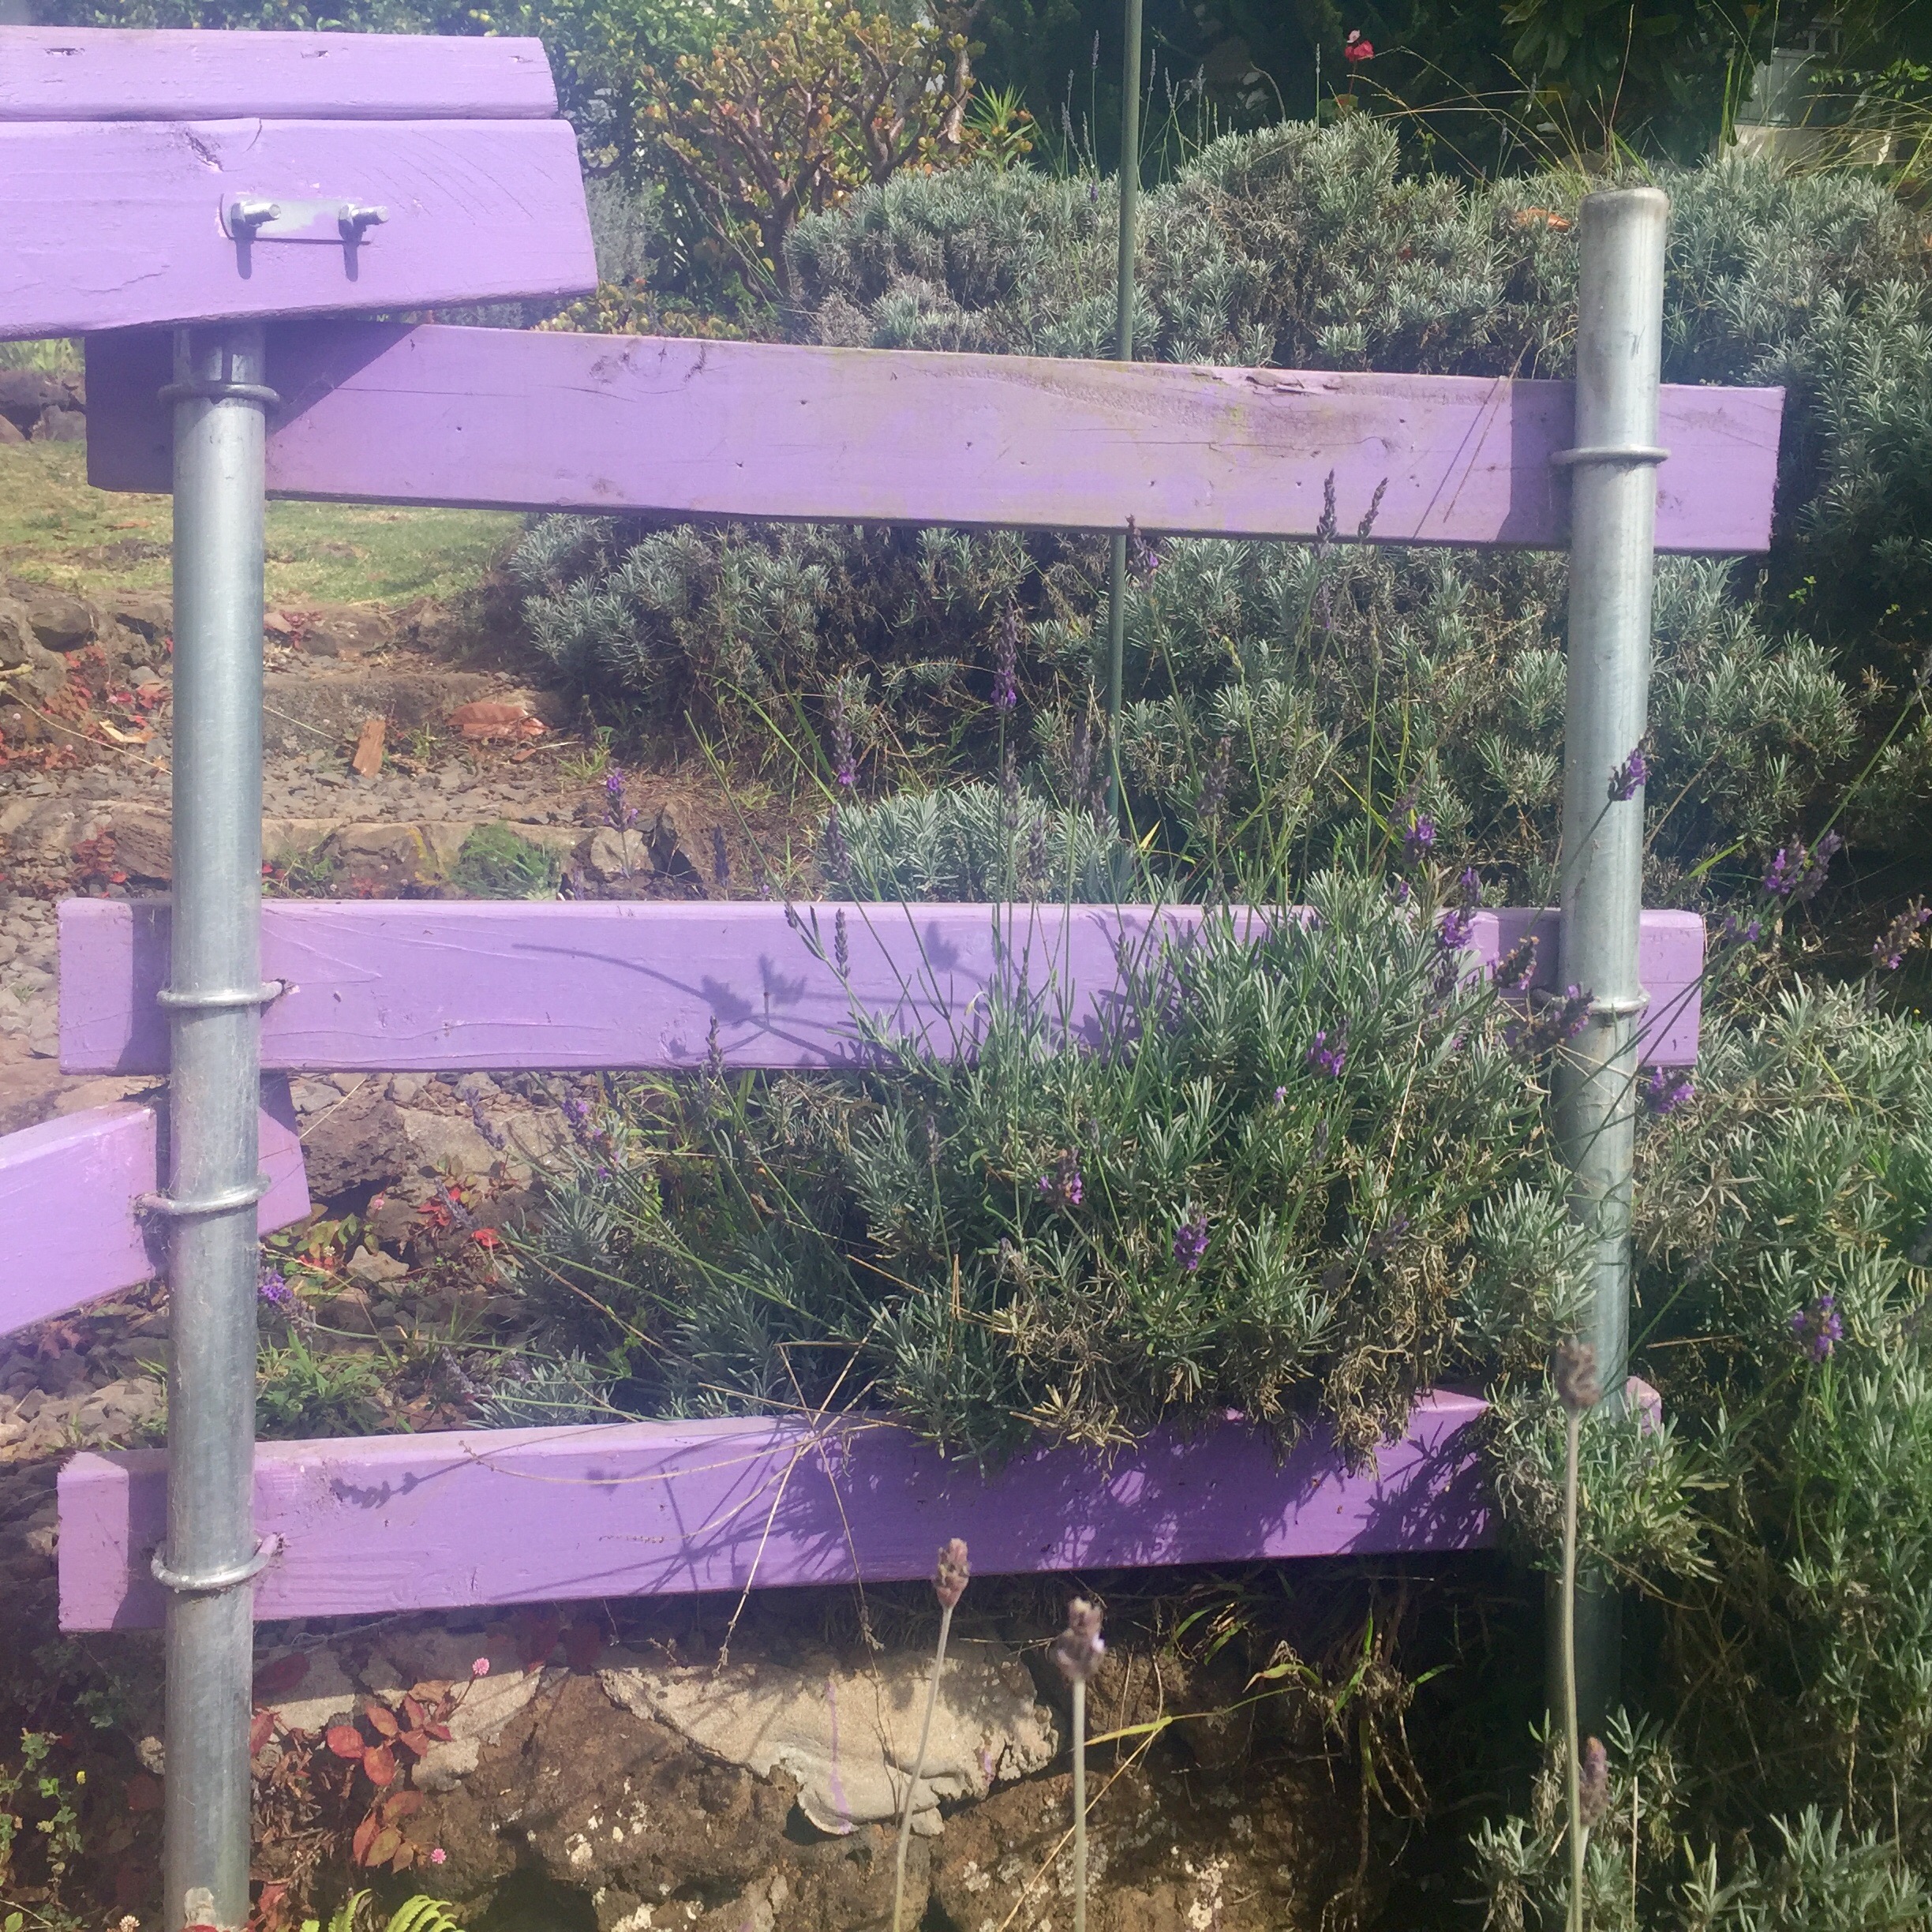
On this year’s family vacation, I made it a point to visit my first lavender farm, AKL Maui, to finally witness the home of my favorite scent and essential oil. Here, I was fortunate to see a vast amount of different types of lavender, such as Spanish, French, English, Sweet, growing naturally in the countryside. The farm is quaint, and sits on the side of a mountain, just so that you can see clouds make their way through the lavender bushes growing. As I made my way through the trails, the scent of lavender accompanied my steps. I had discovered that I was only semi-knowledgable on all the benefits of lavender. AKL Maui Farm explains it best:
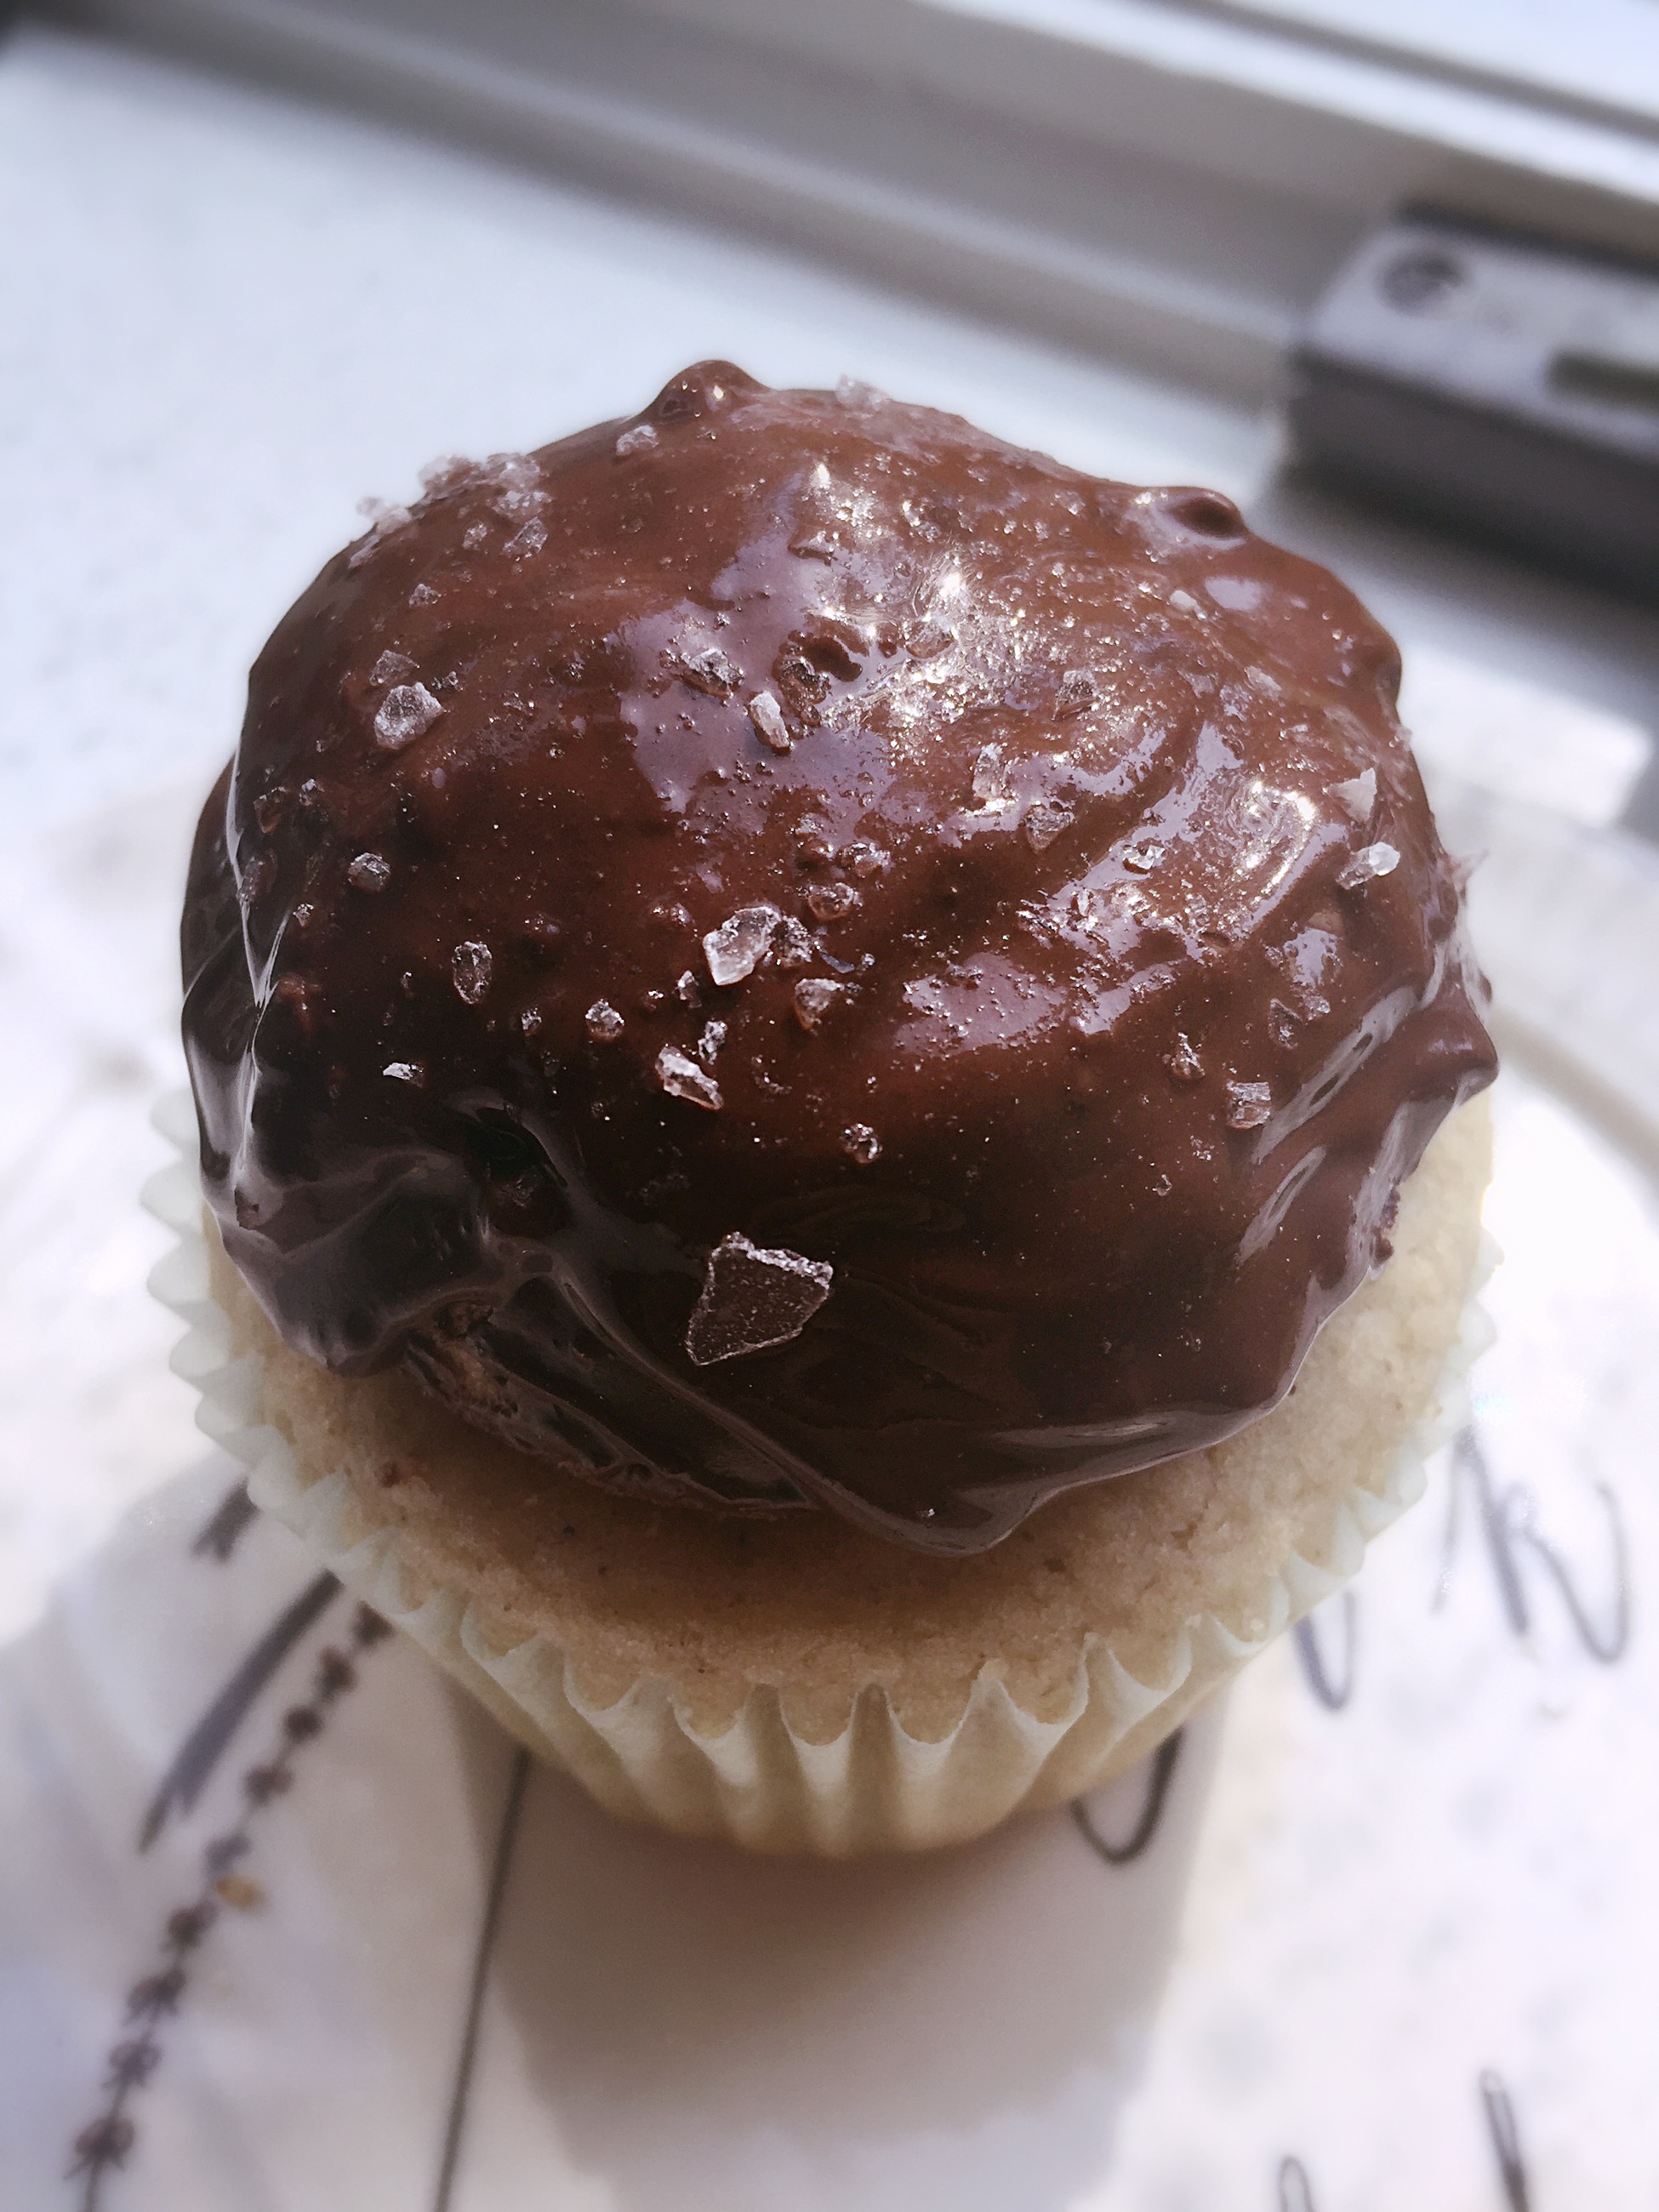
Can’t decide between a cupcake or cookie? You can have your cookie and cupcake with this innovative twist on the classic, the “Cookie Cupcake.” Not a keen cupcake decorator? When it came to testing out my brother’s birthday cupcakes, I have to admit they weren’t beautiful. Luckily, I have discovered the easiest way to decorate a cupcake that is sophisticated looking, and so easy, a little kid could do it!
The process is more simple than anything you’ve frosted before – you basically glue a cupcake and cookie together with chocolate.
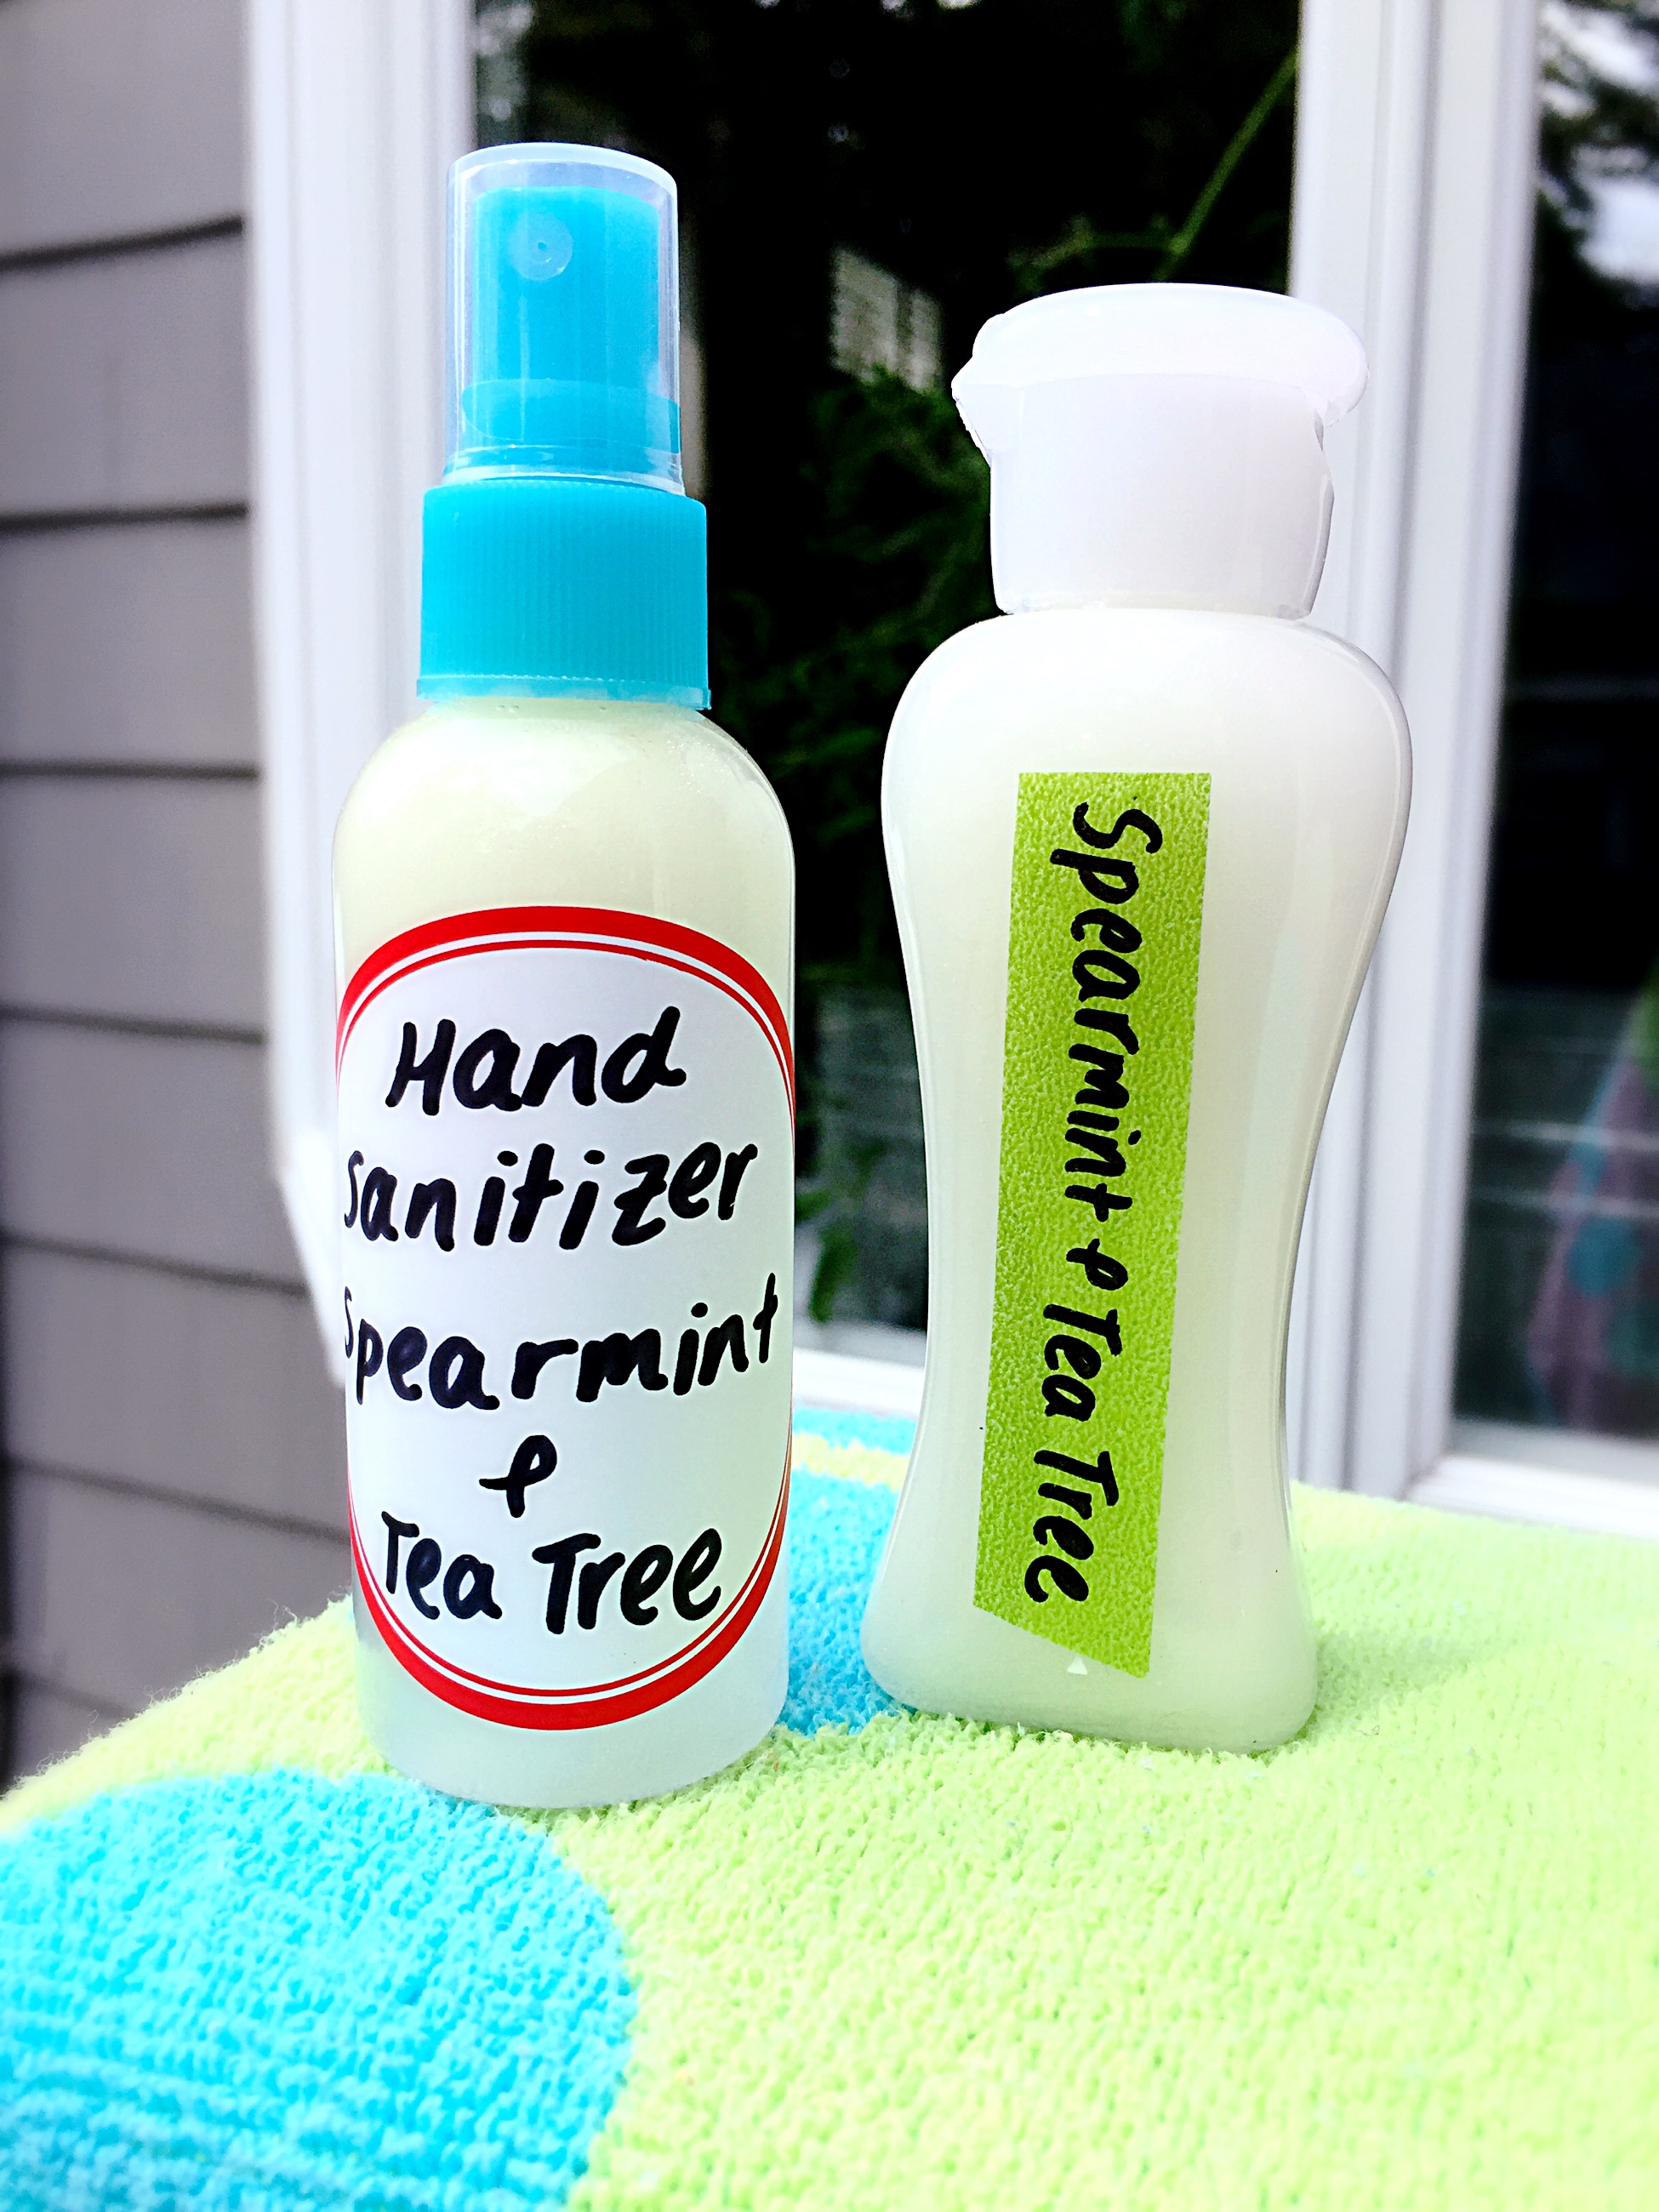
Since elementary school, we’ve been told to use hand sanitizer to wipe off any germs that could be left on our hands, and from there, people have immersed themselves in the world of Purell. Little did we know that those sanitizers we have liberally been putting on our hands were actually toxic. It may get rid of 99.9% of germs, put with a product so strong, it is doing more than just that.
Companies such as Purell do not want to disclose their exact scents as a trade secret, and therefore, are allowed by the FDA to simply list “fragrance” among their ingredient list. This allows the company to slip in harmful ingredients under one word that appears innocent. “Fragrance” is generally synthetic and is loaded with toxic chemicals, containing phthalates, which are endocrine disruptors (could alter genital development). Also, many hand sanitizing brands have parabens. Our skin is semipermeable, so all the toxicity of the sanitizer we use every day is getting into our bloodstream – something we don’t want.
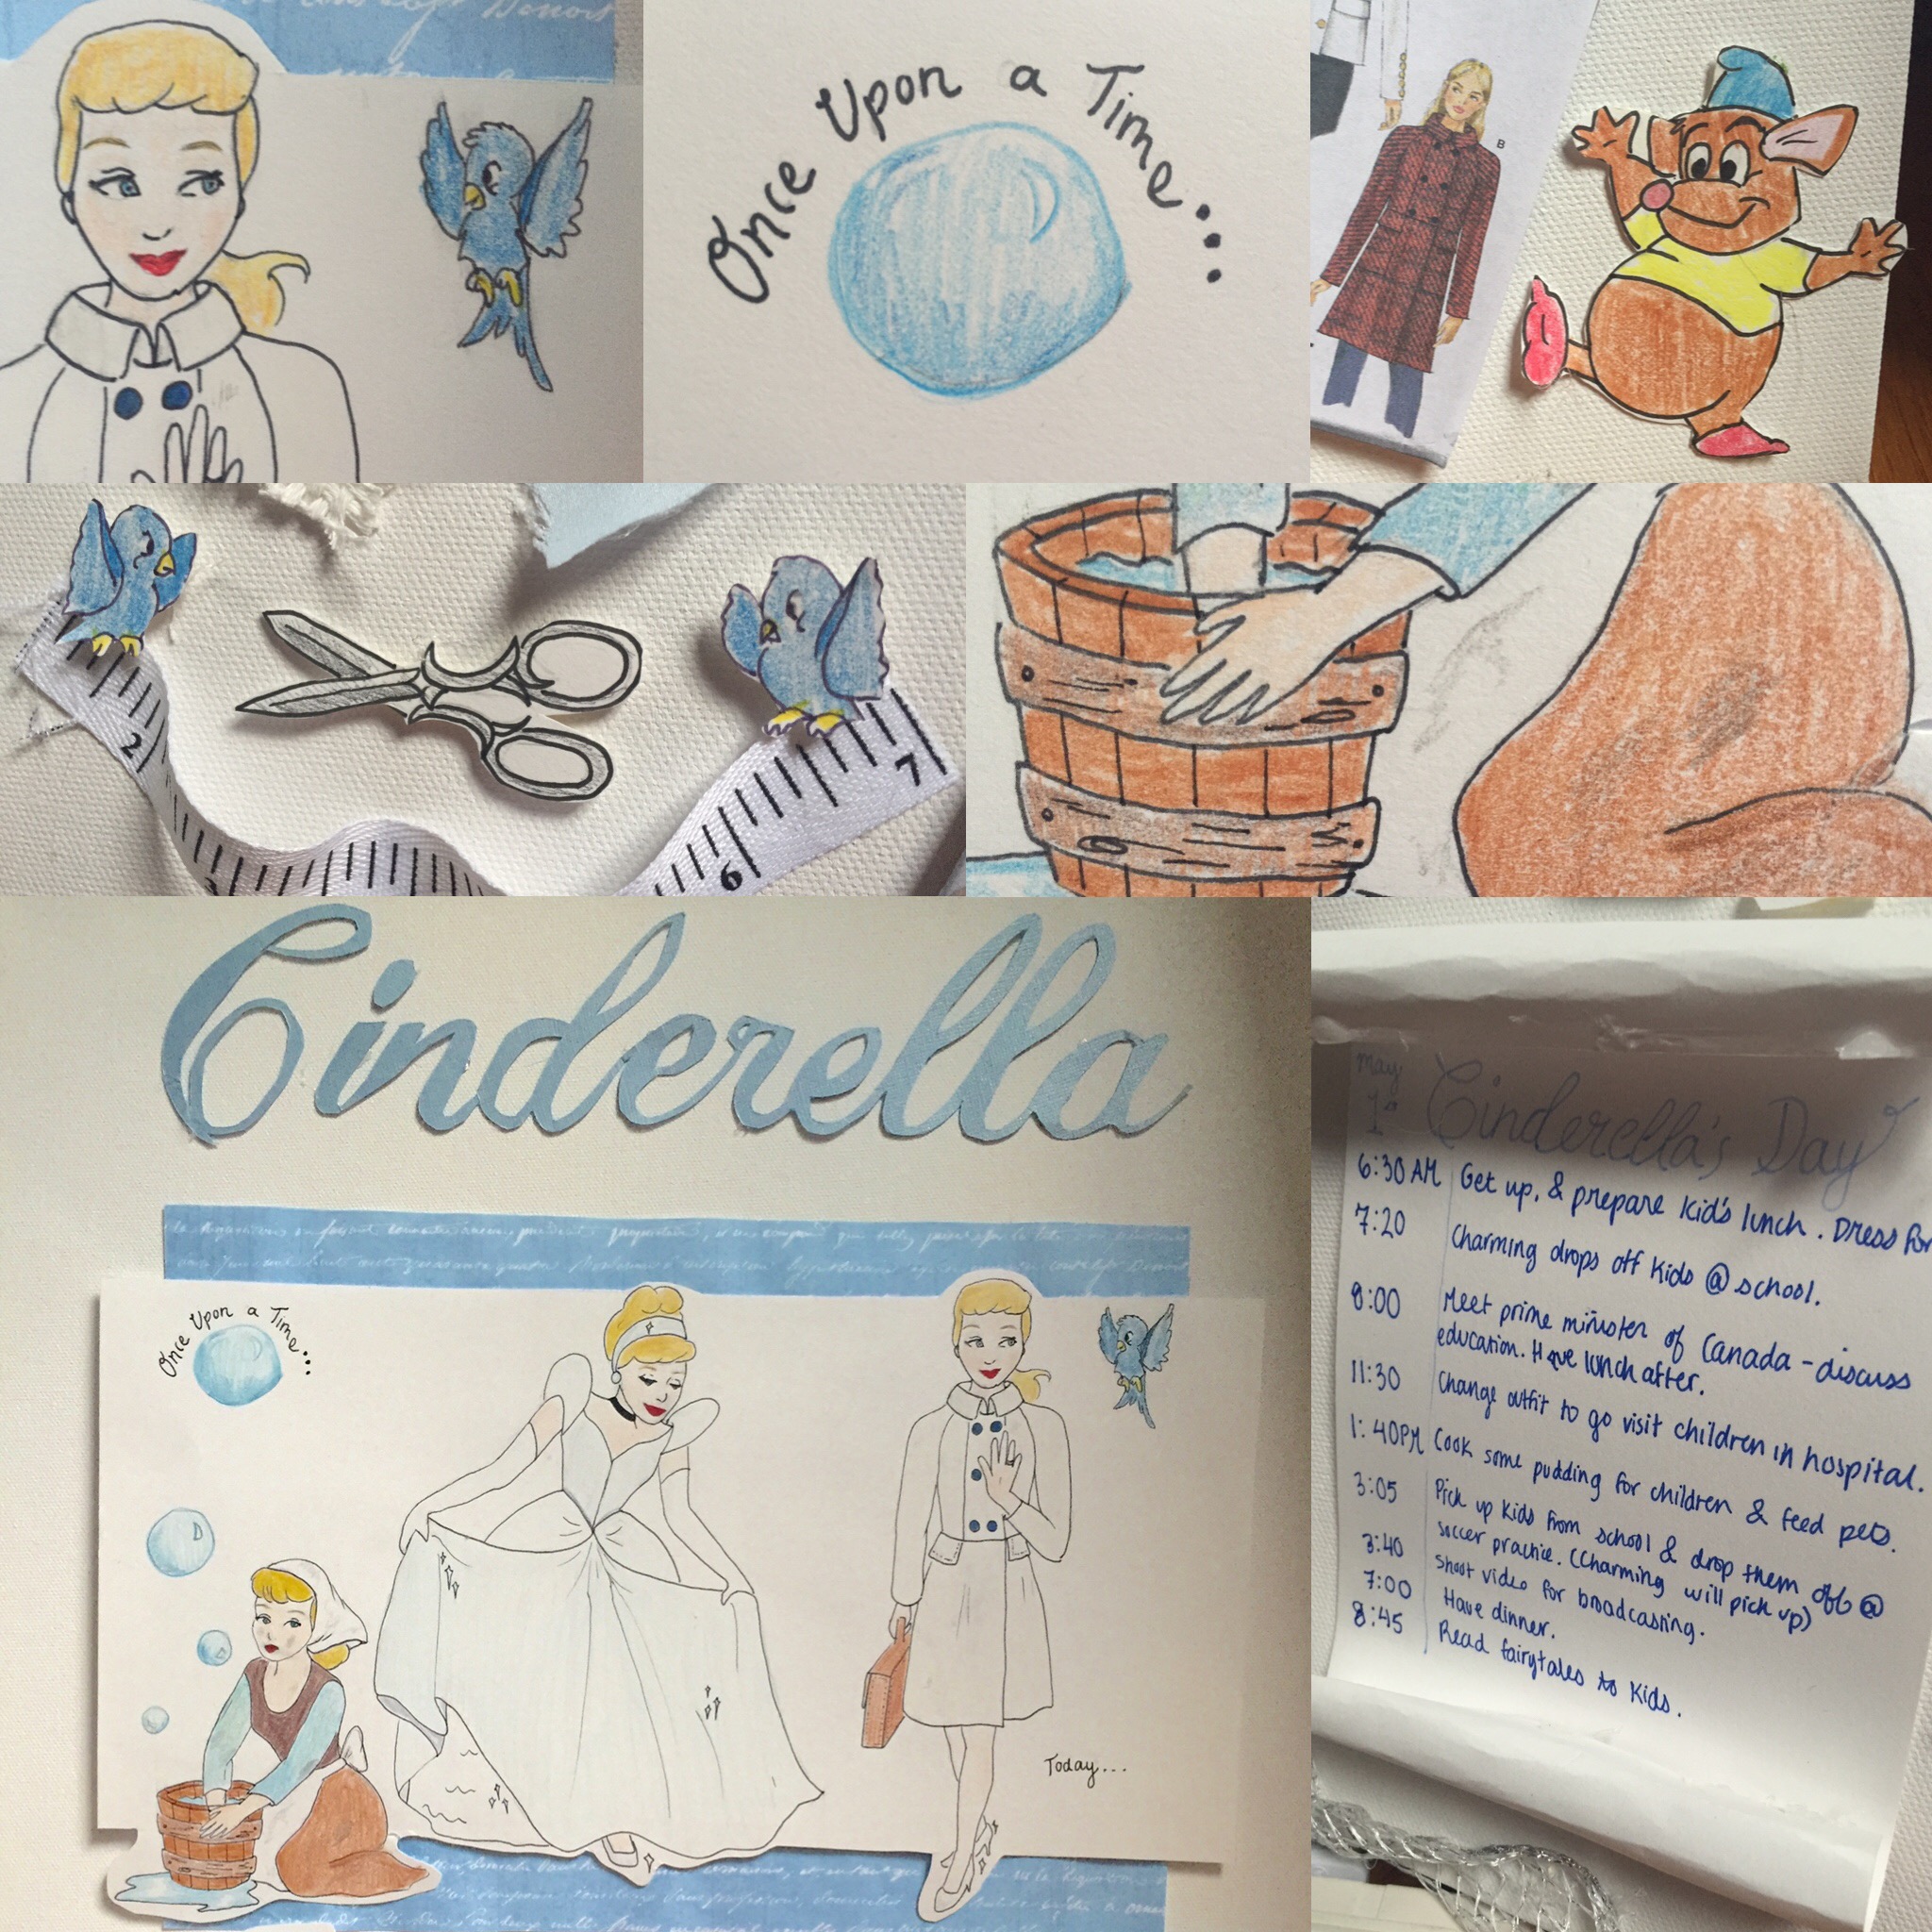
In January, I participated for the fourth time in Project Fabricland, a sewing competition. Each week, students meet for three hours to sew garments based on a theme. This year, the theme was Fairytales. This included classic tales such as Cinderella, Beauty and the Beast, and lesser known ones such as The Gold Spinner. Since Cinderella was my favorite as a child, I chose her, adding a modern twist to the classic fairytale. We’re all familiar with the Cinderella story and her happy-ever-after. After marrying into royalty, one would think that a girl who went from rags to riches would deny her past – yet Cinderella never did this; she continued to be kind and hard working. Inspired by Cinderella’s story, I sped it up to date: what would modern-day working Cinderella wear to her royal appointments? Today, so many women work, and more than just mopping floors. That’s when my idea was born.
For those of us who haven’t gotten the chance to give our mother anything but a card, it is never late to gift your mother with dose of health! And, easy thing is, you probably already have these ingredients in your home. Today, I made a homemade makeup remover that will ensure everyone’s skin is nice and glowy!
Despite the winter holidays passing, cookie decorating is a great skill to have for anytime of the year. My favorite technique is marbling them! It’s pretty, and wonderful for any occasion. Decorating cookies is a great skill to have because you can do it for anything, and it’s impressive! The marble technique is really easy, and elegant. My friend and I made and decorated cookies for a bake sale of the Make A Wish Foundation Club in our school. Together, we made Martha Stewart’s royal icing which is actually gluten free and vegan depending on the meringue powder you use. Everyone was so amazed by how beautiful they all were!
So, are you ready to marbleize some cookies?
Instructions:
Step 1: Separate a quarter of the icing, and dye it with food coloring. (In these pictures, we did not use natural food coloring. If you want to, I recommend these.)
Step 2: After making your icings, fill a bottle for each color you use, such as these.
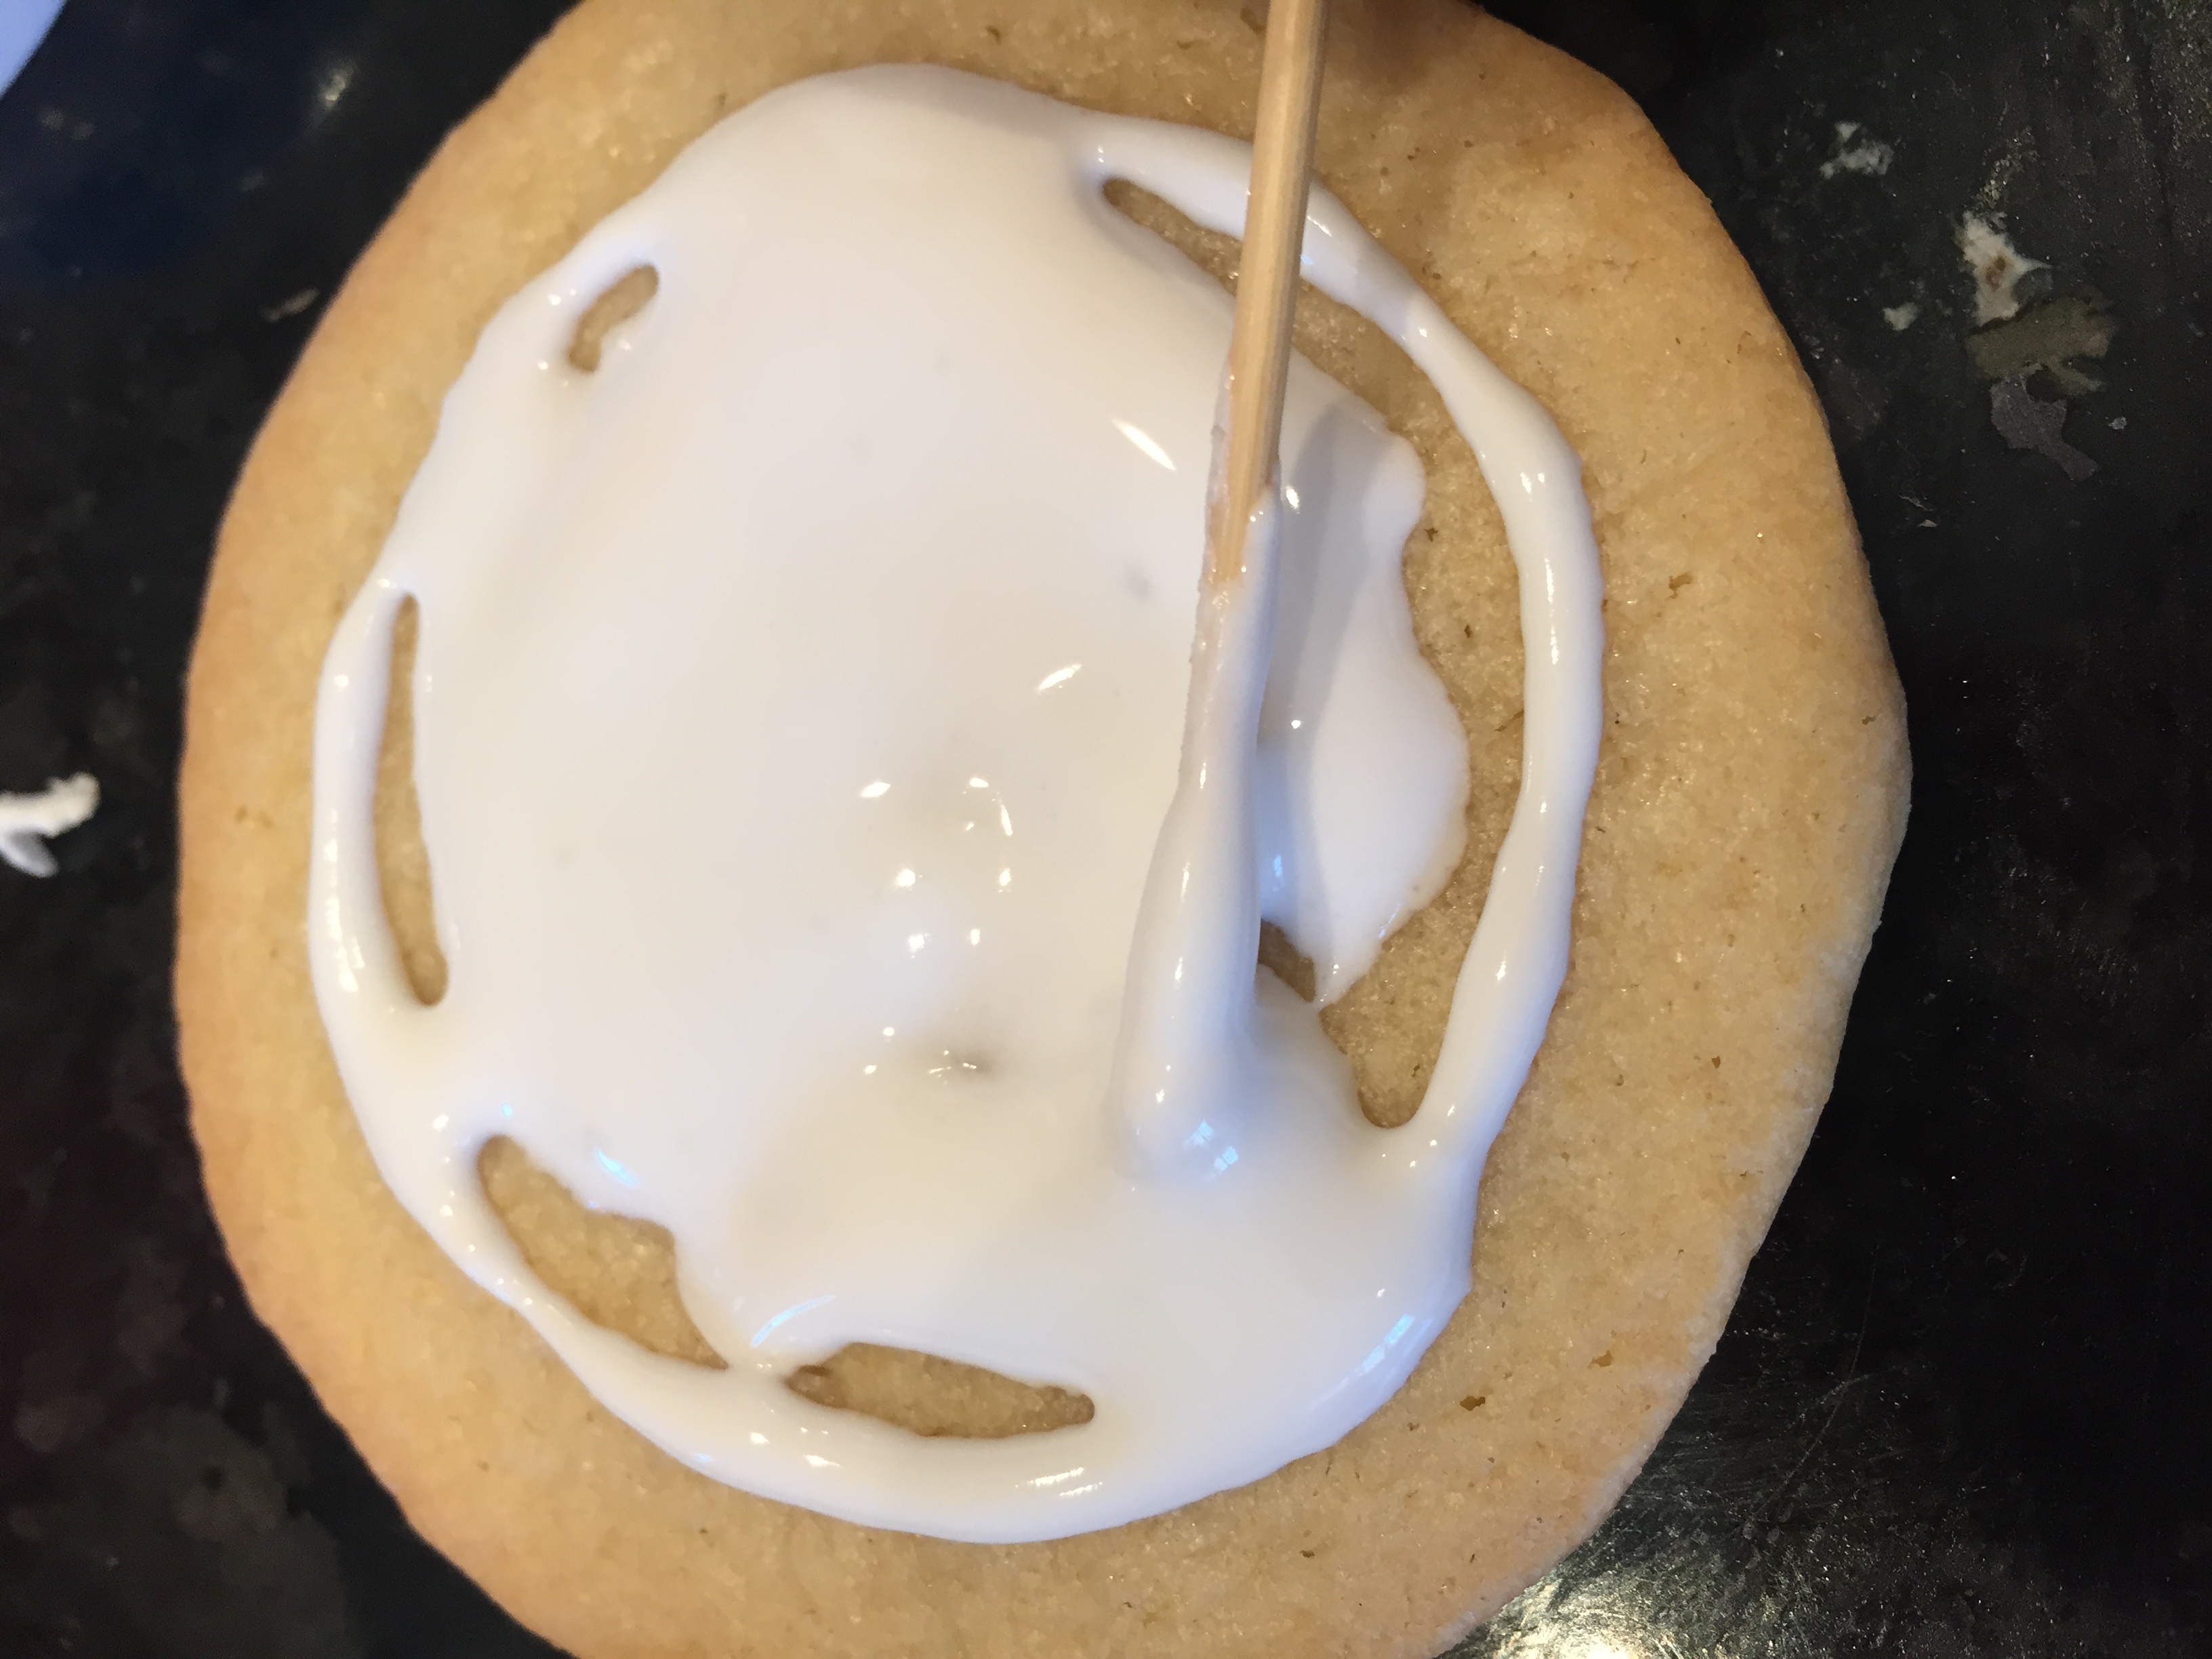
Step 3: Make a border with the non-dyed icing, and fill the inside in zig zag motions. Border the outside of the cookie slowly, and exerting even force throughout. Then, pipe zig zags with the icing within the border, leaving some spaces blank.
Step 4: Using a toothpick, even out the icing, covering the negative spaces. After smoothing it out as much as possible, gently tapping the cookie on the counter top to make the icing settle.
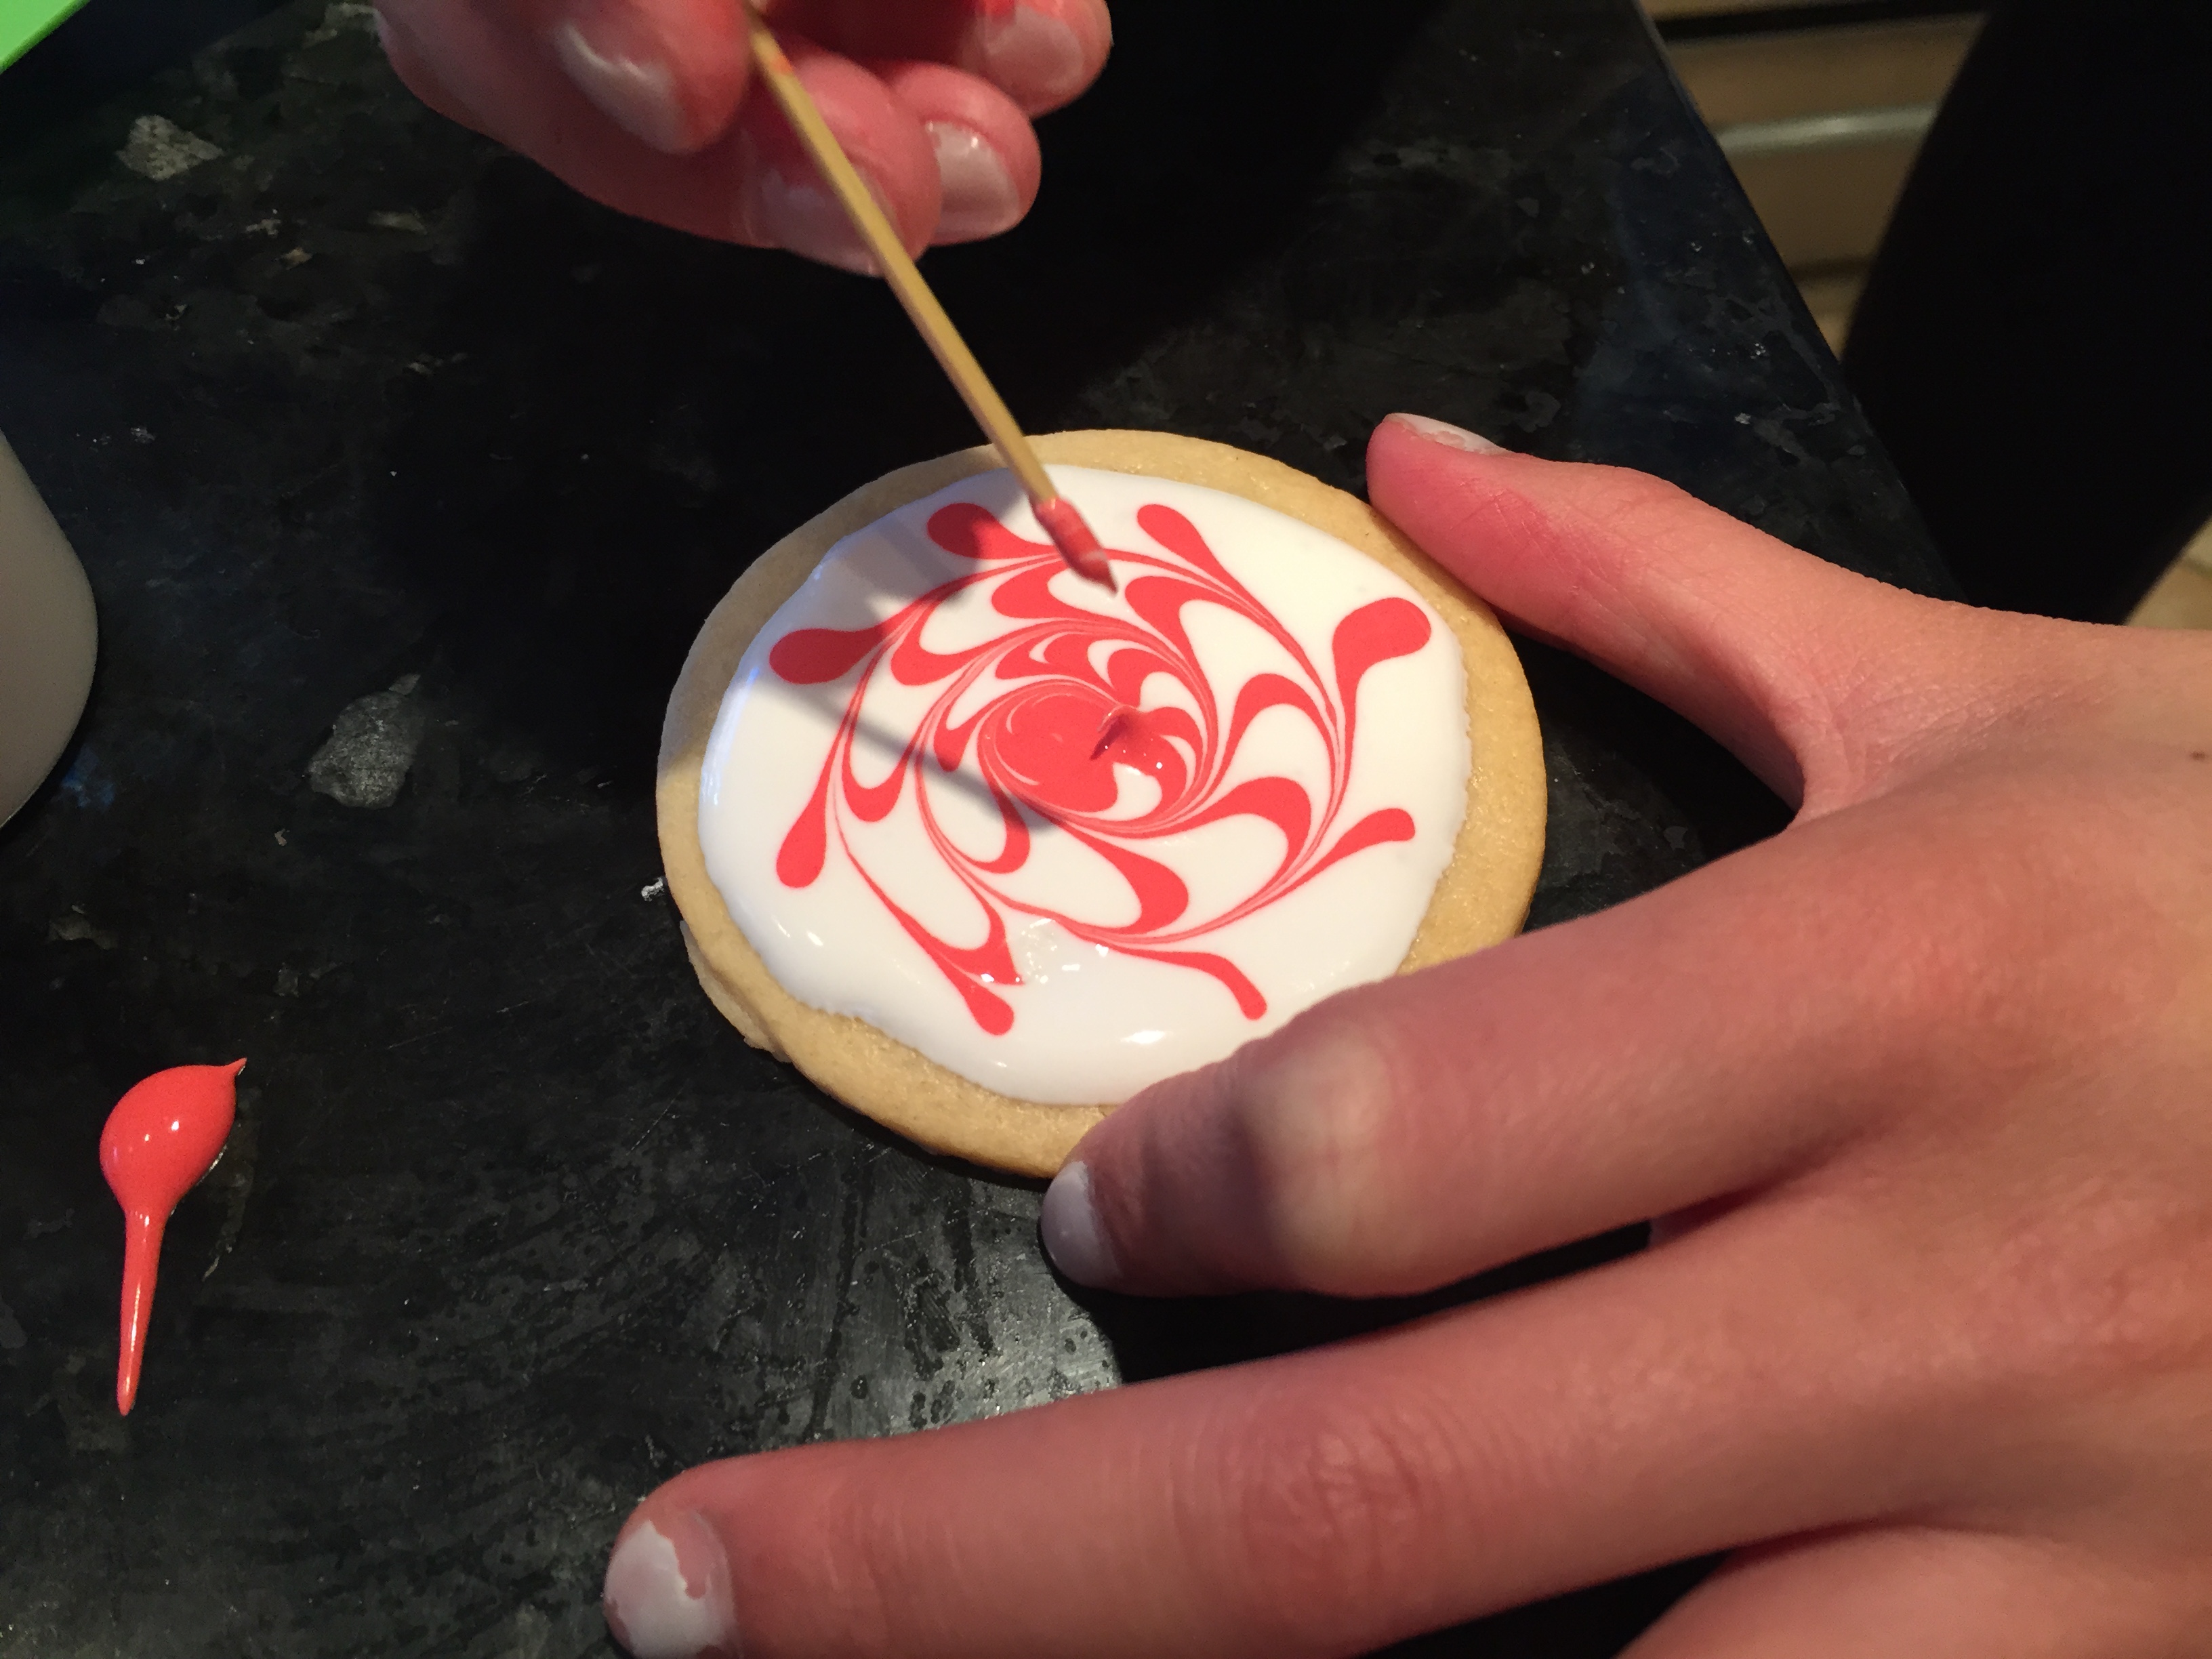
Step 4: Using the colored icing, pipe an asterisk onto the wet non-dyed icing.
Step 5: Starting on a colored mark on the outside, use your toothpick, and slowly circle around the cookie, and into a spiral shape toward the center. This will create a marble look.
Step 6: Let the icing settle.
And there you have it – gorgeous, festive, and impressive marbleized cookies!
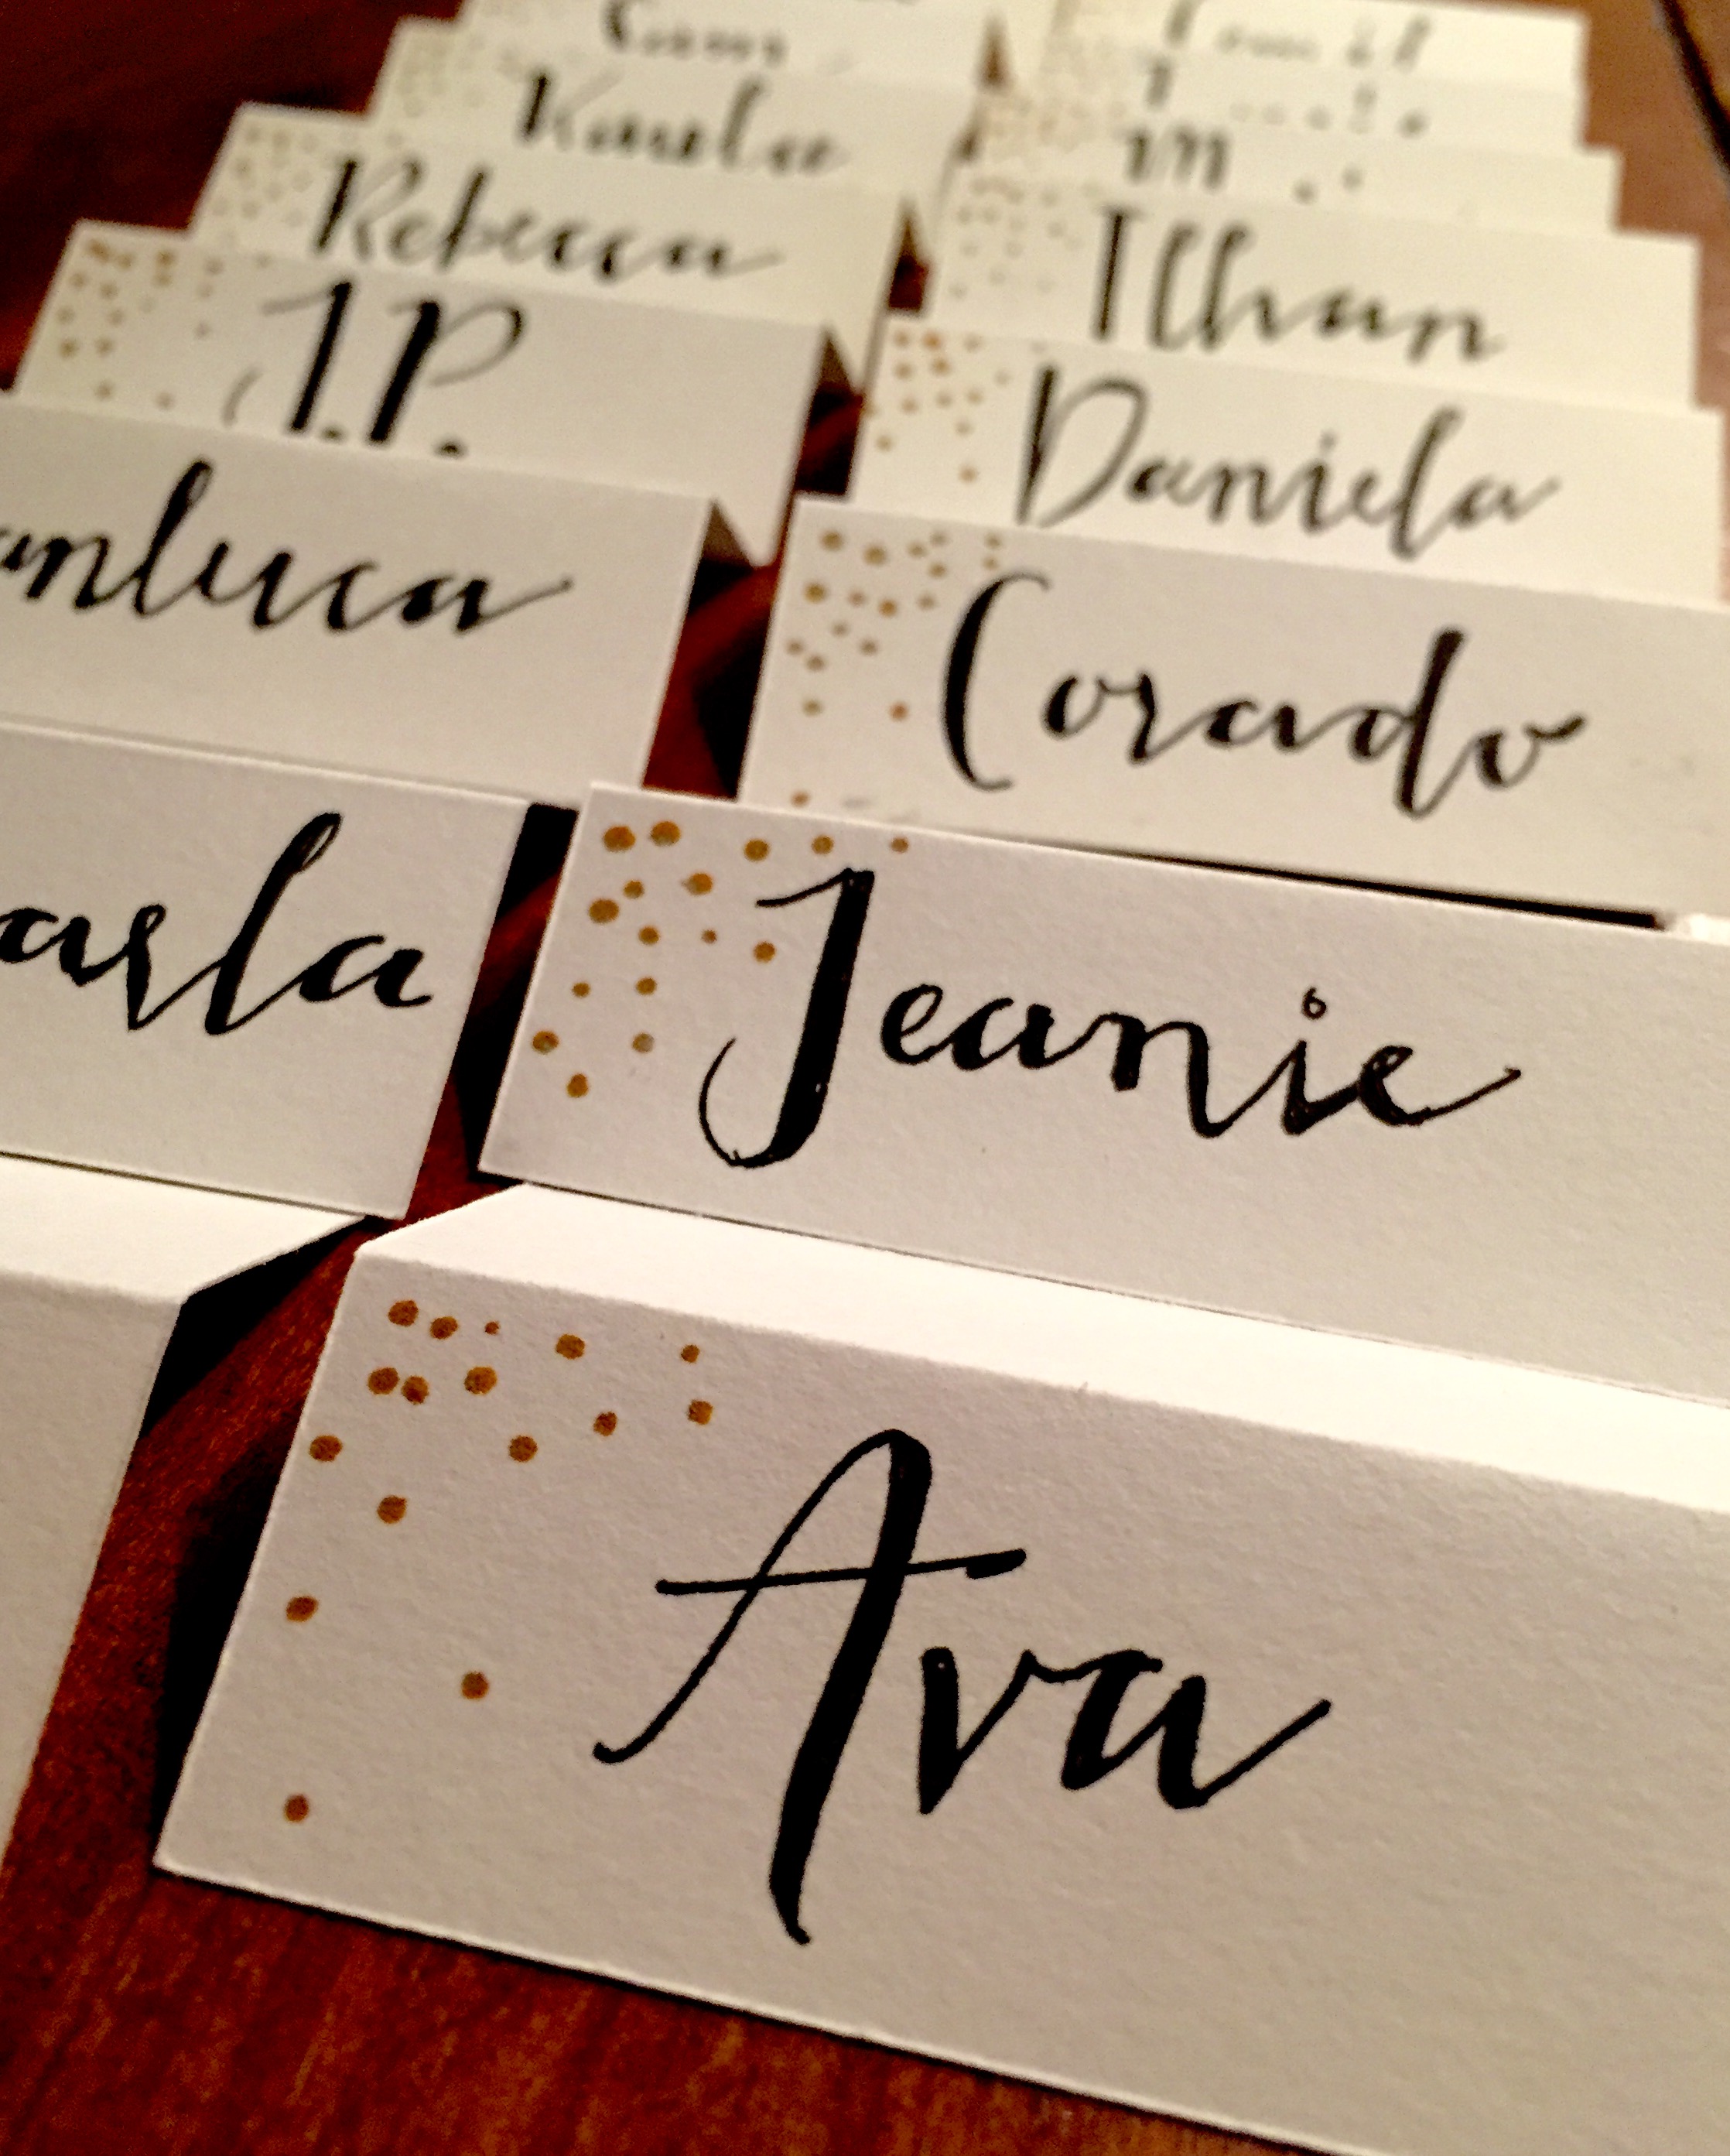
So many family members come to my grandparent’s house for the holidays, so it can get quite overwhelming. Following the question “When can we open our presents?”, “Who’s sitting where?” is top on the interrogation list. With a table merely over 7 feet, a homemade buffet, and over 20 guests, we tend to forget our spots at the table, and mix our food with someone else’s. Sounds crowded, doesn’t it? Luckily, my family will not have to suffer finding our seats again with these easy DIY place cards!
To start off you’ll need:
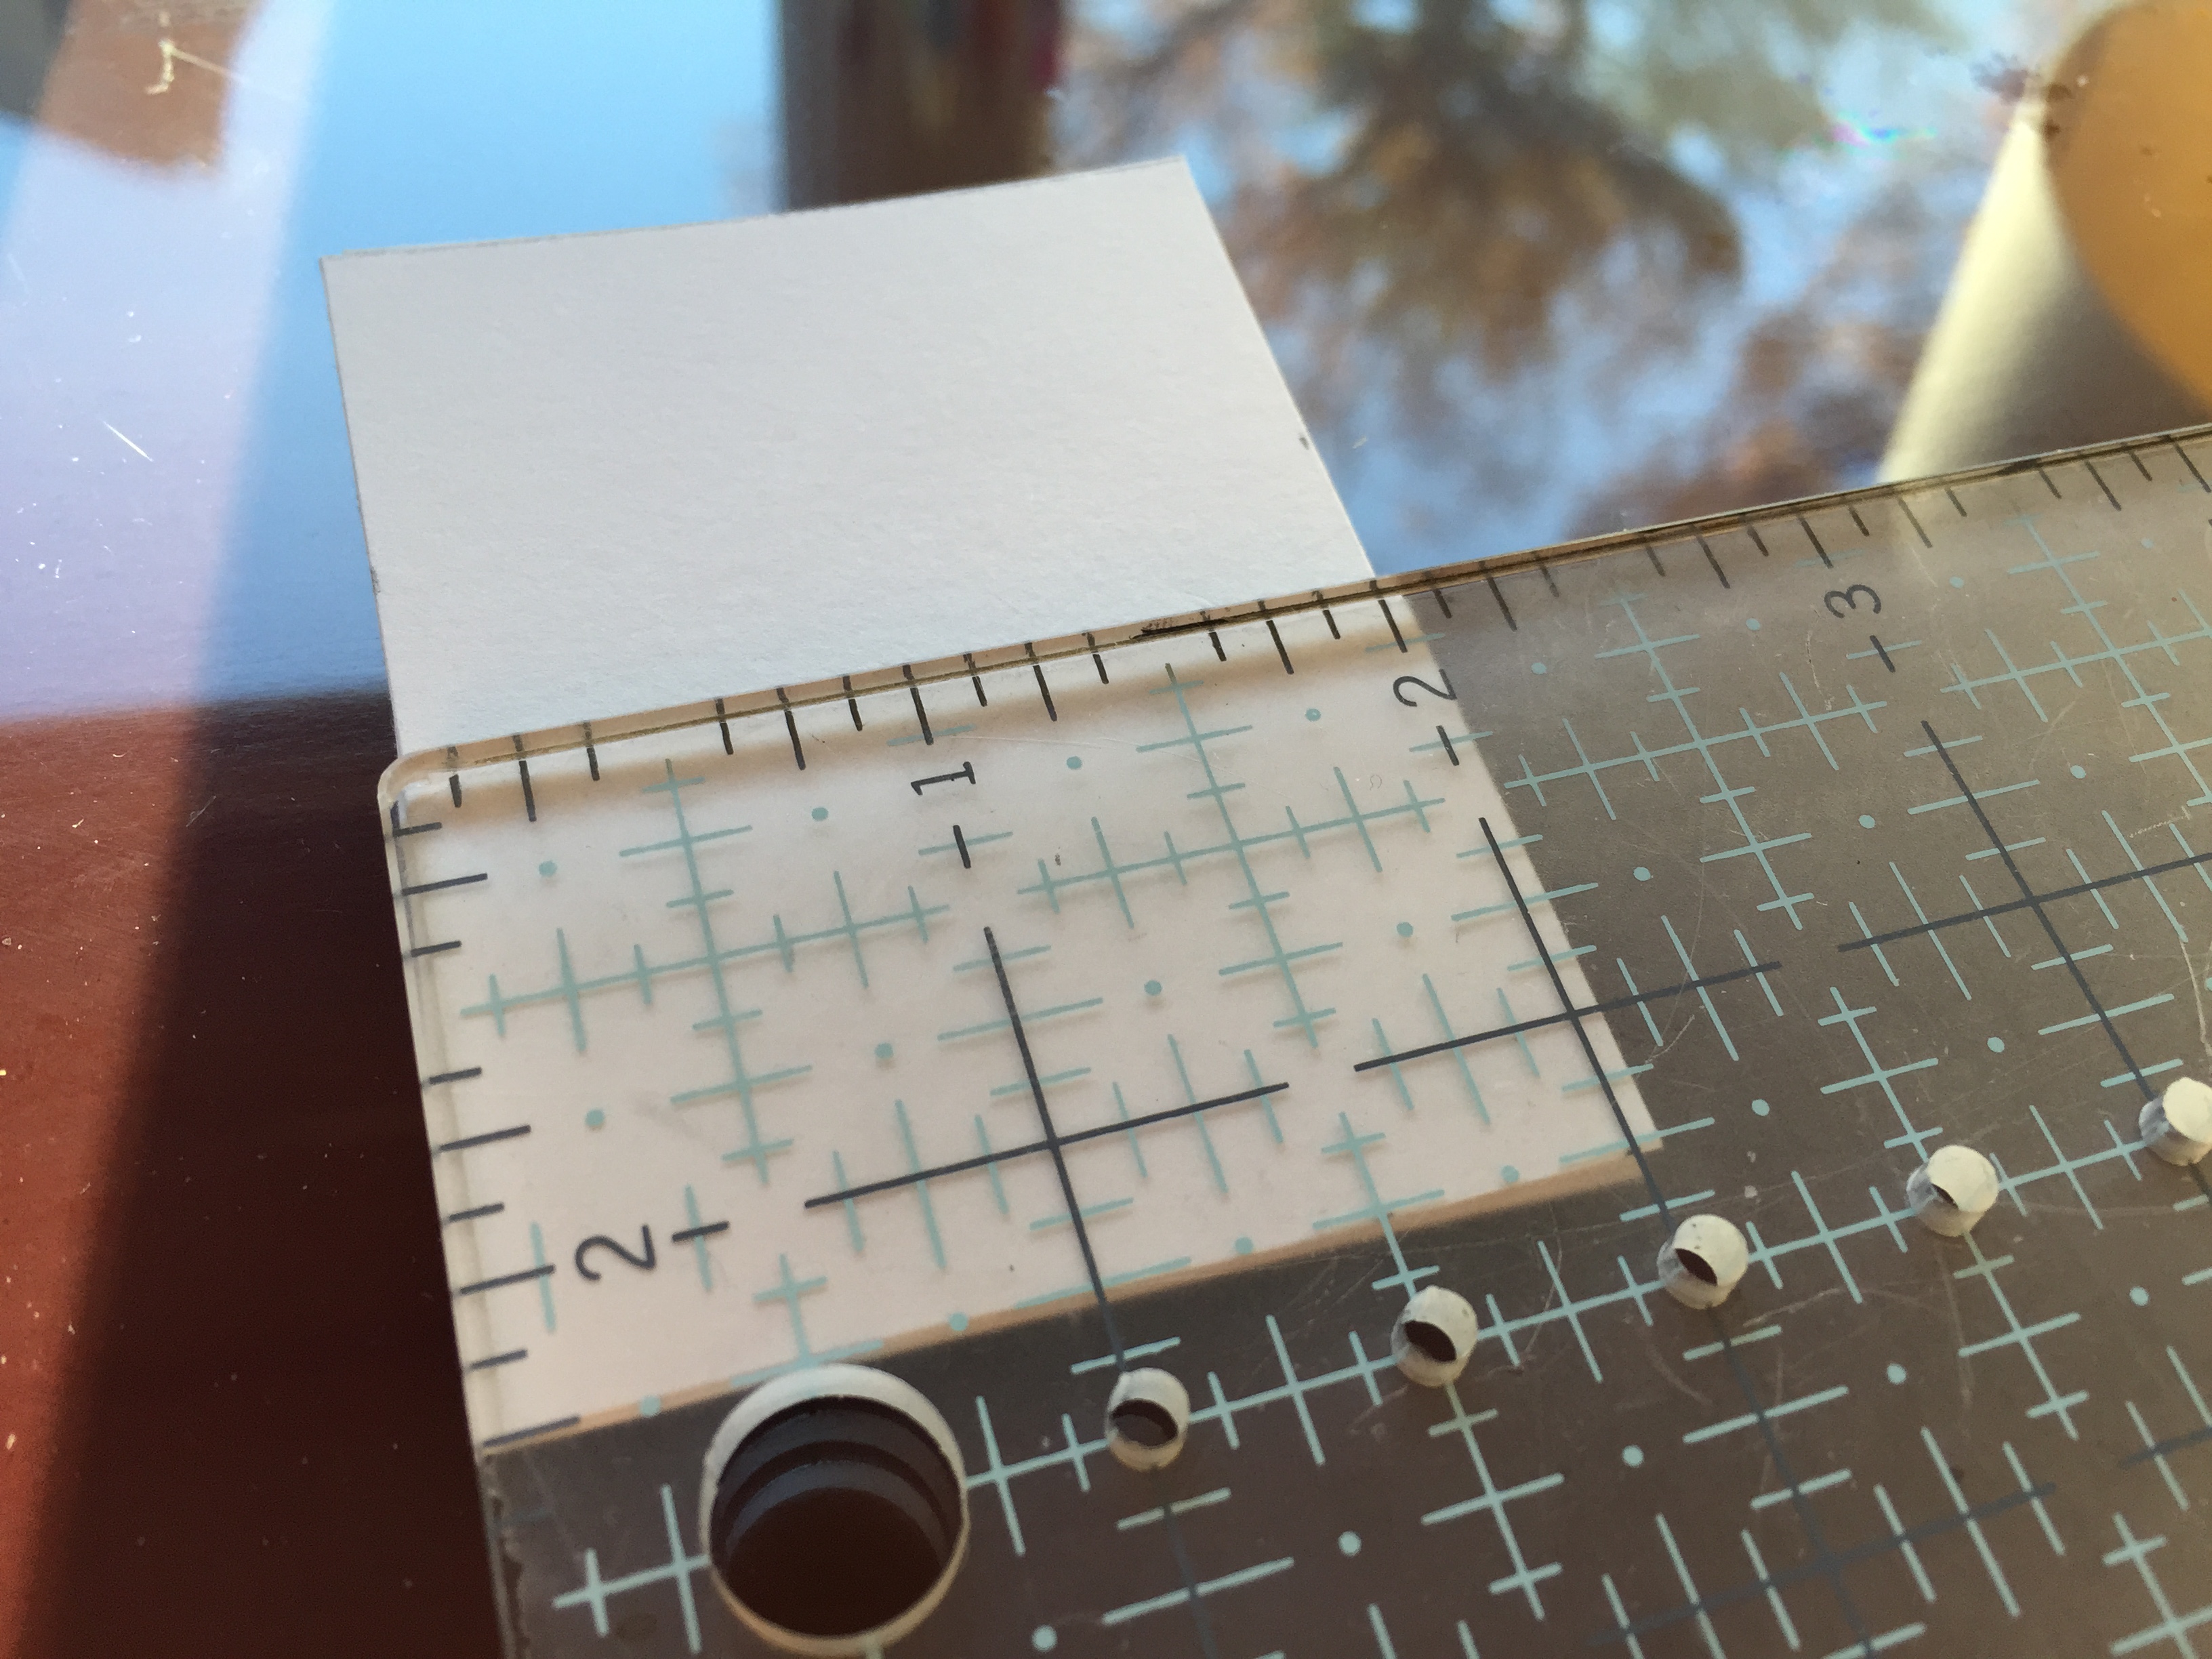
Card stock or artist’s thick drawing paper (I chose an ivory color)
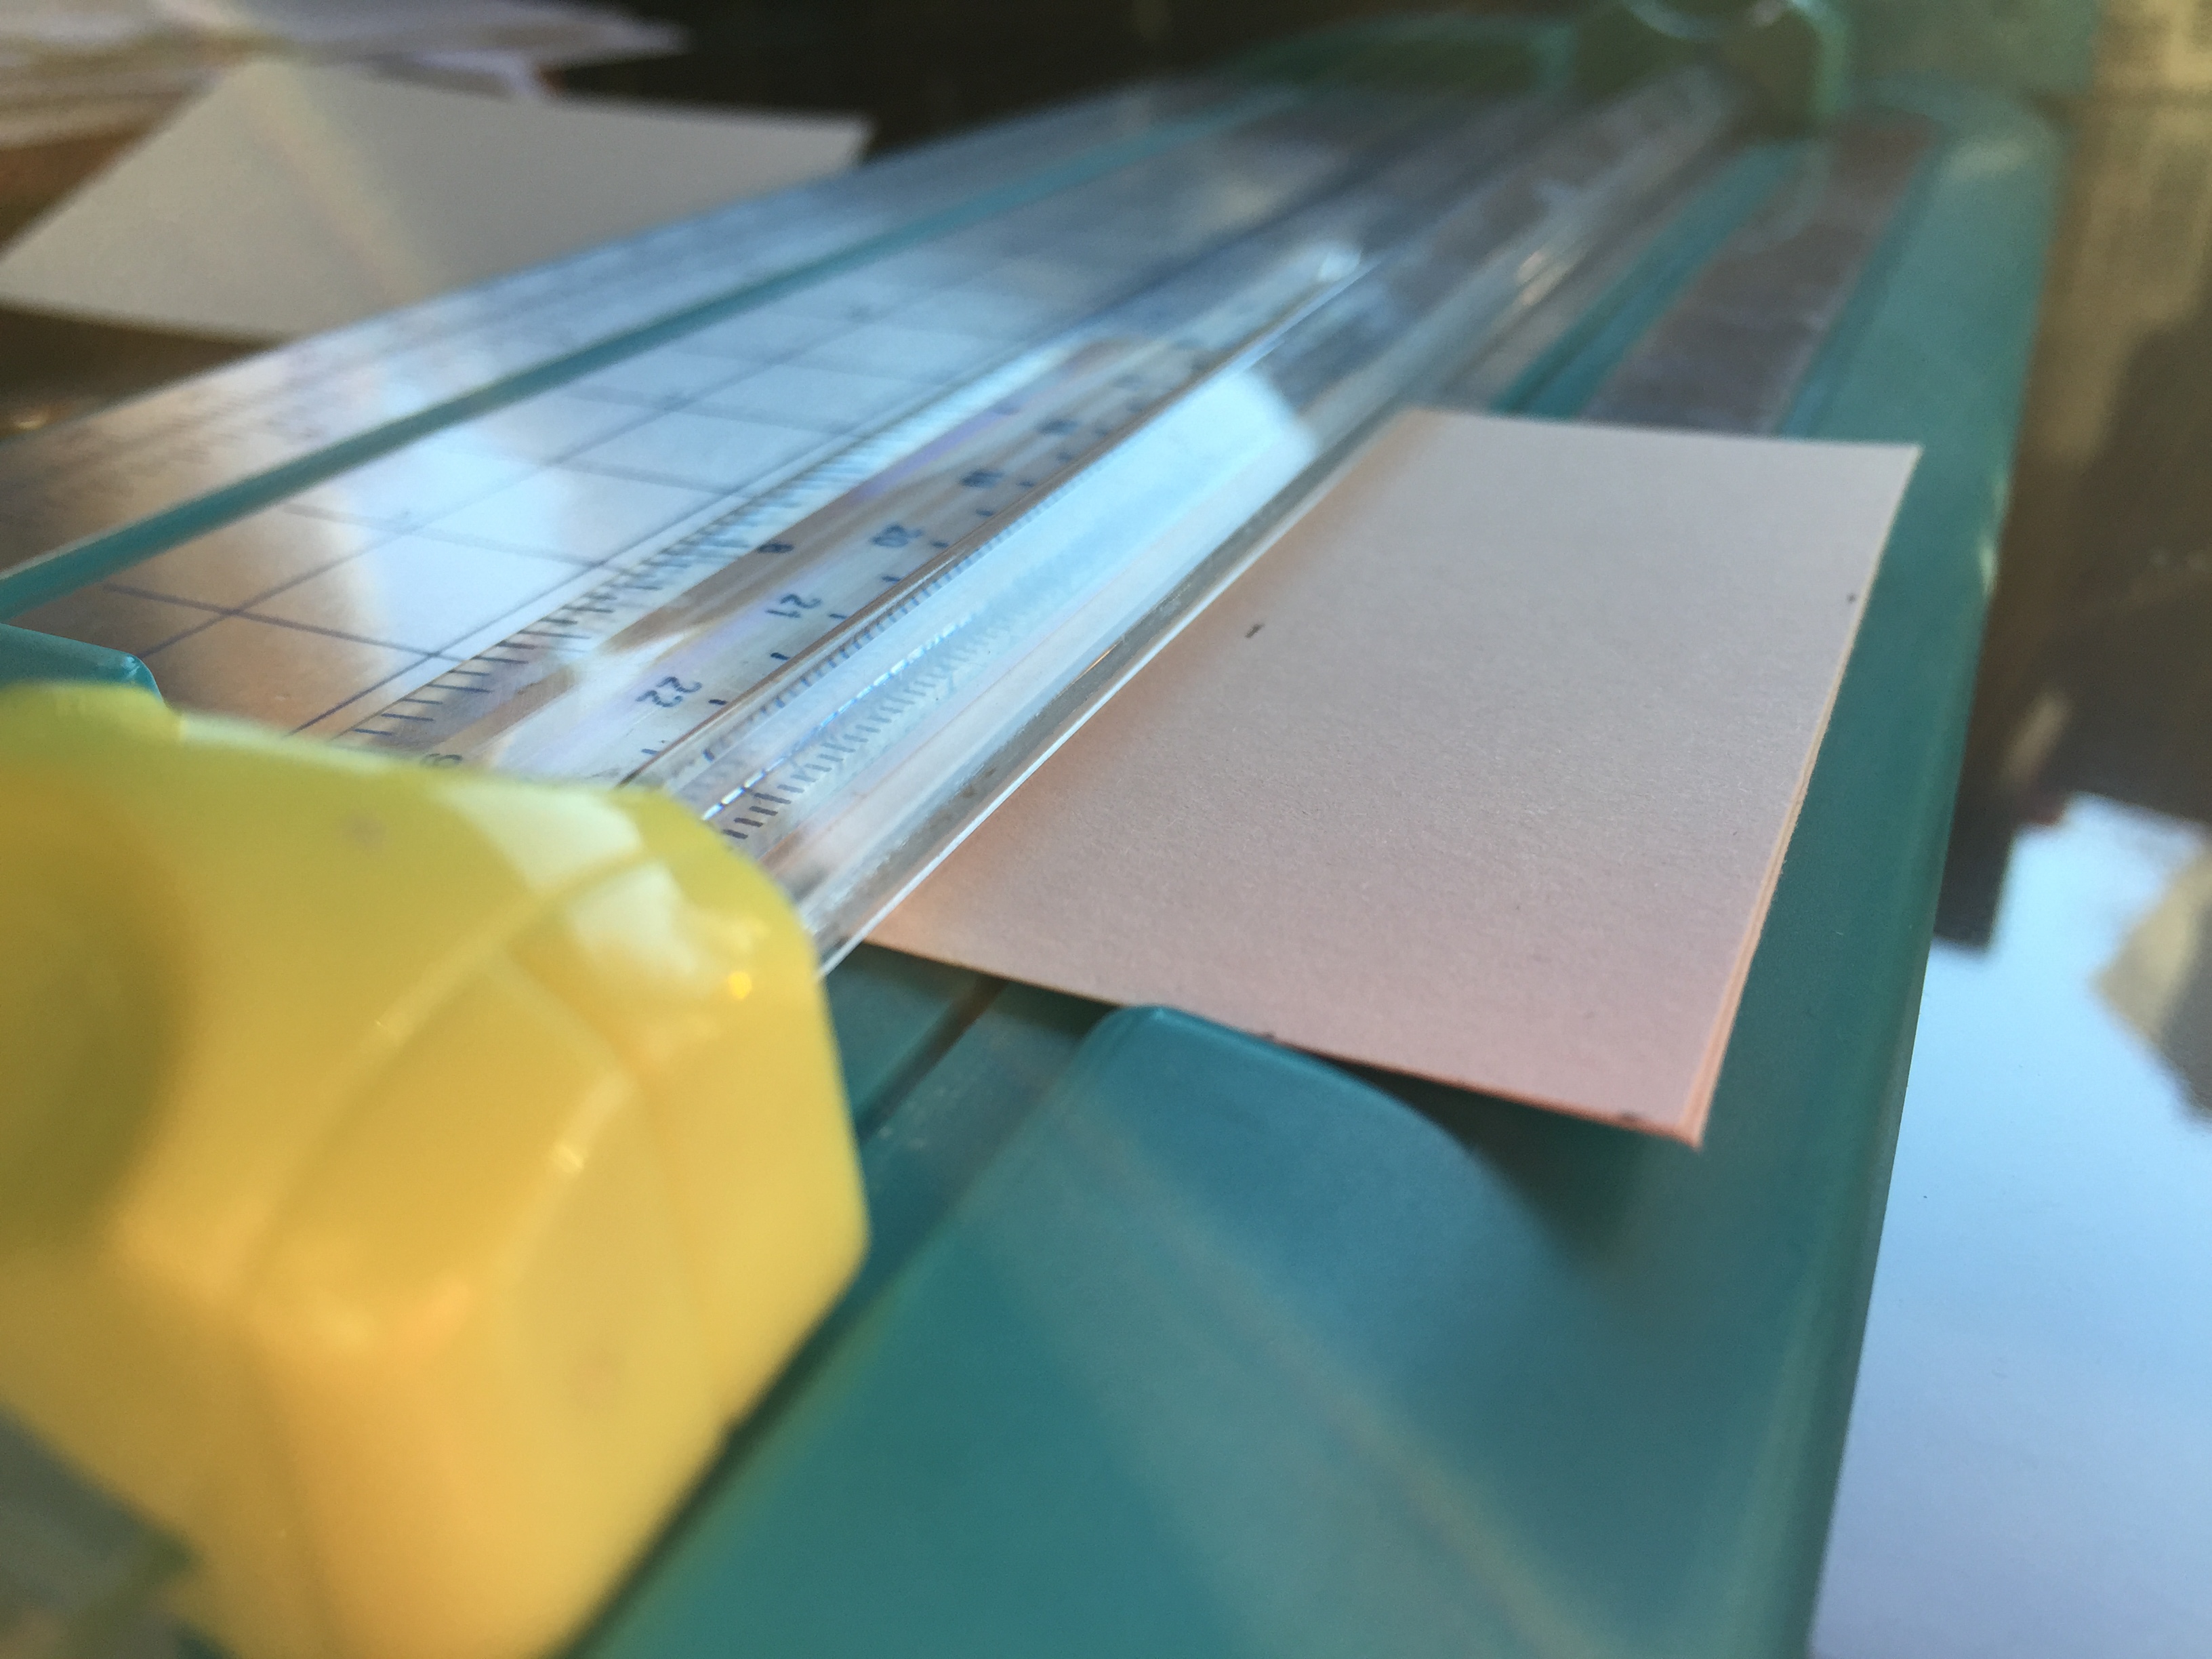
Measure out 2.75 inch (for the length), and 2 inch (for the width).Cut out the rectangles with scissors or paper trimmer for a more precise cut.
Measure 1 inch on the 2 inch side. At the 1 inch mark crease it. My paper trimmer has the option to crease. If yours doesn’t, use your hands to crease the card.
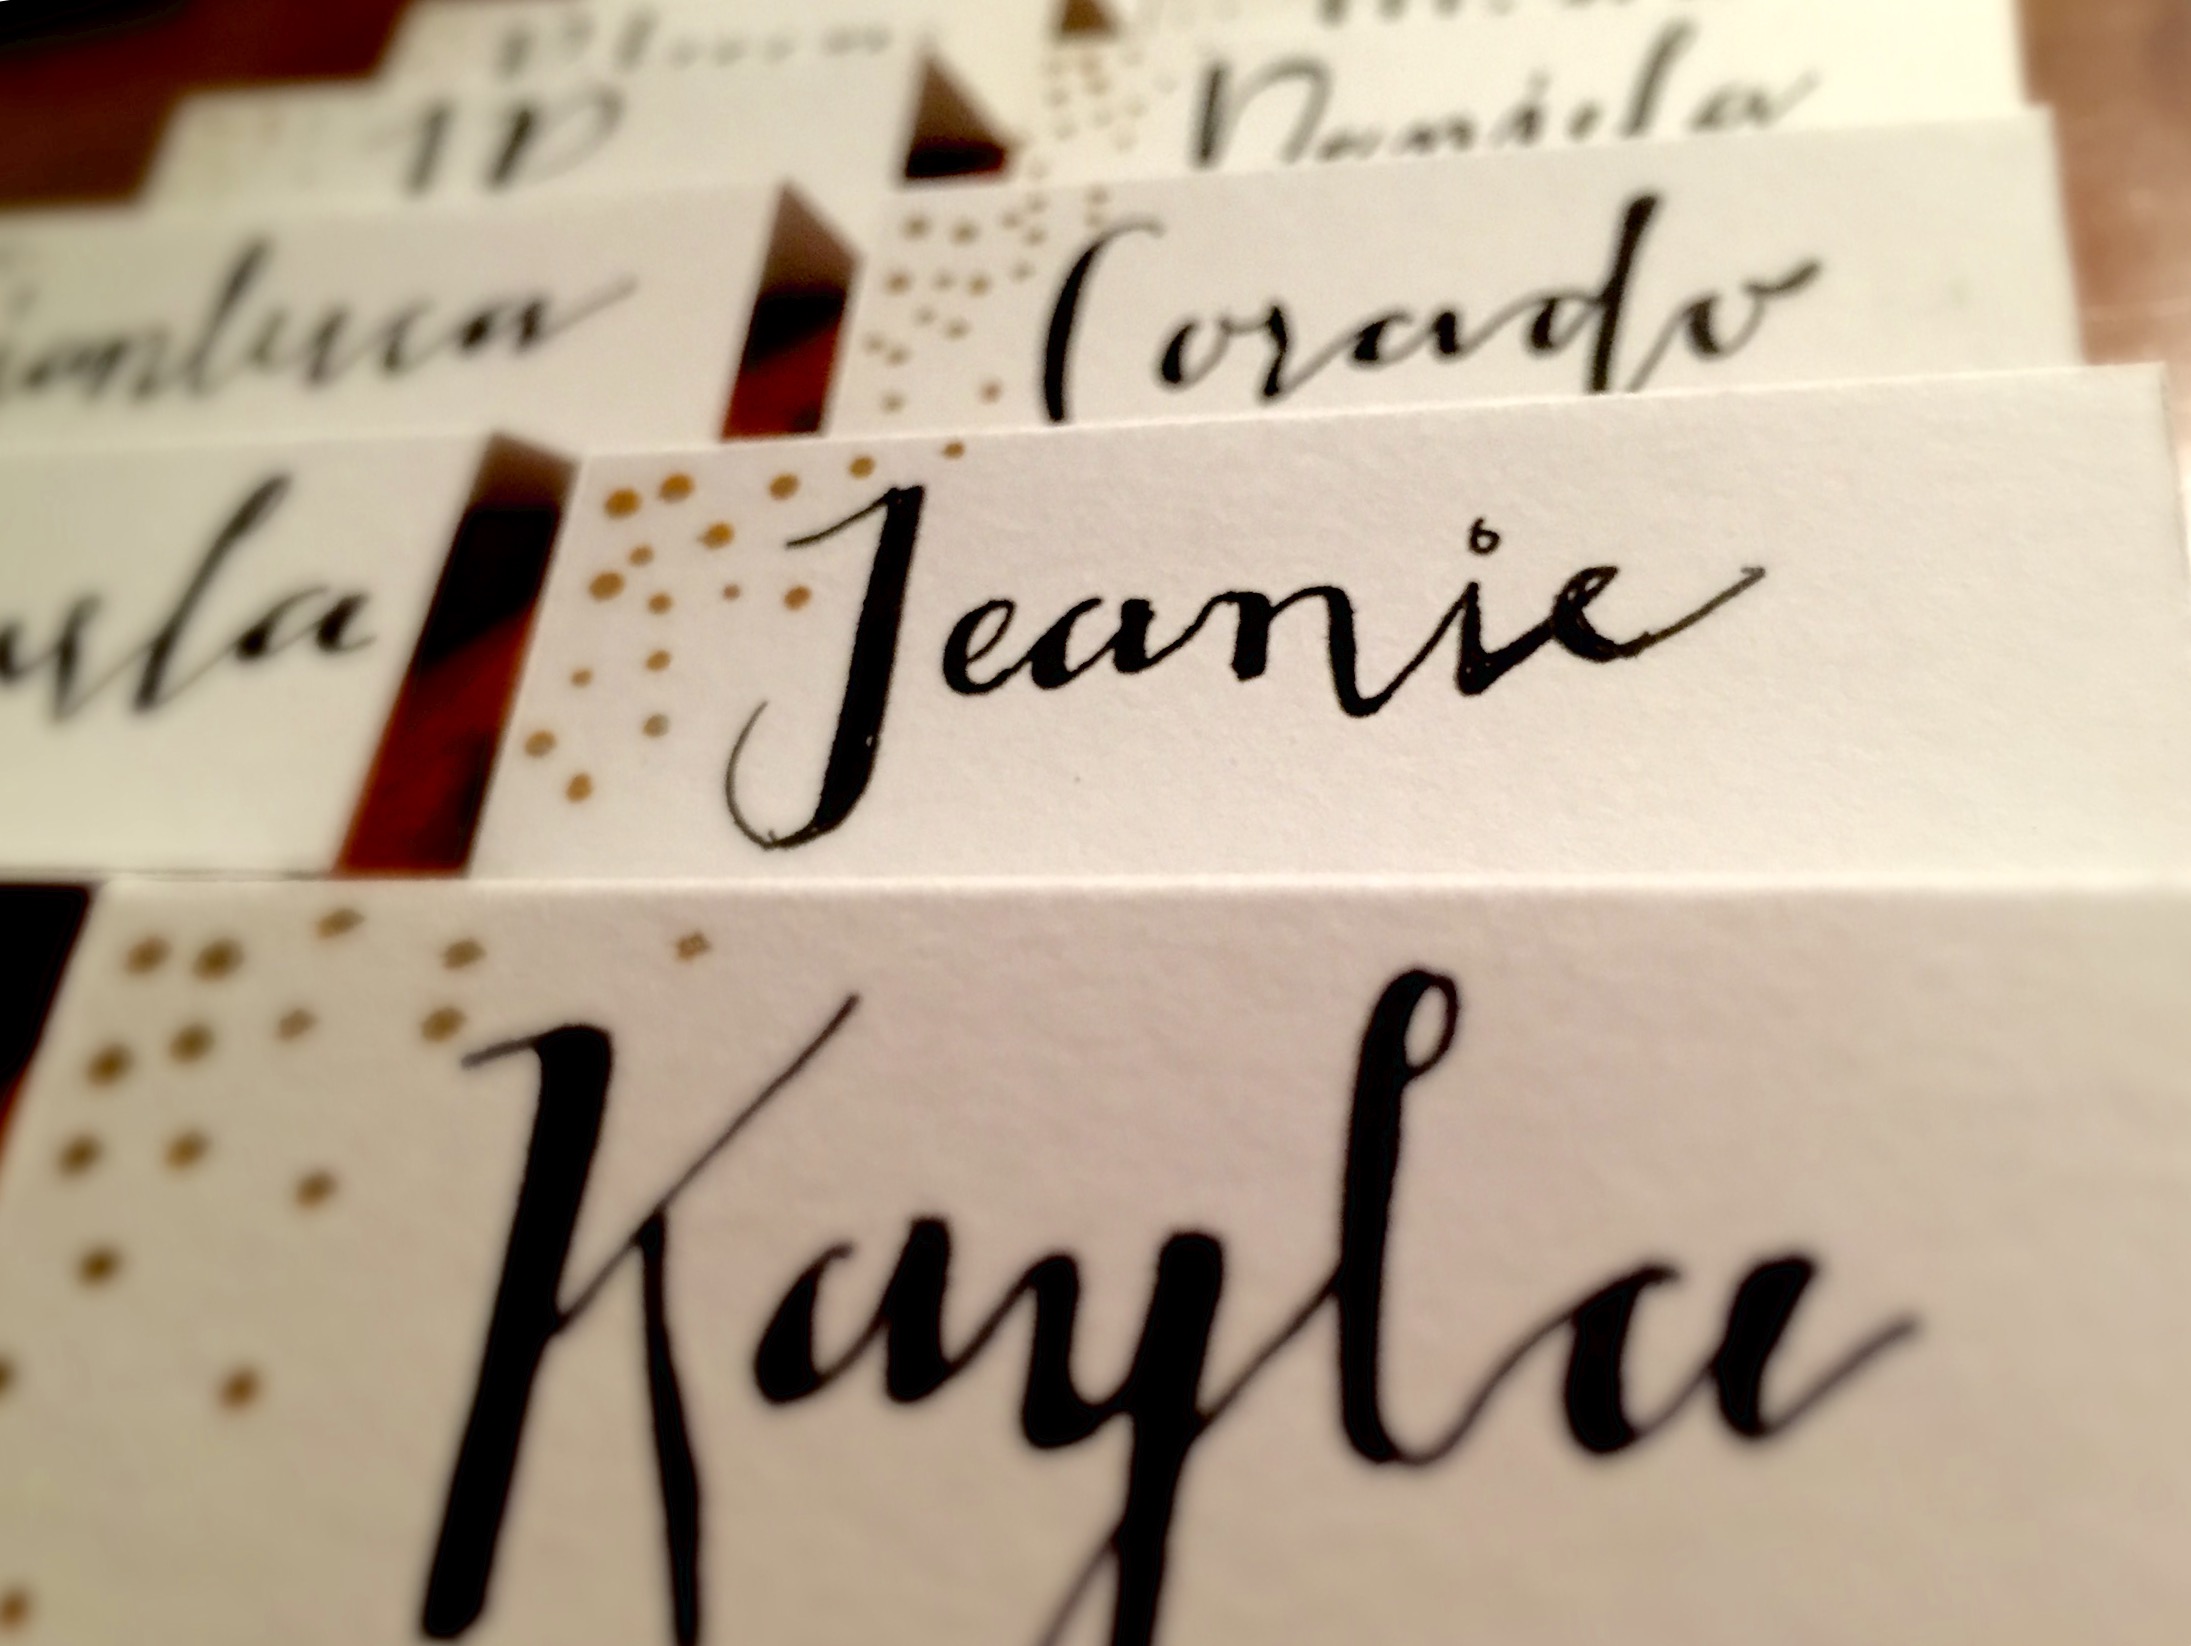
Write the names with your black marker. Make sure it doesn’t bleed by using a marker like sharpie’s very fine point marker. I got inspired by these fonts. The trick to writing good font is to lay out where your letters will be in pencil. Then, after you write the names down in permanent marker, focus on where you should put an extra coat of marker to make the line more bold. Also, if you don’t have a steady hand, try to do more forgiving fonts that have a more organic feel. For this look and the one shown, I really liked the “Jacques & Gilles” font.
Take any color metallic marker (about the same size tip as a fine point sharpie). Then, on the top left corner, begin to dot the ink of the marker close together. As you fade out (nearer to the name), spread the dots farther apart. This will add a little bit of holiday spirit to your name tags! If you want, you can even add another metallic color such as rose gold, or another design.
Make sure to save these works of art for the years to come, along with some extra ivory card stock paper, just in case your guest list changes or some place cards get soiled.
Do you you have dry, dehydrated skin? Do you hate spending countless dollars on unpromising beauty products? Do you like snickerdoodles? Well here’s your answer – snickerdoodle body scrub! Just mix, apply, wash, and enjoy your smooth, moisturized skin.
Inspired by the classic cookie, this scrub itself kitchen staples like brown sugar, sugar, cinnamon, vanilla, and oil. The sugars leaves your skin feeling super soft, and the brown sugar, cinnamon, and vanilla make you smell like a snickerdoodle dream!
Personally, I don’t love when my scrubs are dry and abrasive. I found that using more oil than a typical scrub will make my skin much softer. My favorite oil is grape seed oil because it is a gentle and helps skin issues like acne, and itchy, dry skin. Plus, it’s light and sweet smelling. If you don’t have grapseeed oil, simply replace it with almond oil or jojoba oil. I would not recommend using olive oil because the smell is strong, so it wouldn’t really go with the cinnamon!
Any secret santa or white elephant gift exchange coming up? Just package it in a cute jar, and gift to someone you know!
The holiday season is up and running, so what does this mean? It means that you’re up and running as well – from one place to the other, leaving no time to yourself. When you look into the mirror, you see yourself with cracked, faded lips. Does this sound familiar?
No problem! This is the solution.
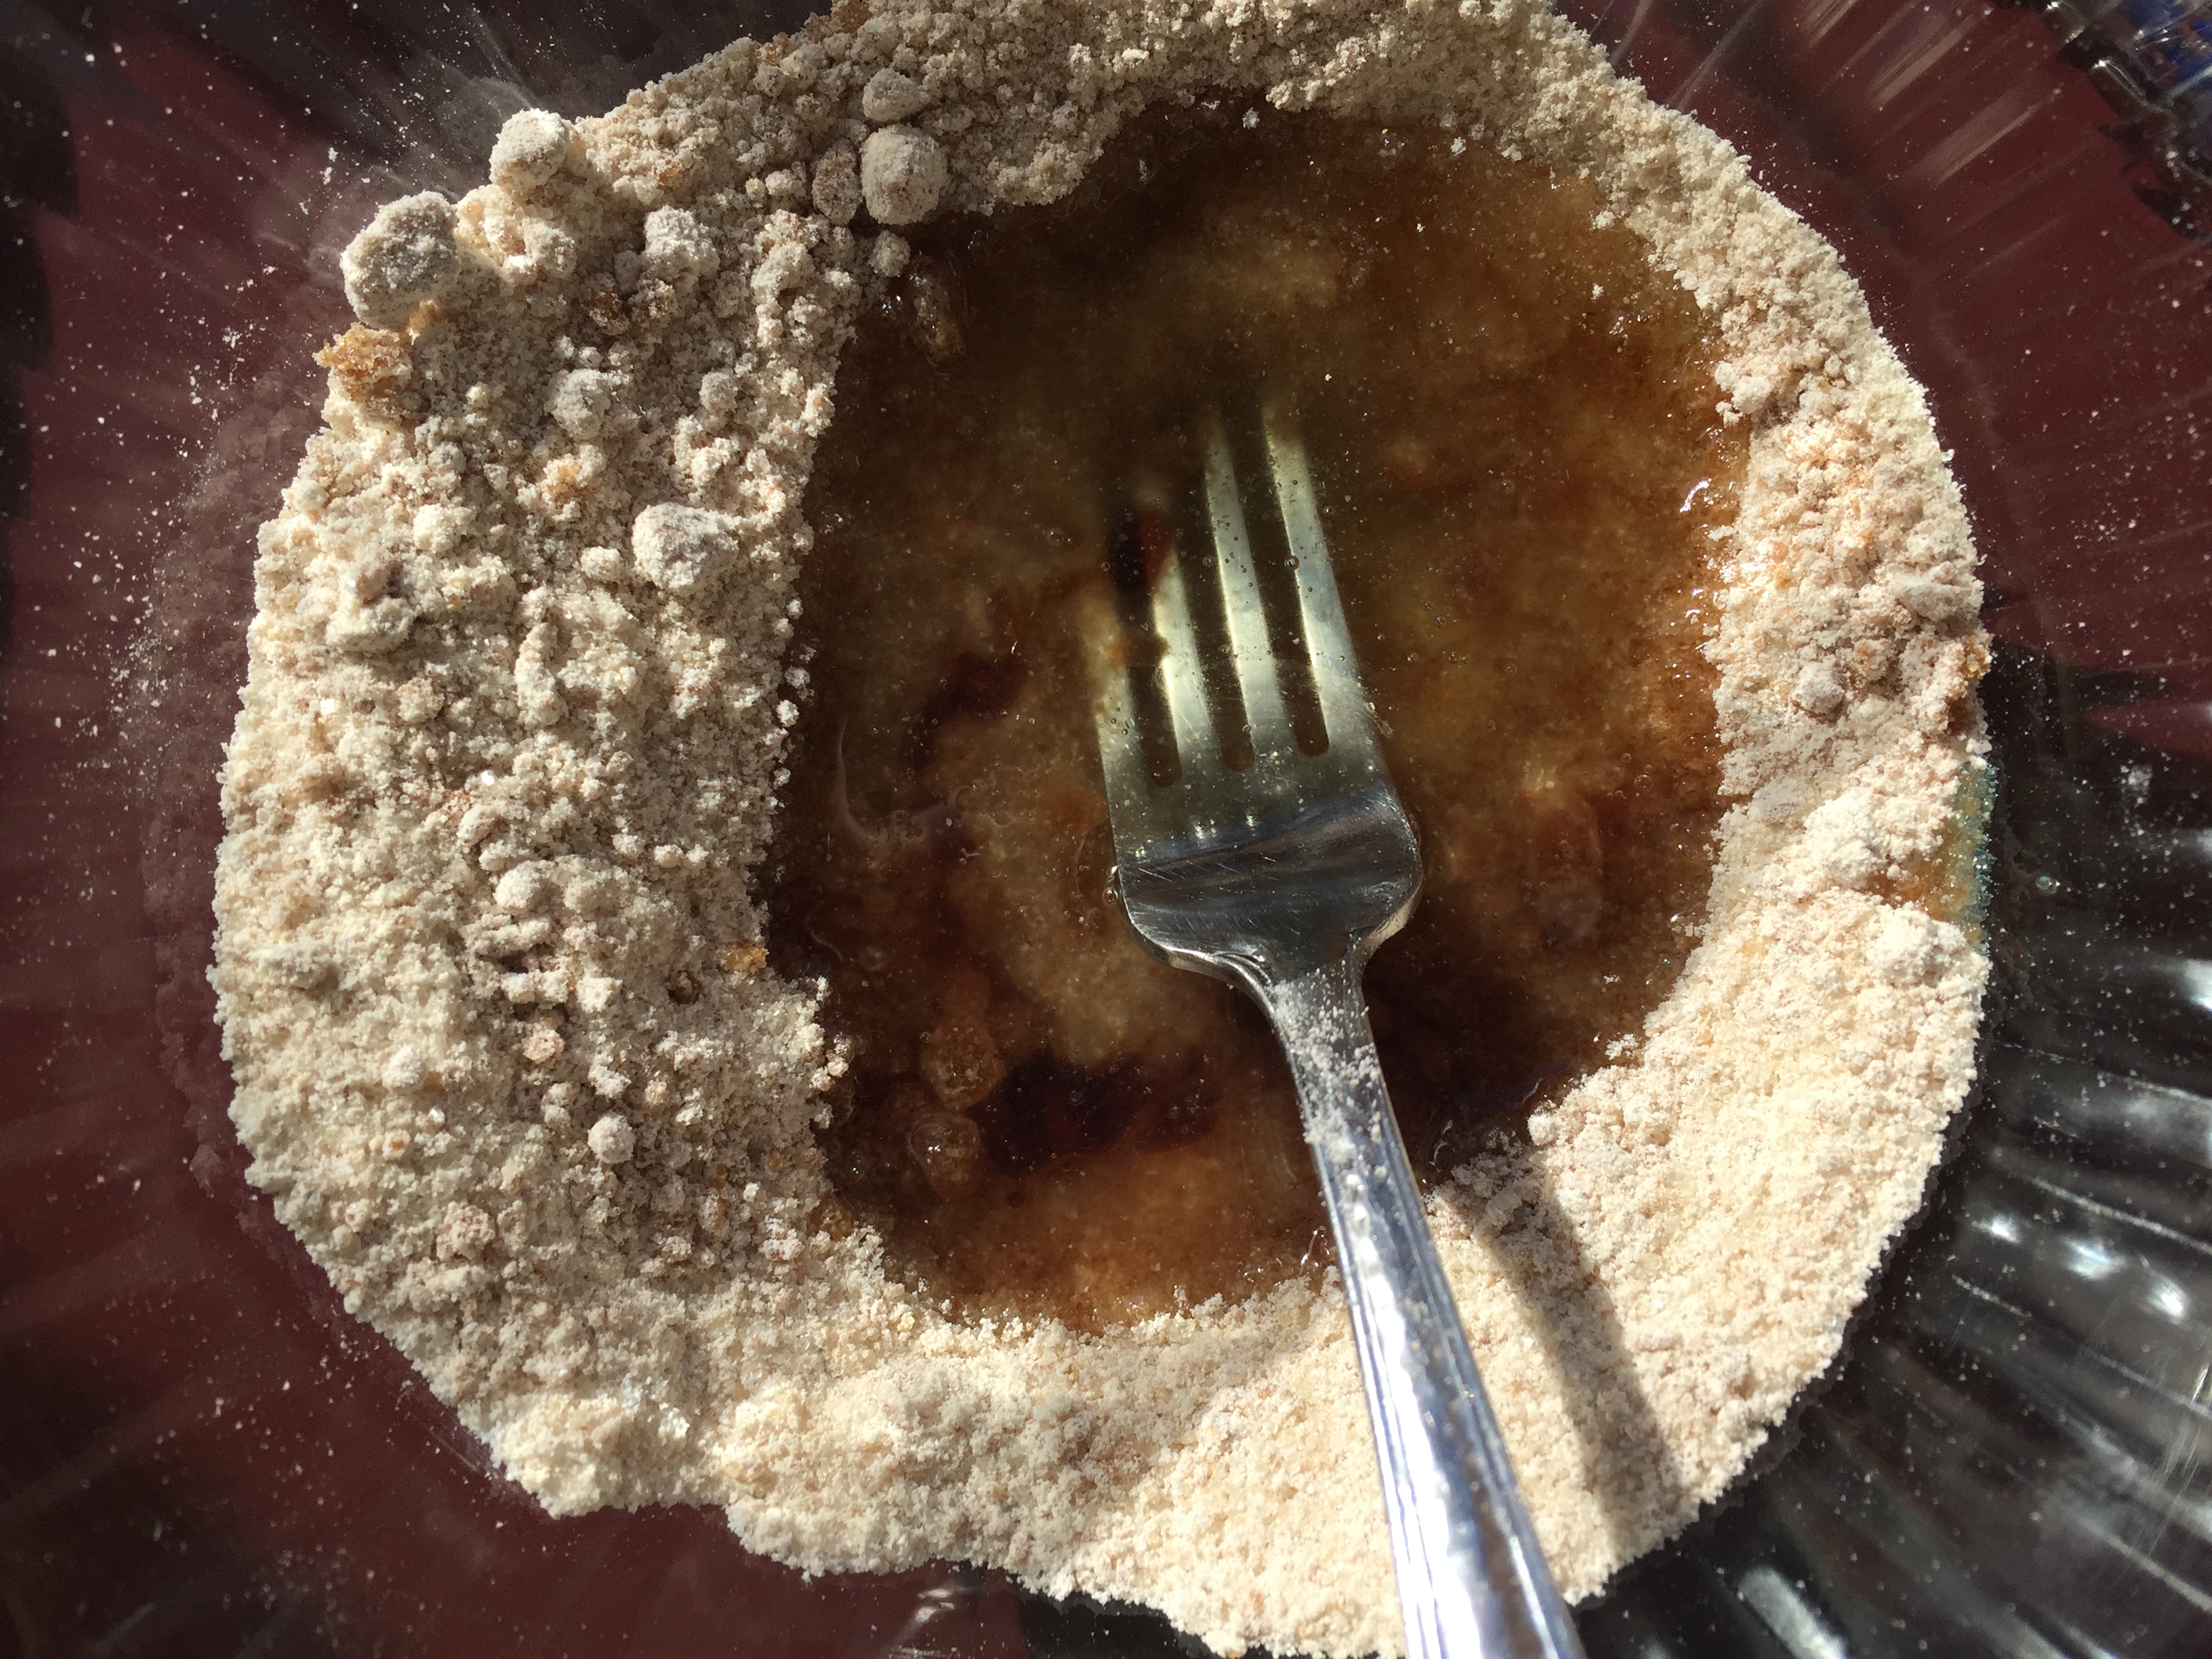
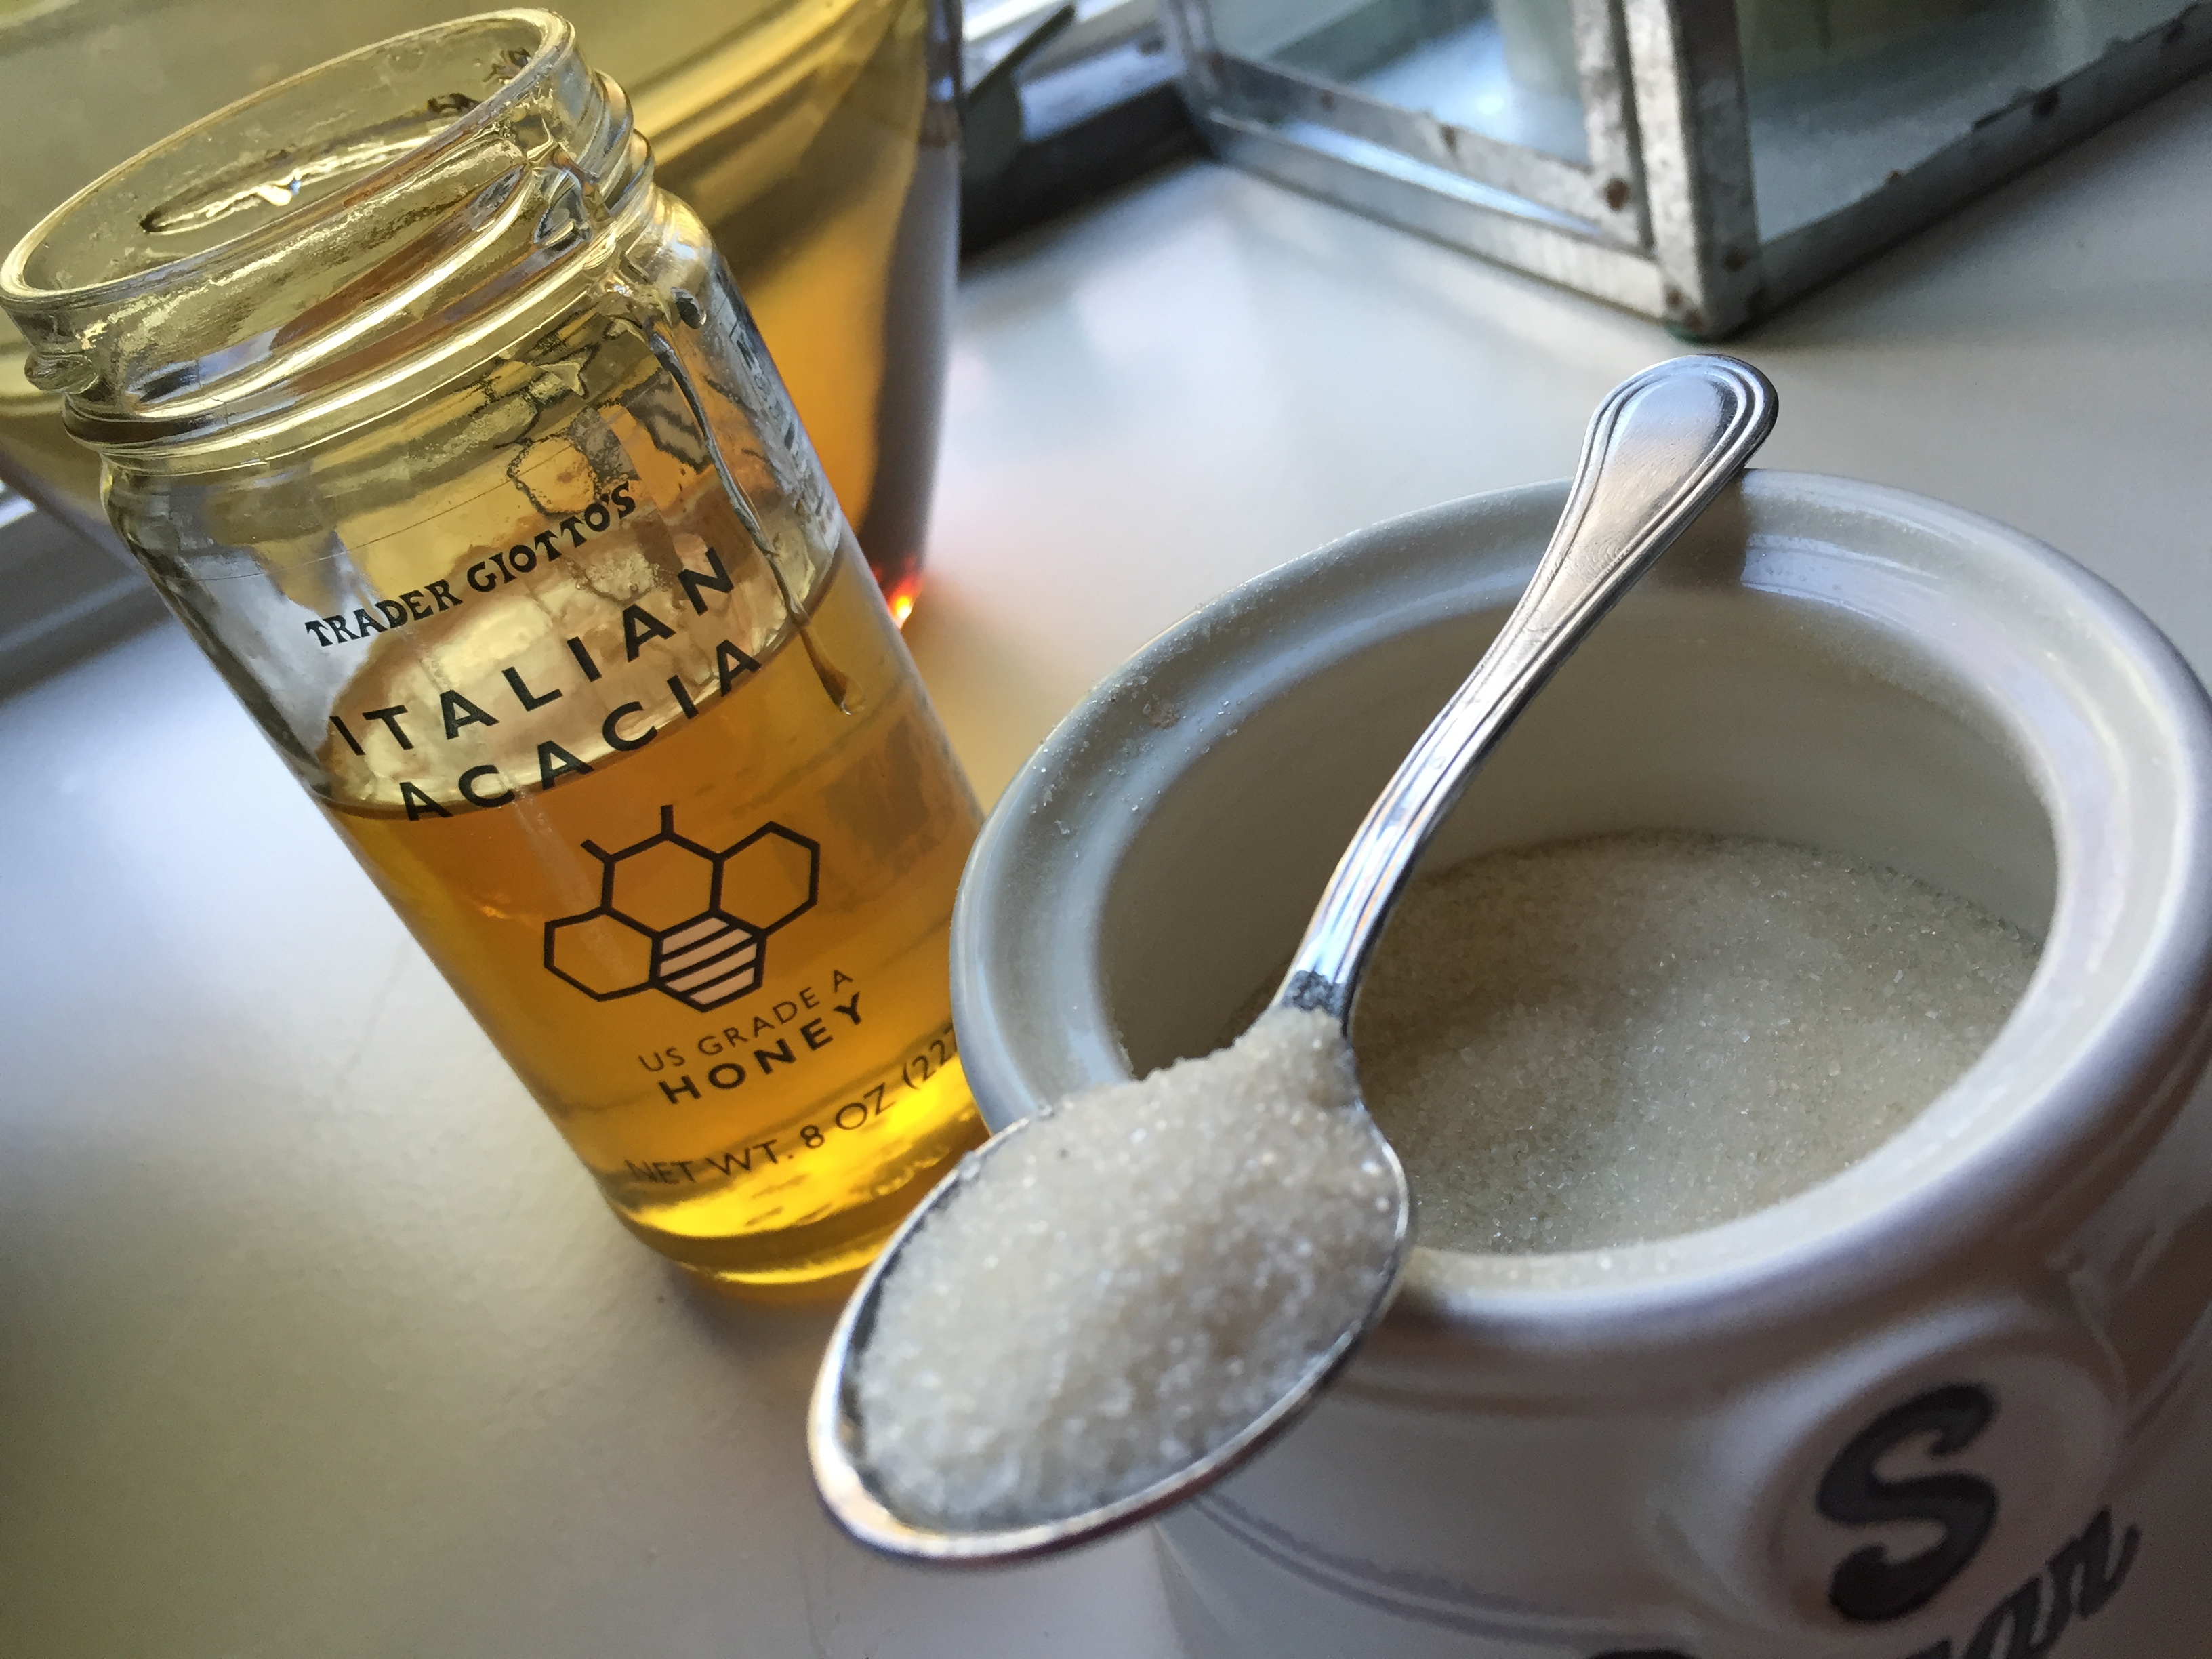
It only takes one minute, and has 2 ingredients! No complicated recipe here. In fact, all you need is a 1:1 ratio of honey to sugar. I used 1/2 a tablespoon for each.
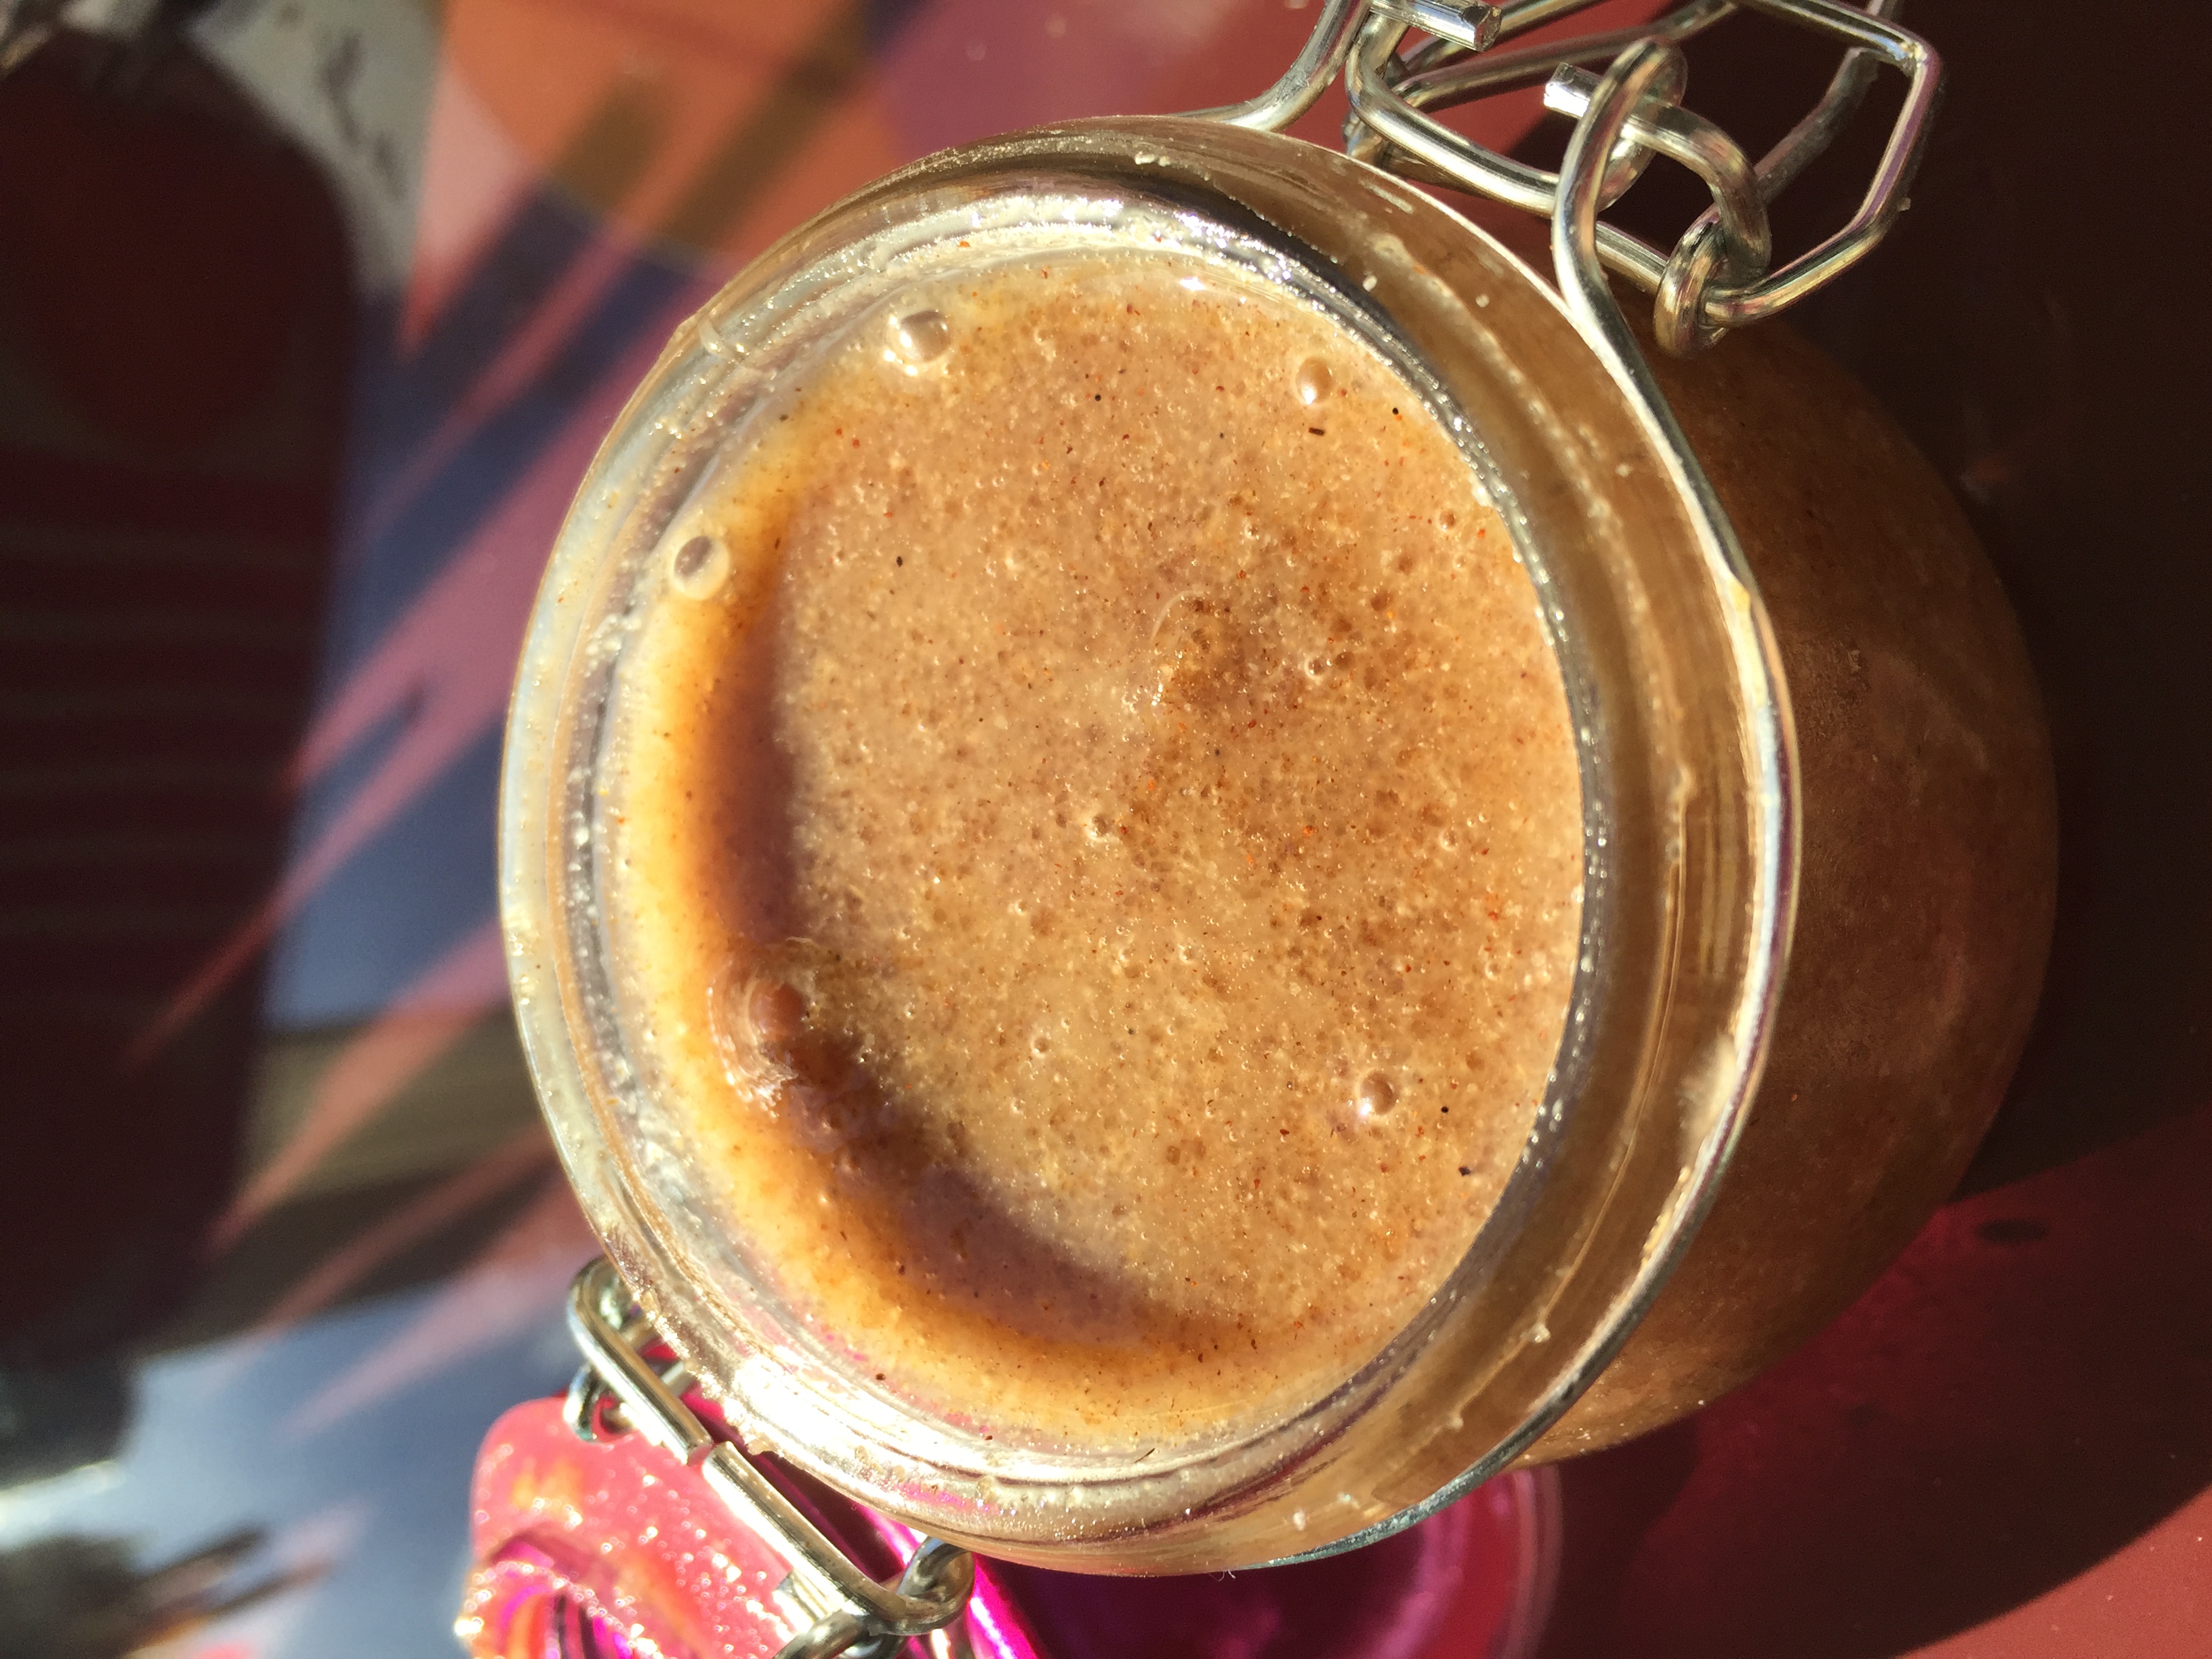
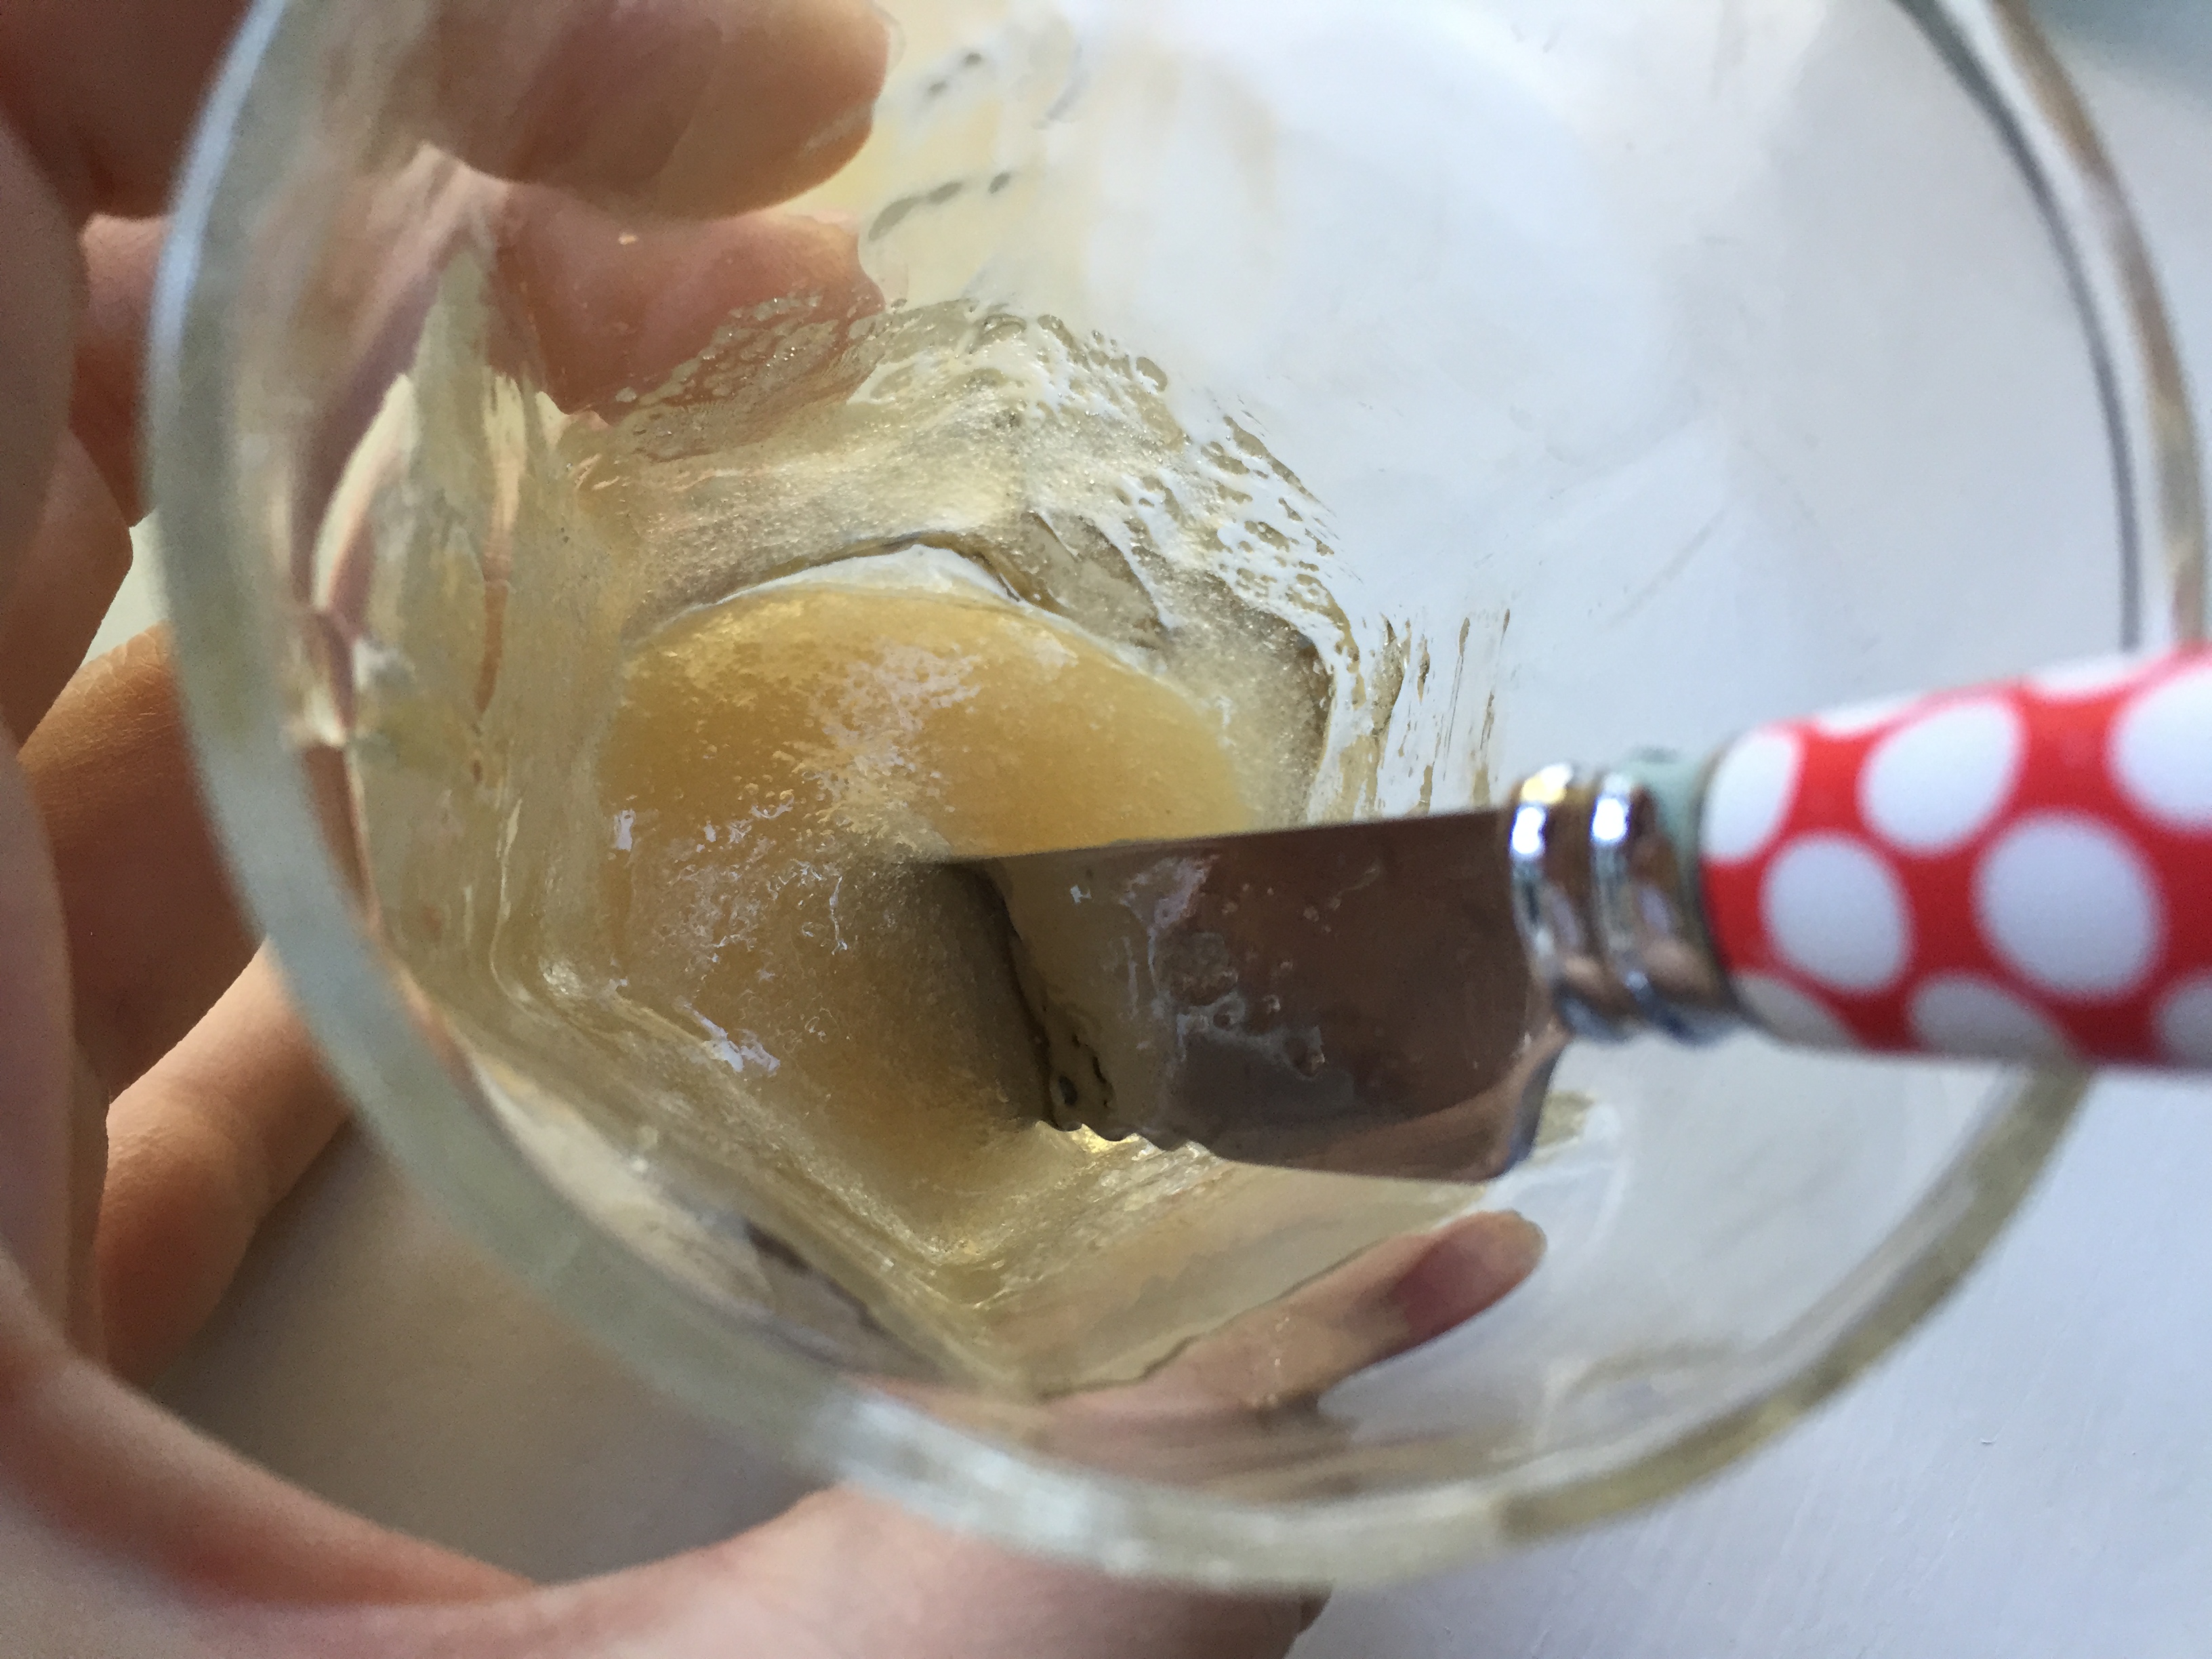
Mix it up, and you have yourself a lip scrub. Gently massage it on your lips to exfoliate for softness. Then, I like to apply my everything balm to keep my lips moisturized. If you haven’t made it, I recommend you do! If not, lip balm will suffice.
Do not store this lip scrub because the sugar will dissolve in the honey. If you have extra and the sugar has dissolved, don’t worry. I have used it as a face mask and hair mask.
For the face mask: Apply some of the honey sugar mixture onto face. Leave on for 3 minutes. Wash off with warm water.
For the hair mask: Apply some of the honey sugar mixture onto hair ends. Leave on for 1-3 minutes. Wash off with water, and then wash your hair as normal (shampoo, conditioner,etc.). Once your hair is dried, run your fingers through your hair with a little of the everything balm for optimal shine!
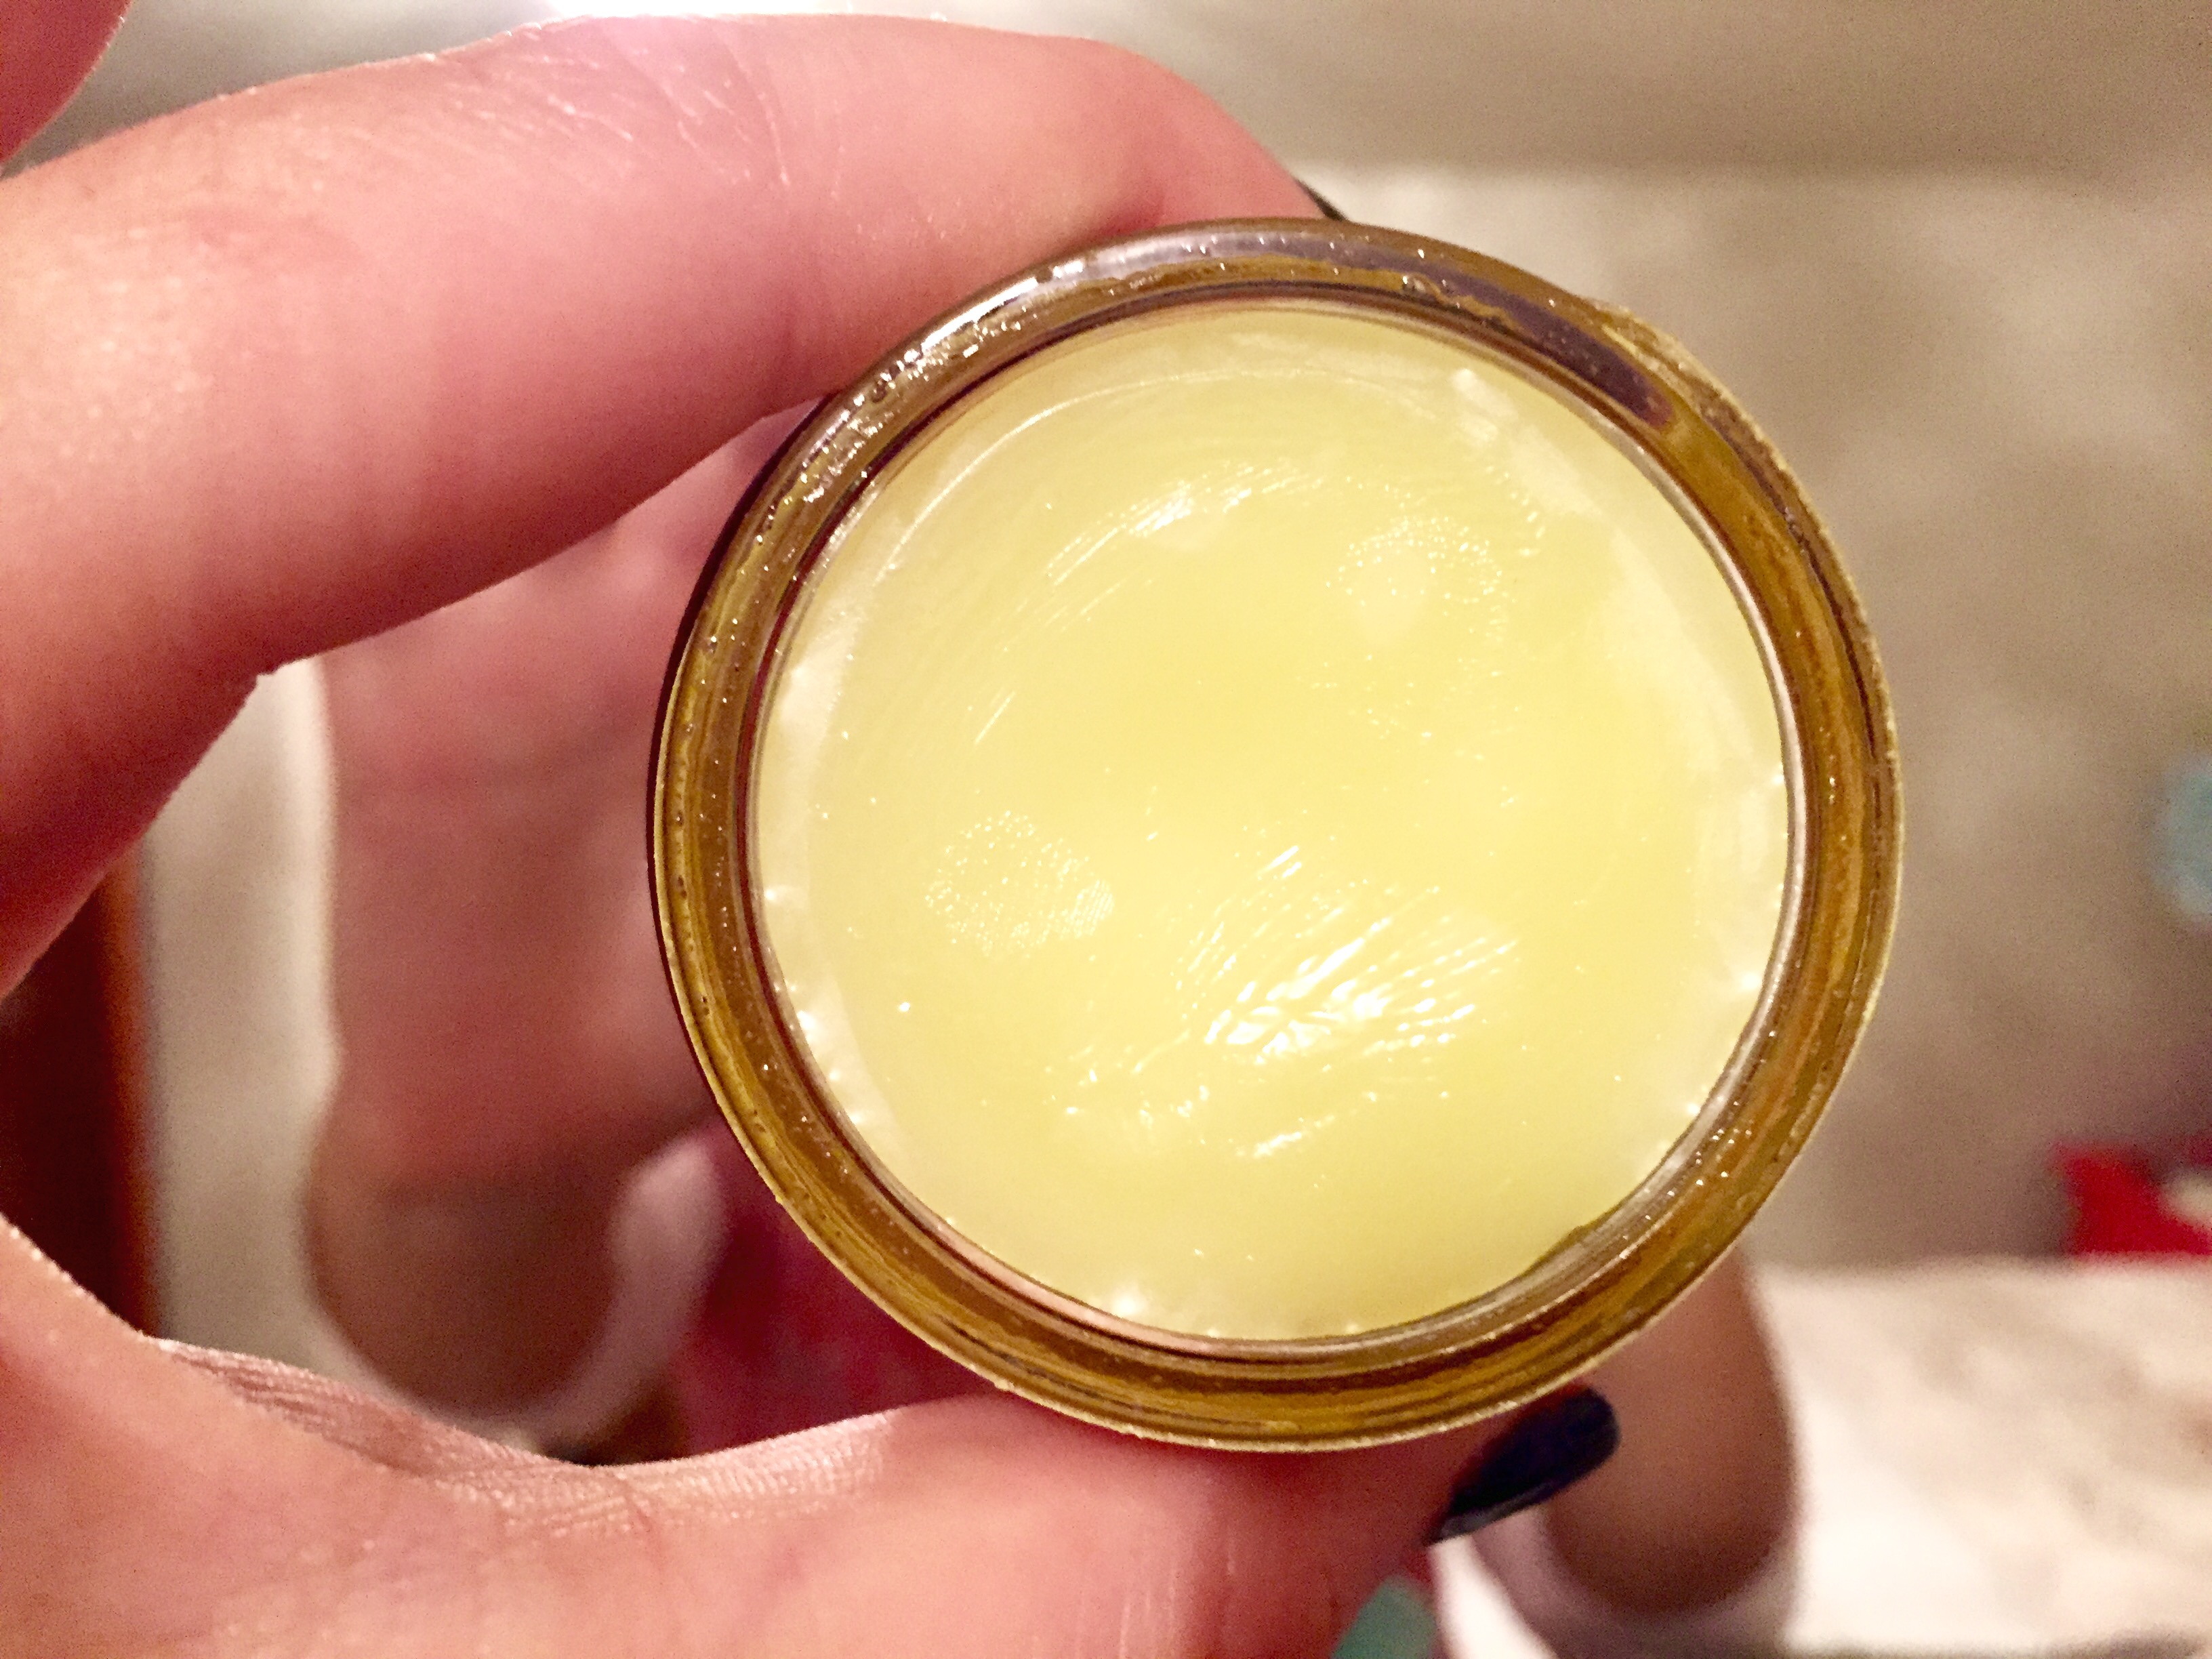
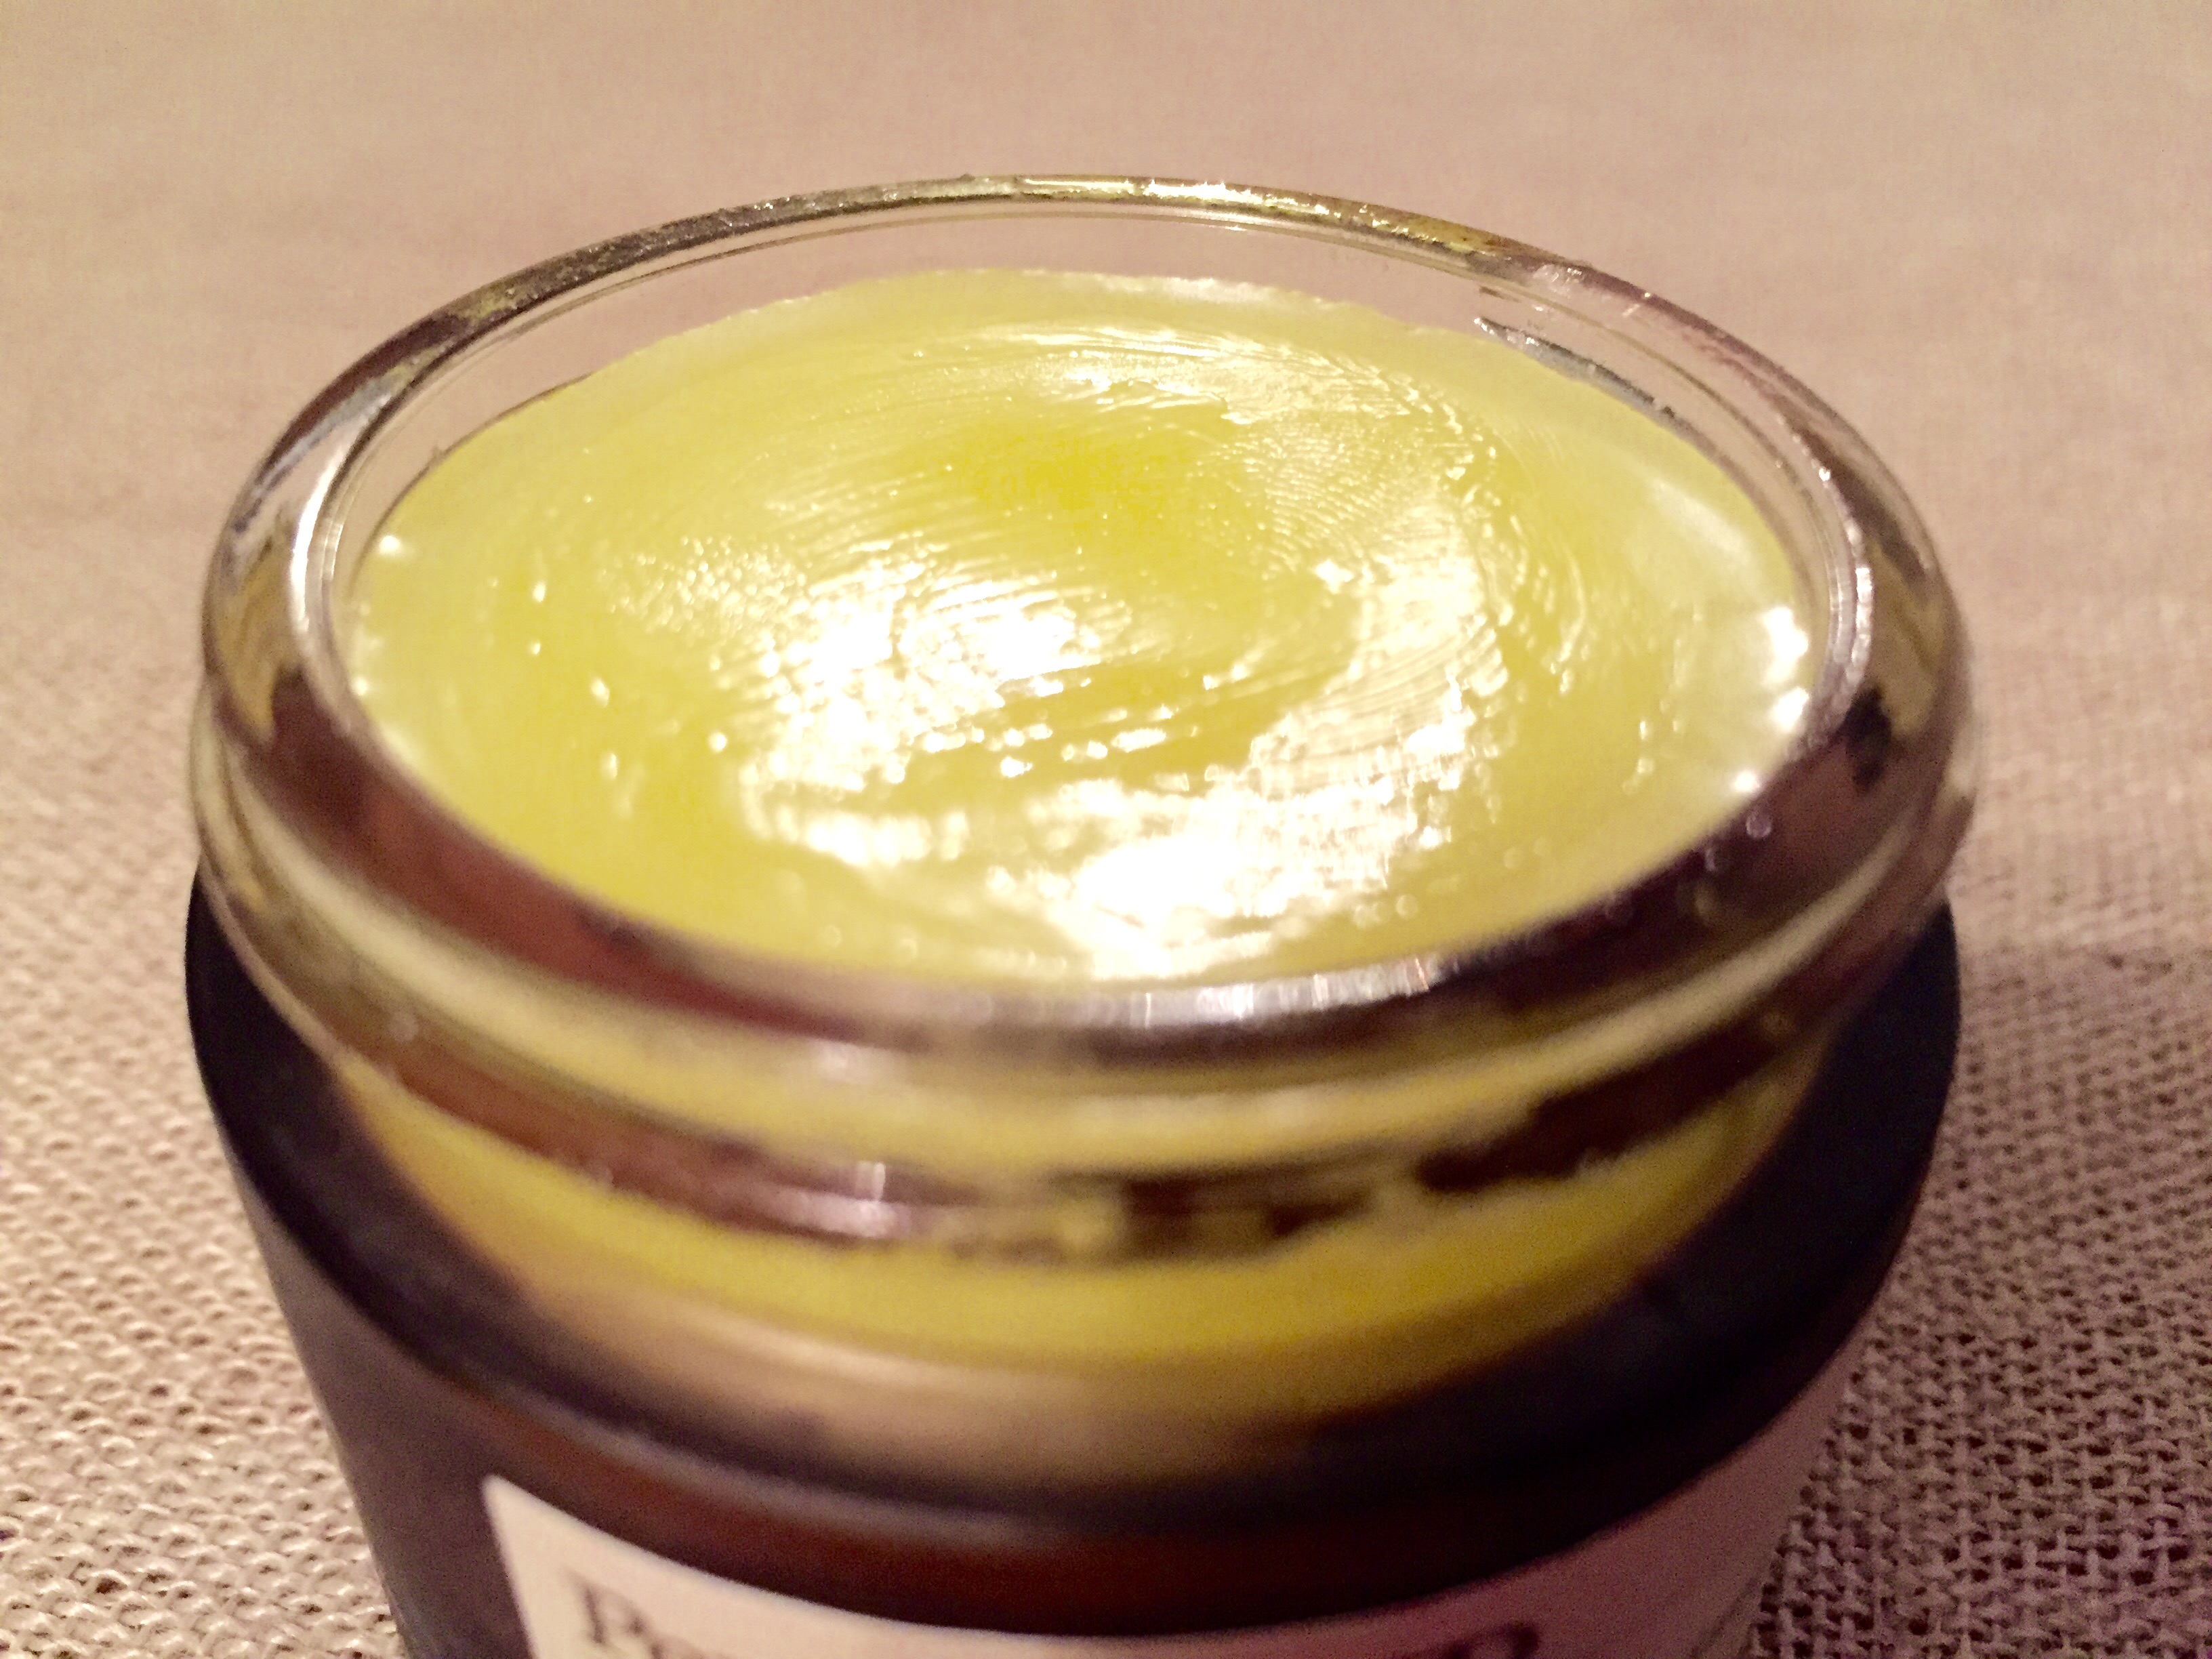
I’ve been on the hunt for a beauty product that will do just about everything – and I’ve made it. All you need is 4 ingredients for this amazing balm! It’s made out of olive oil, argan oil, coconut oil, and beeswax and can do so much more! If you don’t have any of the oils, simply replace it with another. Since this product does not contain water, it lasts a long time. Also, you can customize this balm anyway you want by just adding essential oils and playing around with the oils. Maybe replace an oil with rosehip oil to plump the skin, or add a few drops of lavender oil to help eczema.
These are the ways I use it:
A swipe on the lips for lip balm
Smooth on face for an instant moisturizer
Rub hands together and comb through your hair with fingers for shiny hair
Shower gel: spread on skin before shower for soft skin
Hand cream
I put the balm in a small jar, and carry it everywhere!