Ricotta cookies were the dessert of my childhood. Each First Day of School, my mom would make these for me, and I always remember coming home to the smell of sweet ricotta, lemon, and aromatic vanilla. But when I became dairy-free, that family cookie recipe was difficult to replicate. For all I knew, I would never be able to taste those special cookies again… Dramatic, I know – but they meant so much to me!
Category: Dessert
How to Marbleize Cookies
Despite the winter holidays passing, cookie decorating is a great skill to have for anytime of the year. My favorite technique is marbling them! It’s pretty, and wonderful for any occasion. Decorating cookies is a great skill to have because you can do it for anything, and it’s impressive! The marble technique is really easy, and elegant. My friend and I made and decorated cookies for a bake sale of the Make A Wish Foundation Club in our school. Together, we made Martha Stewart’s royal icing which is actually gluten free and vegan depending on the meringue powder you use. Everyone was so amazed by how beautiful they all were!
So, are you ready to marbleize some cookies?
Instructions:
Step 1: Separate a quarter of the icing, and dye it with food coloring. (In these pictures, we did not use natural food coloring. If you want to, I recommend these.)
Step 2: After making your icings, fill a bottle for each color you use, such as these.
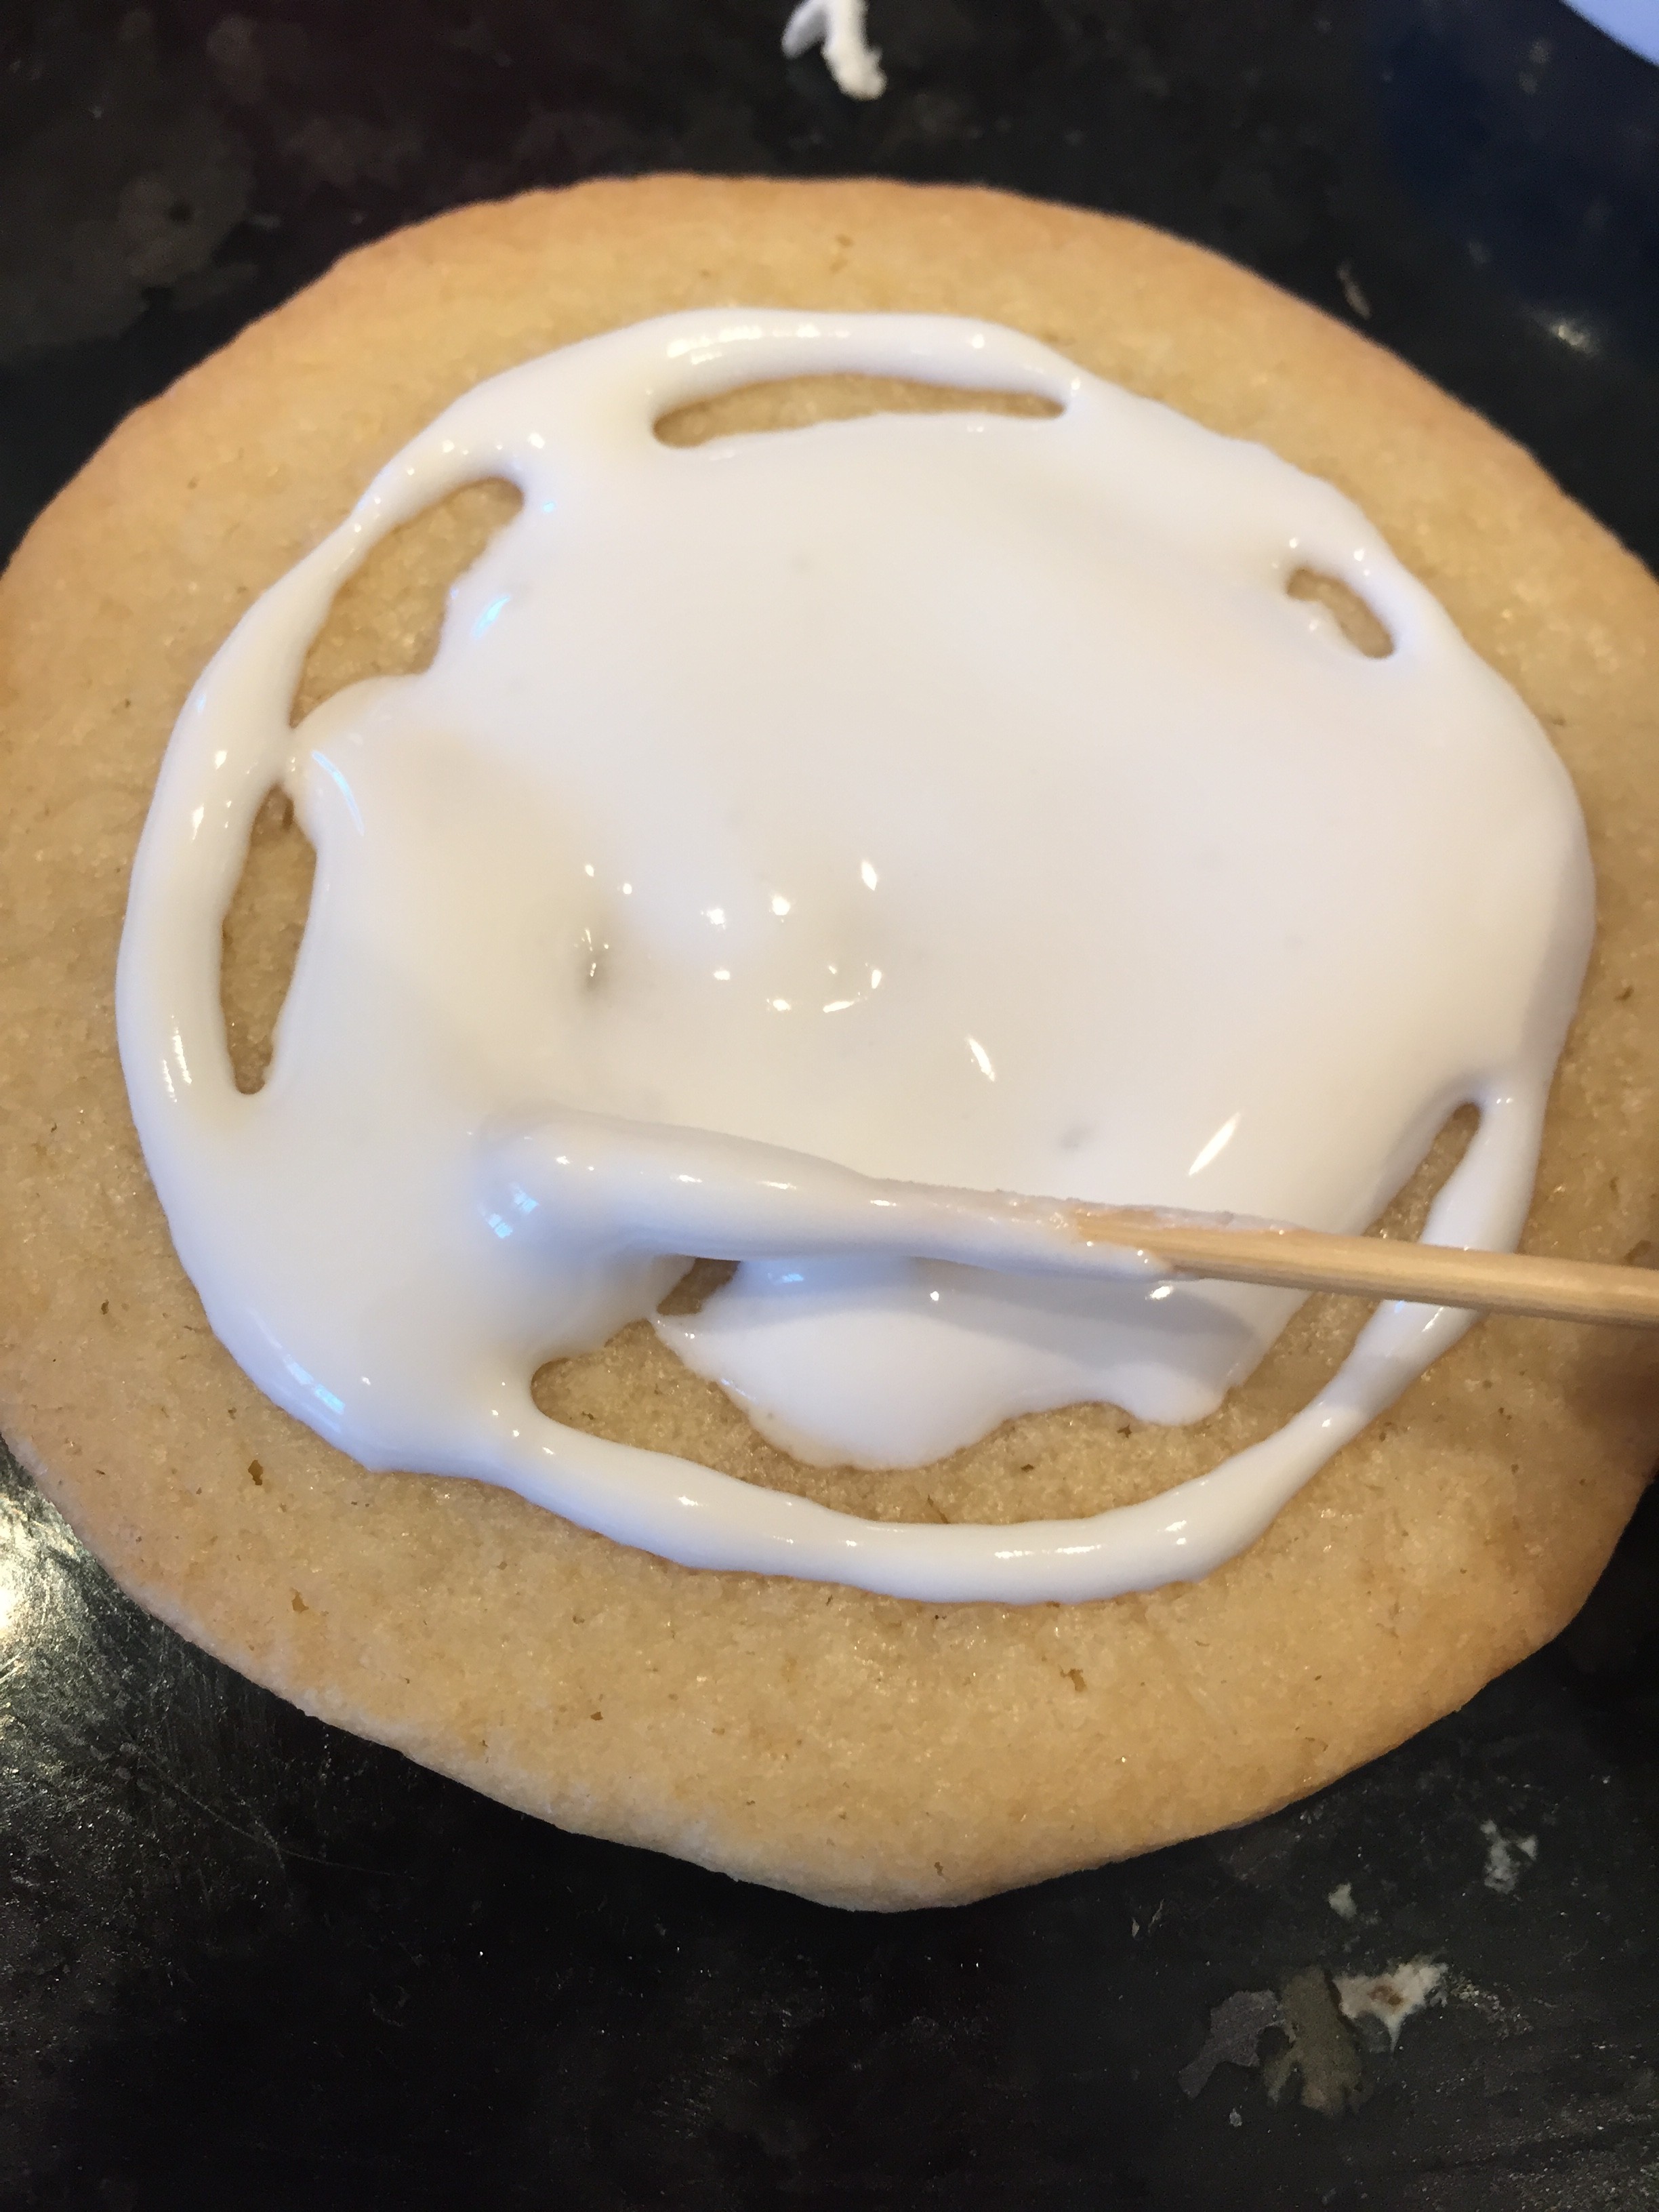
Step 3: Make a border with the non-dyed icing, and fill the inside in zig zag motions. Border the outside of the cookie slowly, and exerting even force throughout. Then, pipe zig zags with the icing within the border, leaving some spaces blank.
Step 4: Using a toothpick, even out the icing, covering the negative spaces. After smoothing it out as much as possible, gently tapping the cookie on the counter top to make the icing settle.
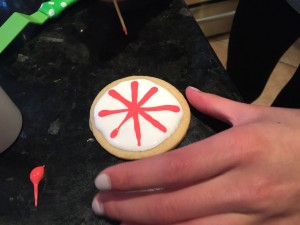
Step 4: Using the colored icing, pipe an asterisk onto the wet non-dyed icing.
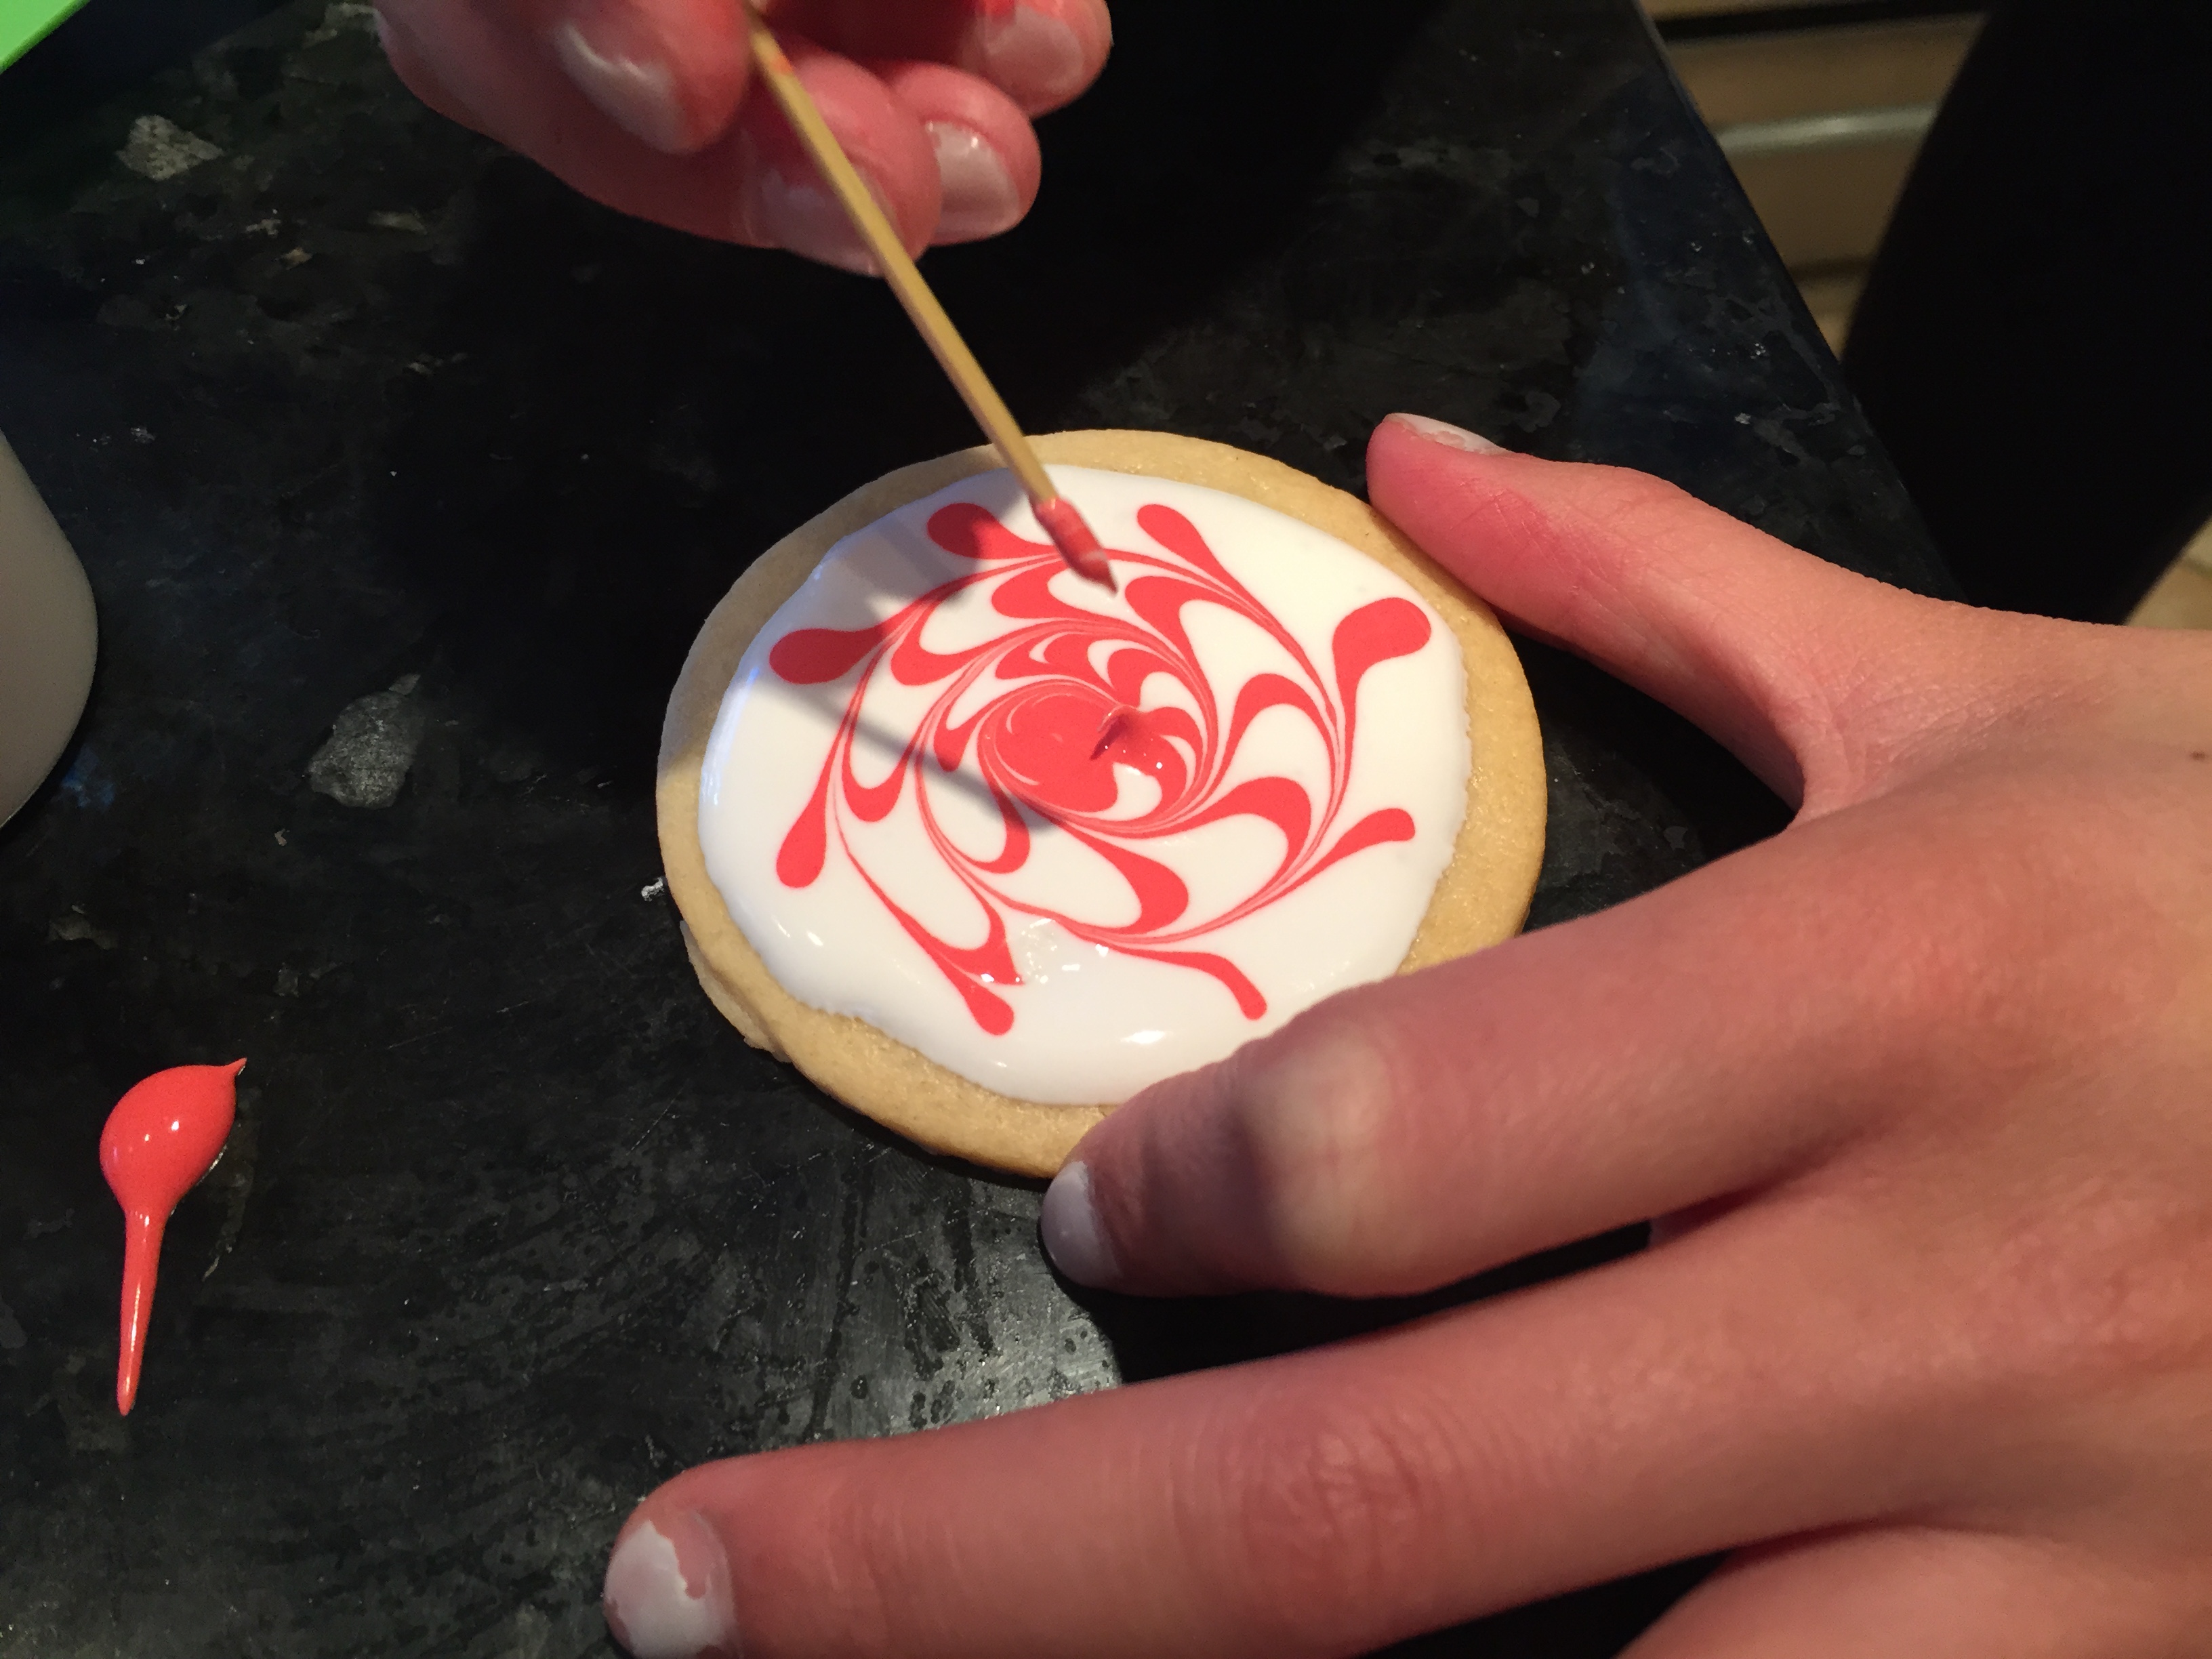
Step 5: Starting on a colored mark on the outside, use your toothpick, and slowly circle around the cookie, and into a spiral shape toward the center. This will create a marble look.
Step 6: Let the icing settle.
And there you have it – gorgeous, festive, and impressive marbleized cookies!
Home-Sweet-Home Cinnamon Loaf (GF + V)
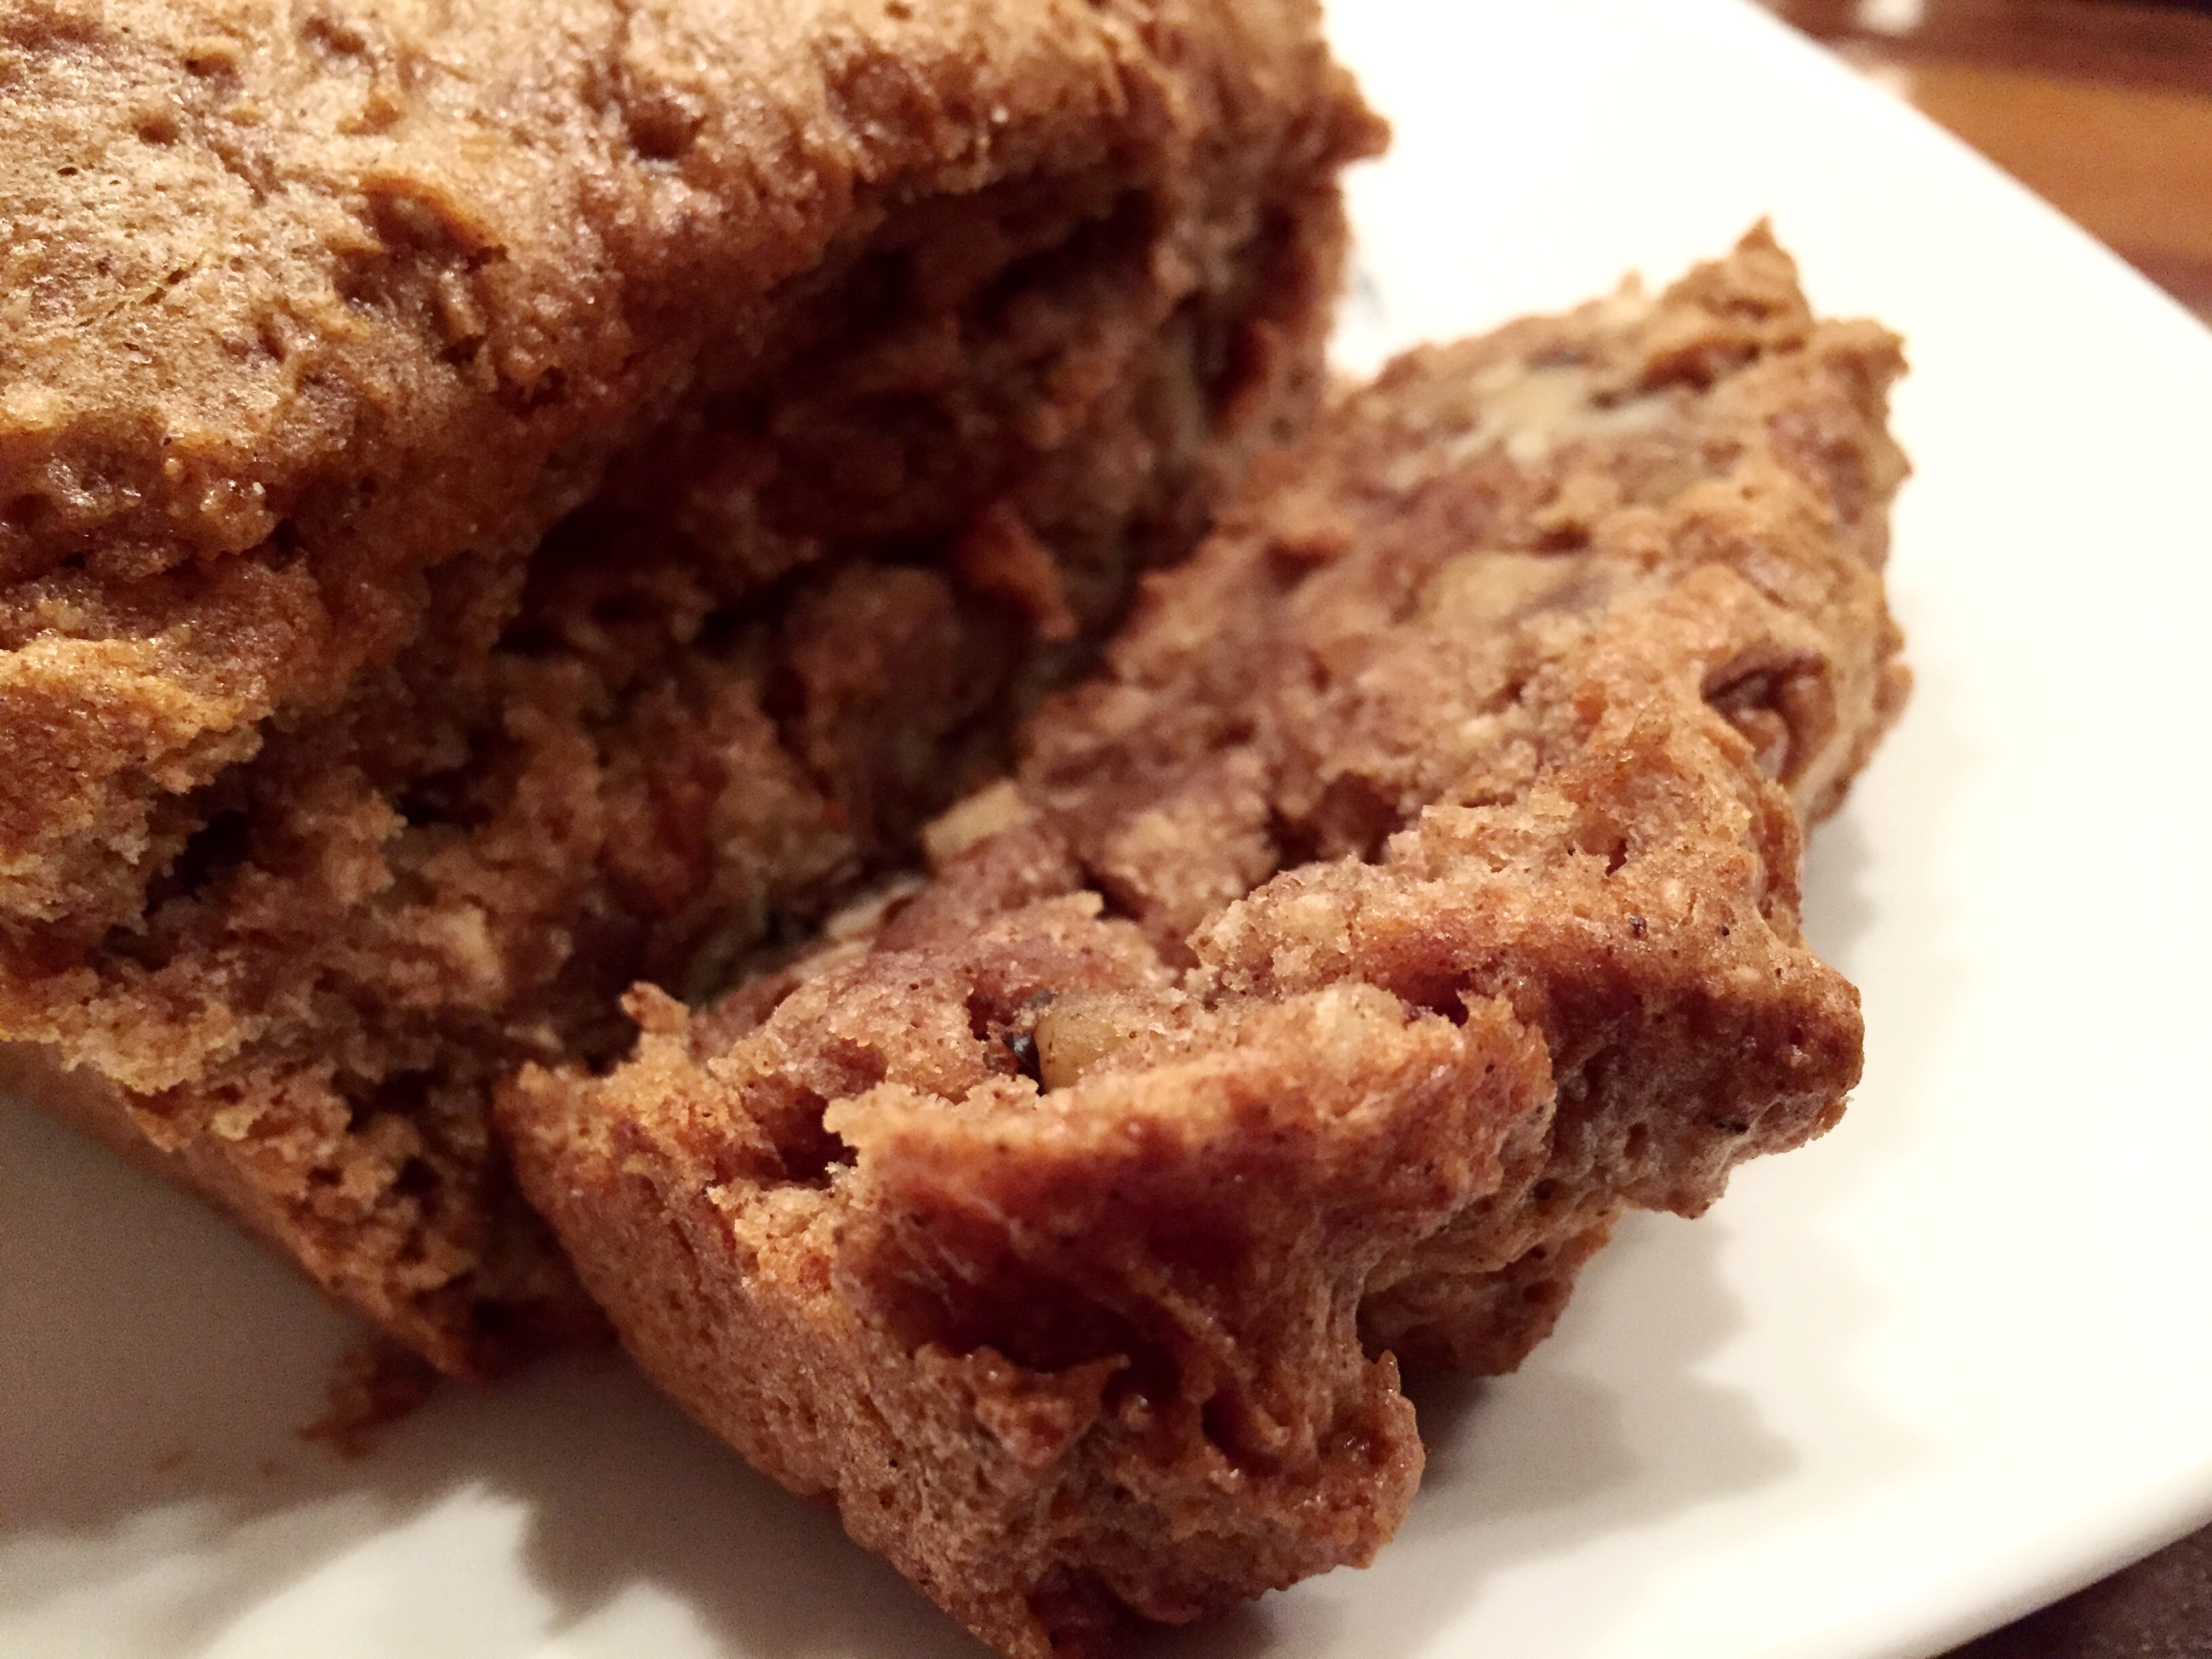
Cinnamon loaf is a great way to kick-start the holiday season. Easy, versatile, and quite delicious, gluten-free and vegan cinnamon loaf is at your disposal. I was inspired to create a loaf that was hearty and included all elements of cold weather flavors.
- cinnamon
- nutmeg
- brown sugar
- pumpkin
To my surprise, it turned out amazing. You can have a slice for breakfast (with almond butter and gluten-free oats), snack, or dessert (with melted chocolate).
Peanut Butter Cup Eyes (GF + V)
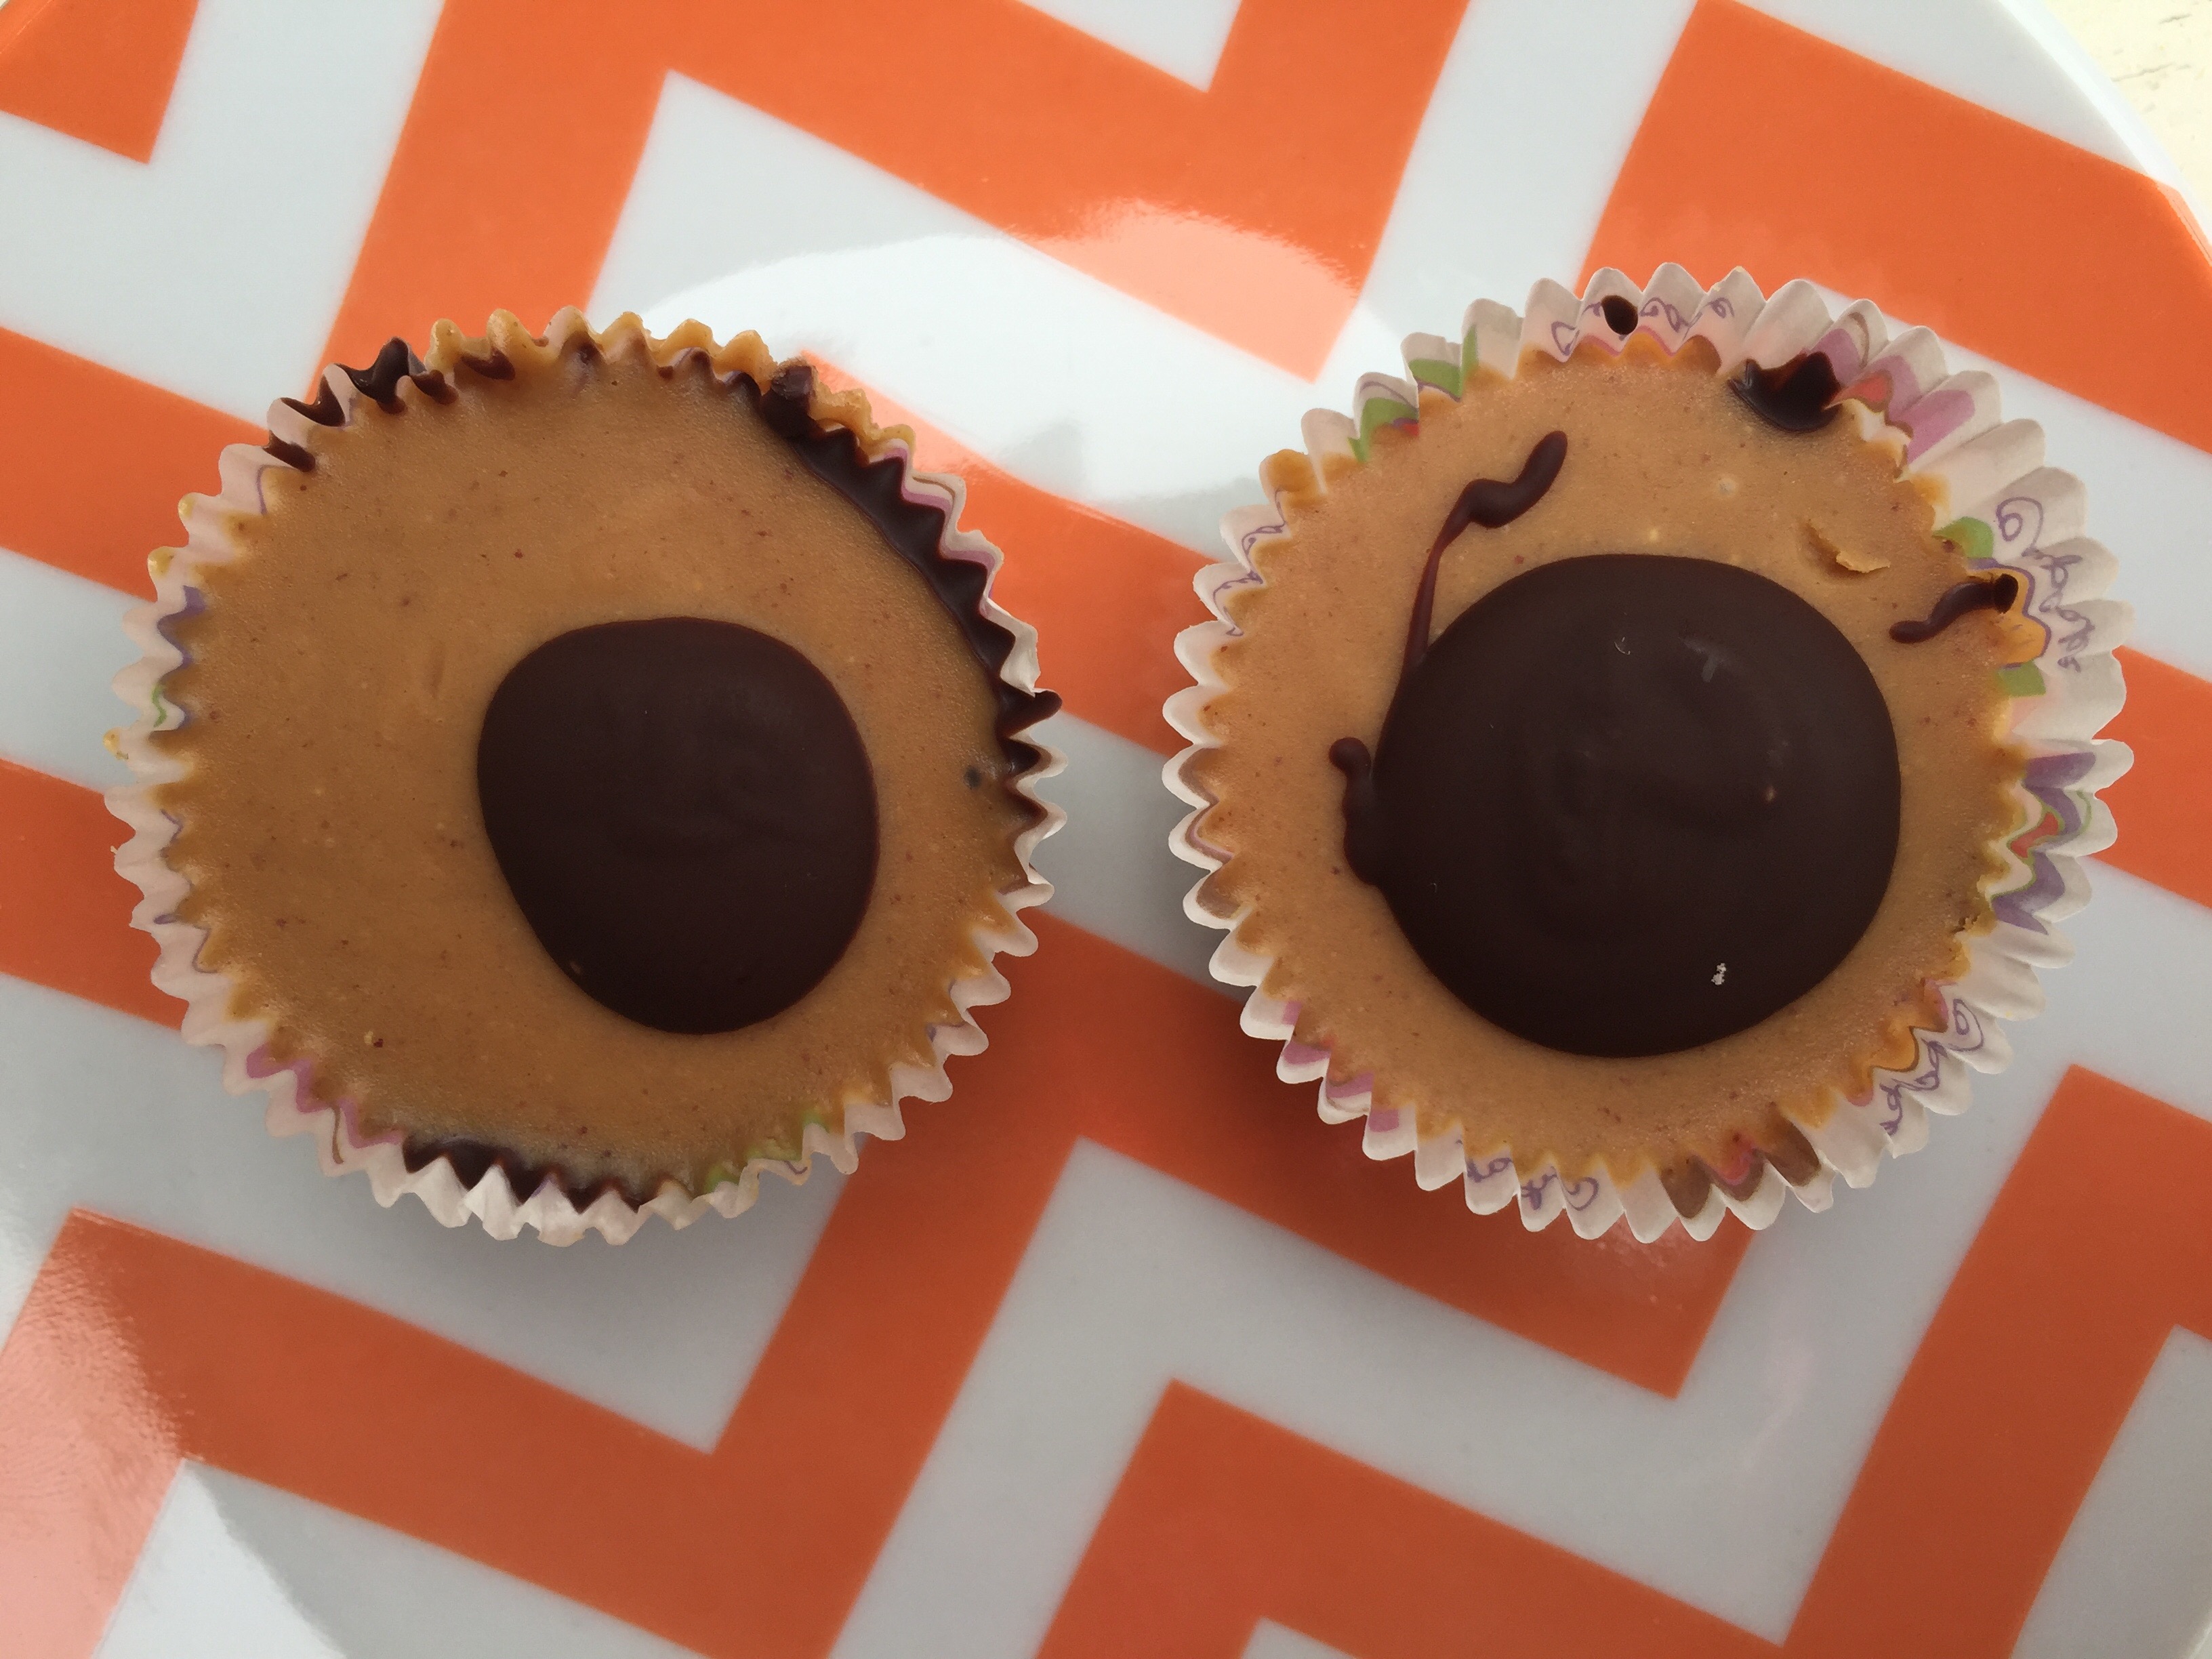
For those people yesterday like me, who ate no candy due to dairy and gluten intolerances, have a chance to catch up today with these awesome peanut butter cup eyes! They were an experiment of mine that finally have been perfected. The secret – two types of peanut butters – roasted and raw. The roasted flavor enhances the chocolate, and the raw peanut flavor paired with the coconut oil and maple syrup, add delicacy. Did I forget to mention that these peanut butter cups only have 4 ingredients? It’s that simple.
Kitchen Sink Chocolate Cookies Autumn Style (GF + V)
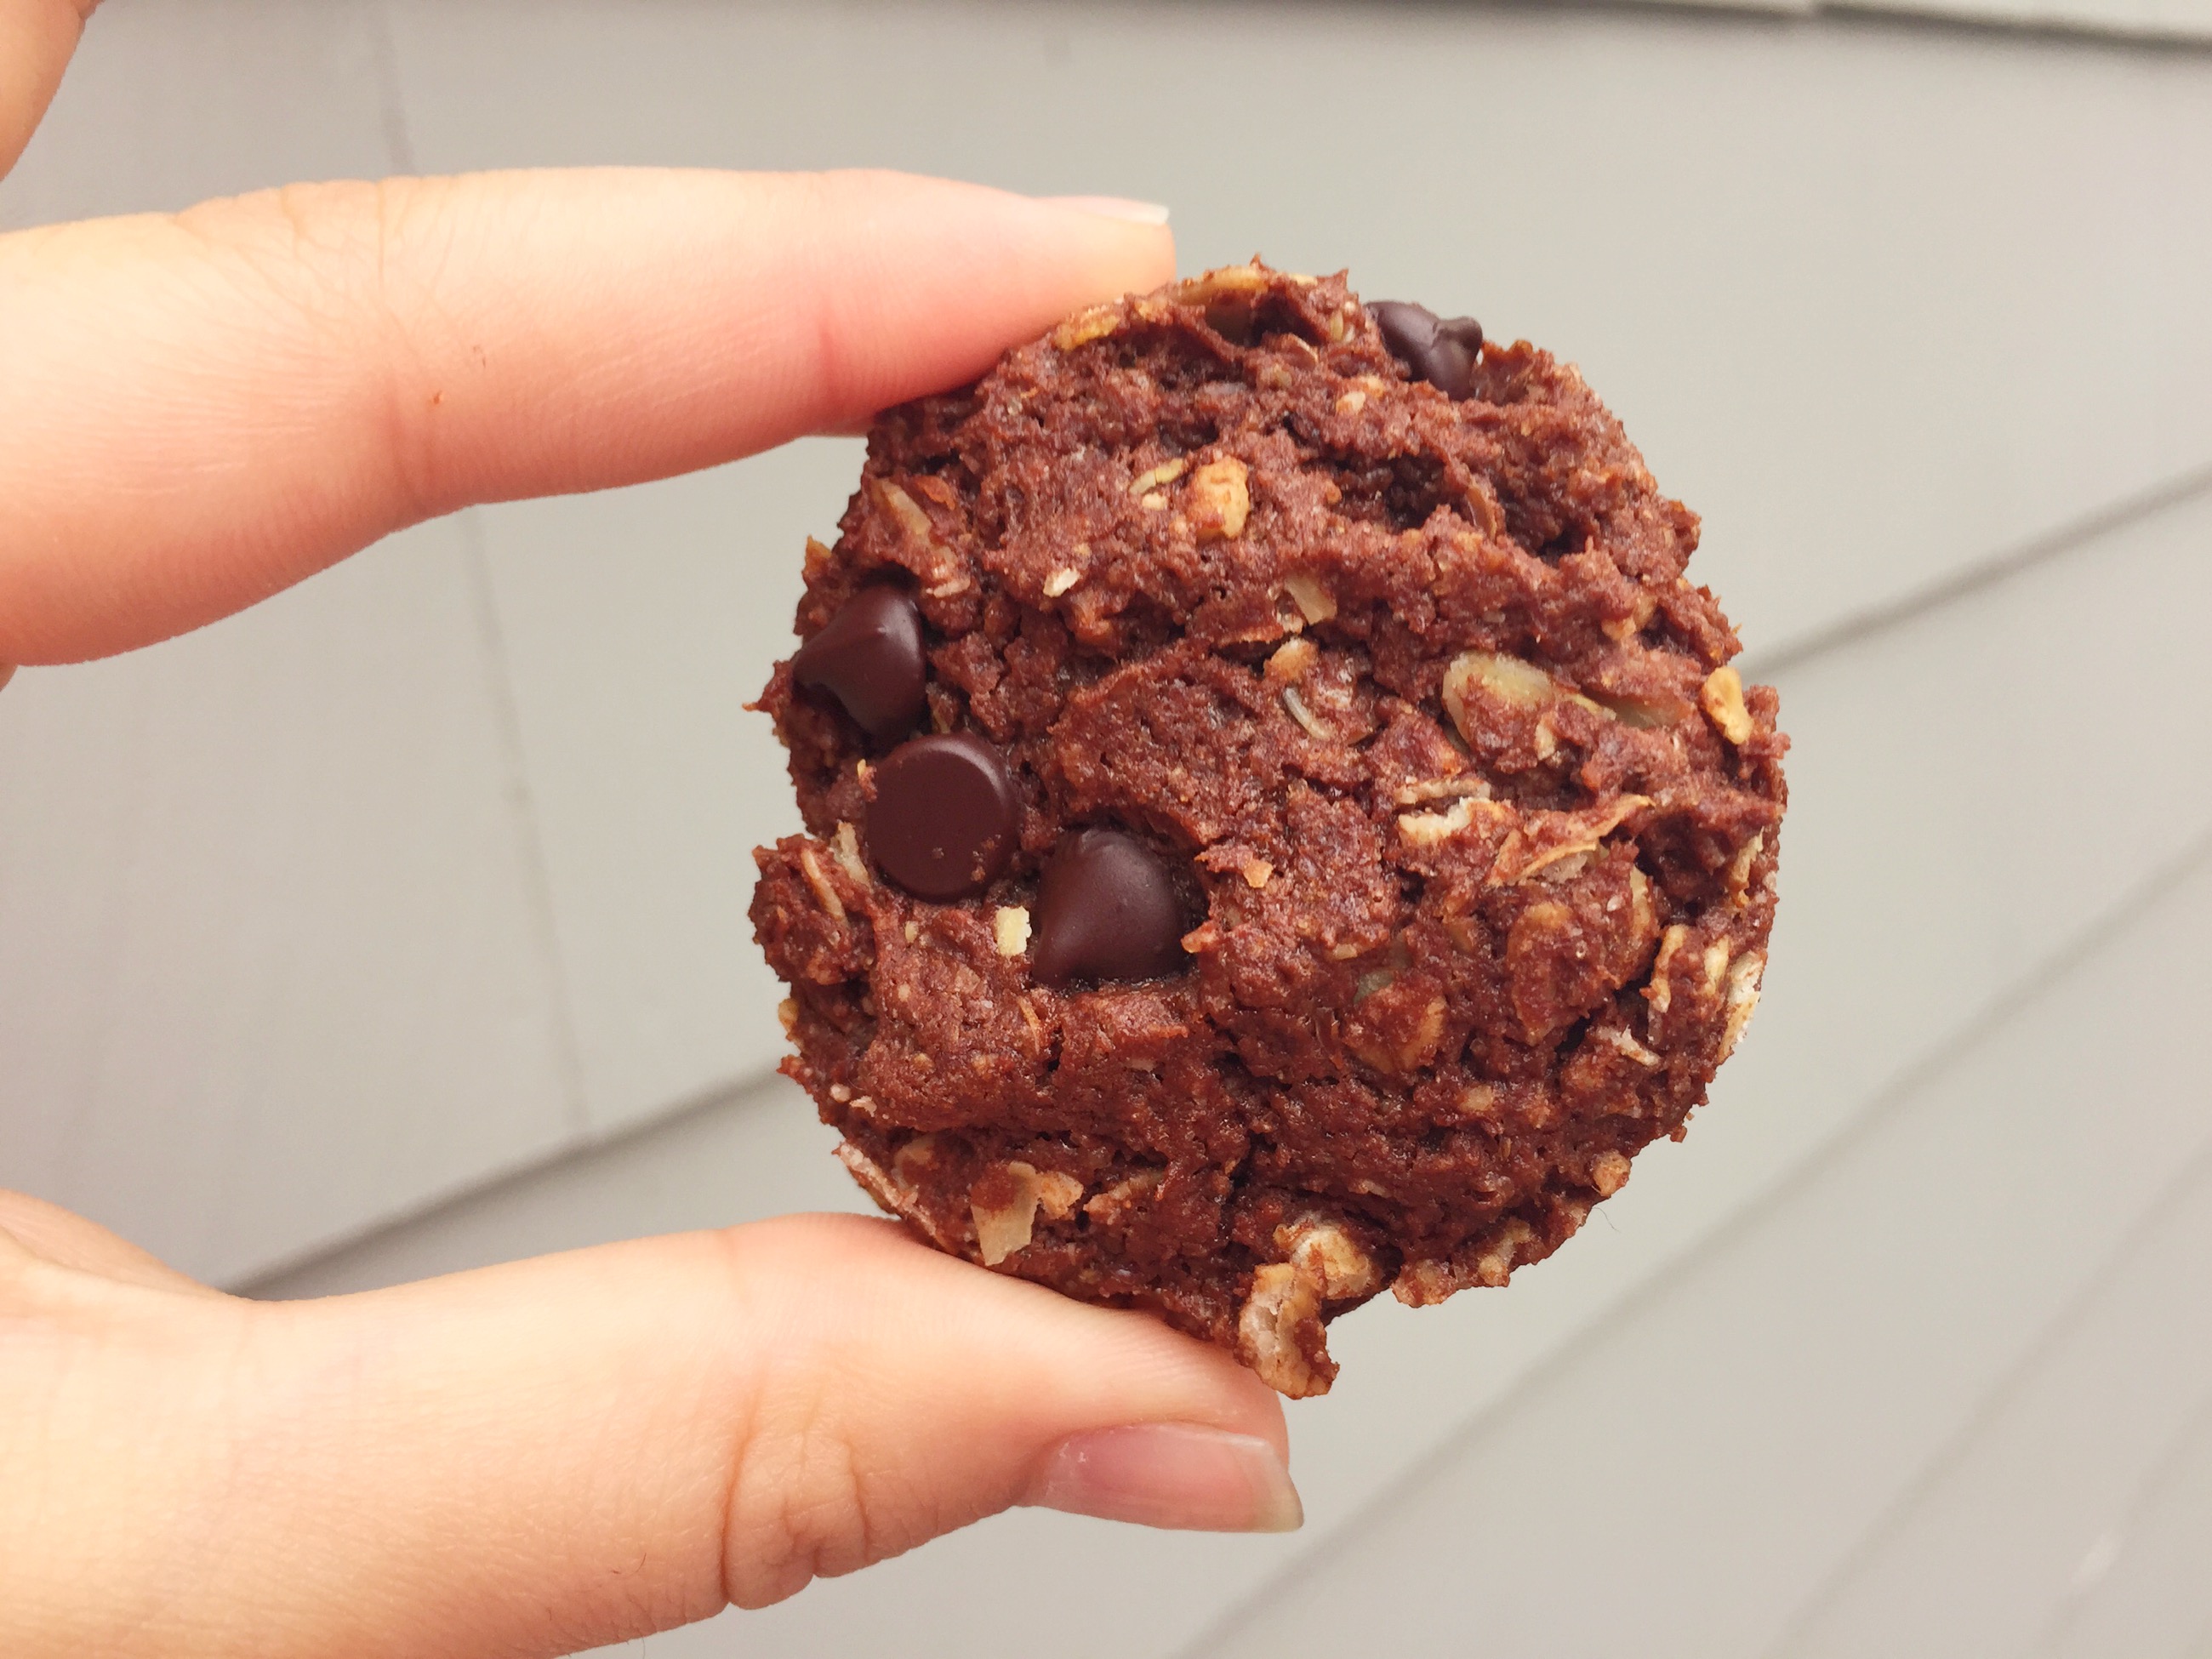
I am a fan of chocolate, pumpkin, and oats, so why not combine them in a cookie? My kitchen sink cookies are all of the things that make up Autumn.
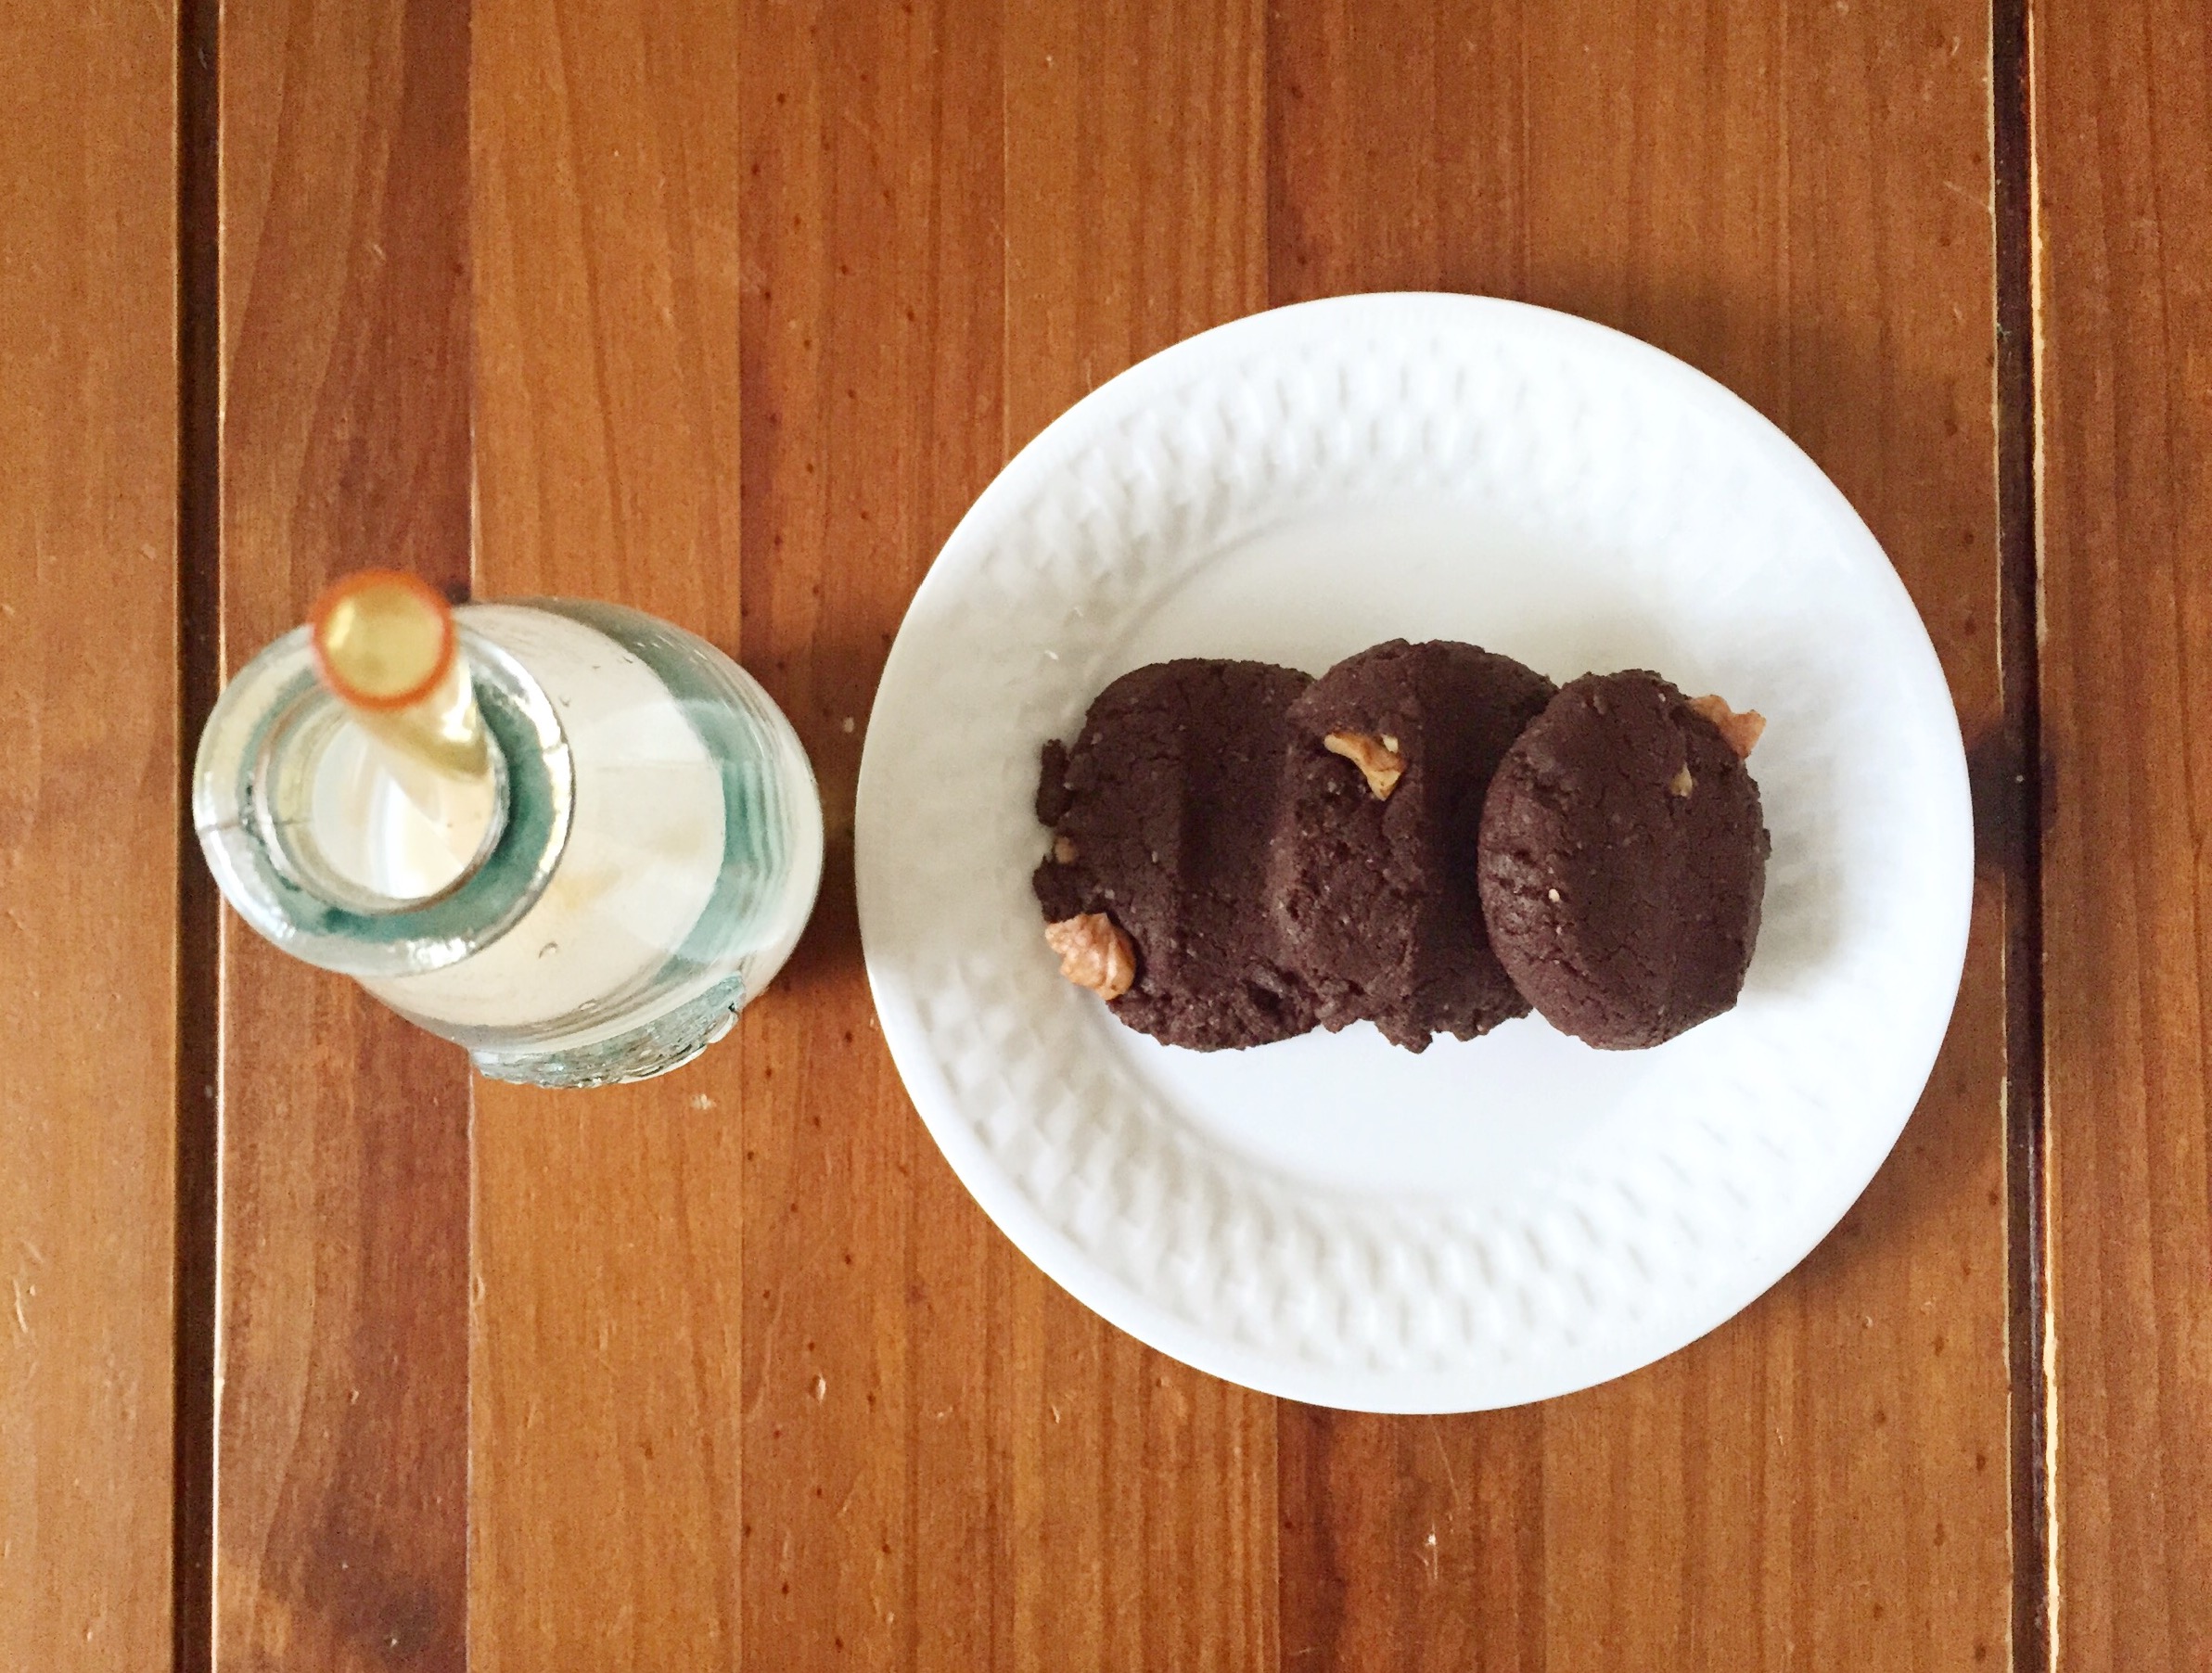
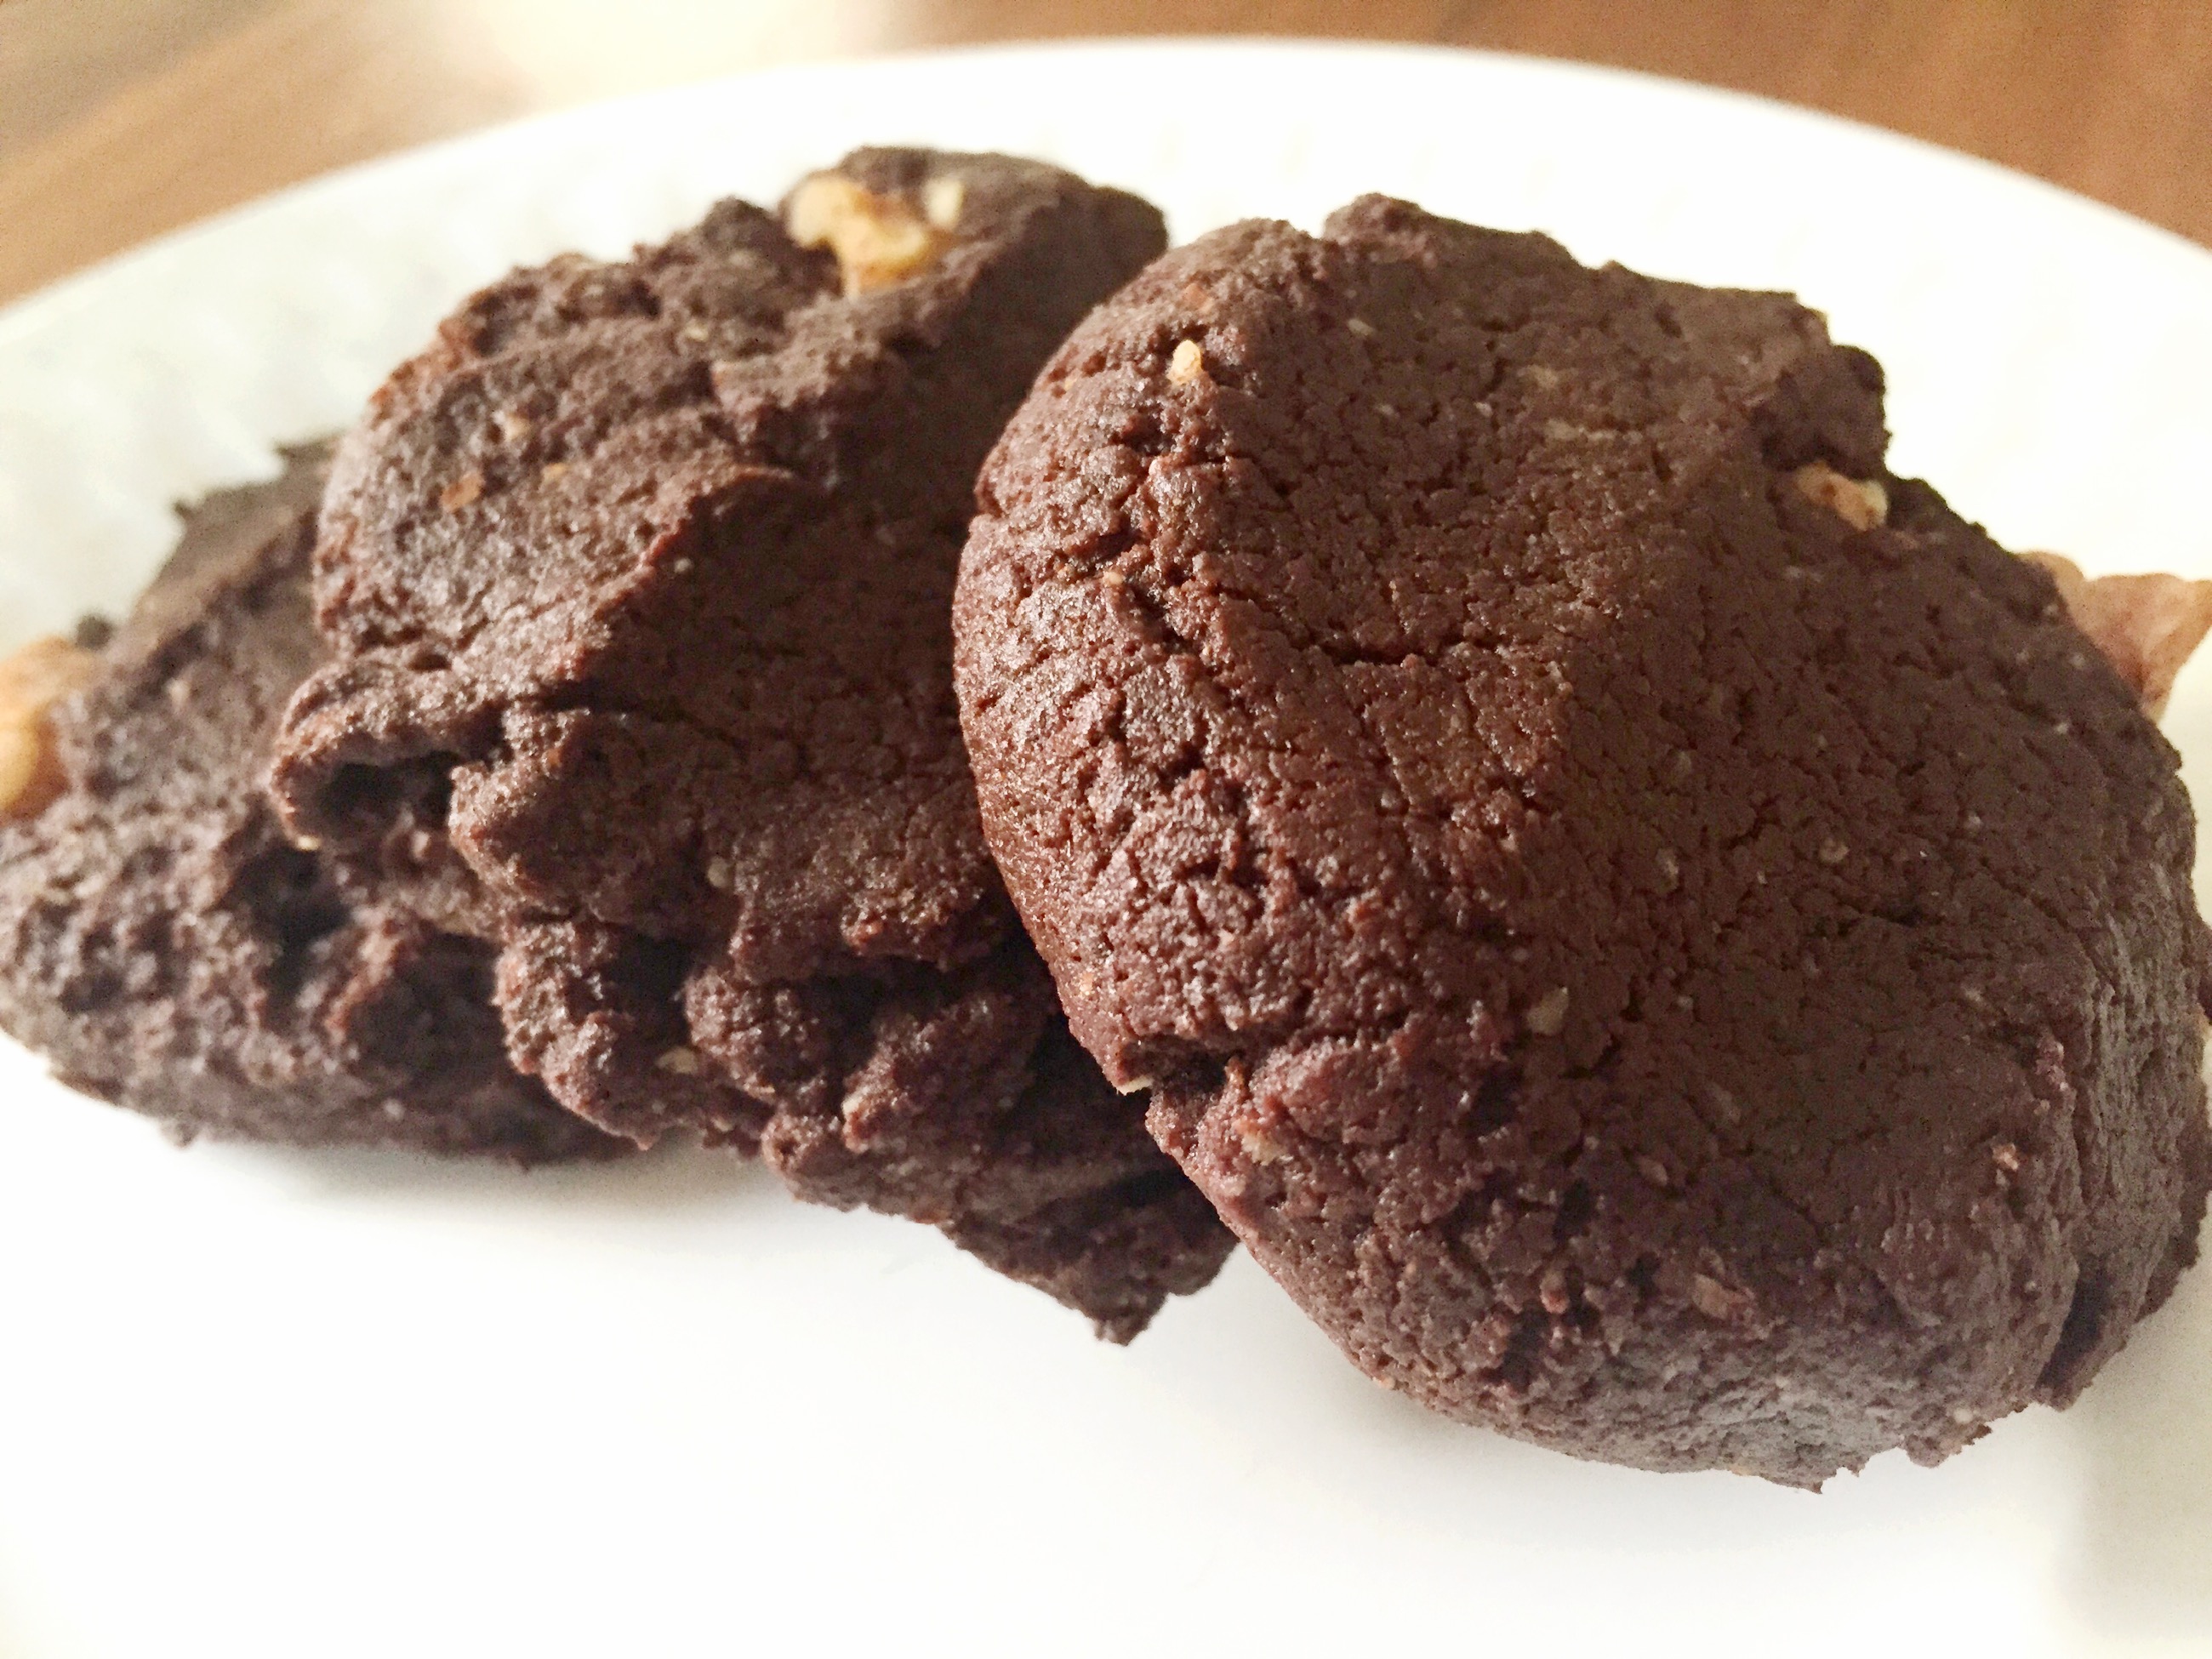
Dark Chocolate Walnut Cookies with Homemade Almond Milk (GF + DF)
The weather outside is getting colder, and what does this mean? More chocolate. These cookies are perfect for just that – days that are not too hot, but not too cold.
Chocolatey, rich, deep, and slightly nutty (with an option of spice too) are a a wonderful combination for a delicious cookie. Dunk it in homemade almond milk (or even Nutella milk), and you’ve got yourself a comfort-food snack.
I have tried these cookies several times, and in different ways. I loved the taste of adding a dash of red pepper to the cookie batter, because it just boosted the chocolate flavor even more. Also, for those who like their cookies on the softer side, try baking these cookies for around 10-12 minutes. They are made with flours that are usually handy in a gluten free kitchen. If not, just replace the rice flours with a gluten free flour blend.
Enjoy!
- ¾ cup brown rice flour
- ½ cup white rice flour
- ¼ cup almond flour
- ½ cup cocoa flour
- ¾ cup granulated sugar
- ½ cup canola oil
- 2 eggs
- 1 tsp baking soda
- ½ tsp salt
- ½ tsp cinnamon
- 2 tsp vanilla extract
- ½ cup chopped walnuts
- 10 oz melted dark chocolate*
- optional
- a dash of red pepper
- Preheat oven to 350 degrees f.
- Melt chocolate at 30 second intervals for 2 minutes 30 seconds.
- Mix eggs, sugar, oil, and vanilla extract. Then slowly add in melted chocolate.
- Add flour, baking soda, salt, and cinnamon.
- Fold in walnuts.
- Scoop out batter with cookie scooper and place on parchment paper 2" apart. Lightly press down.
- Bake for 14-16 minutes.
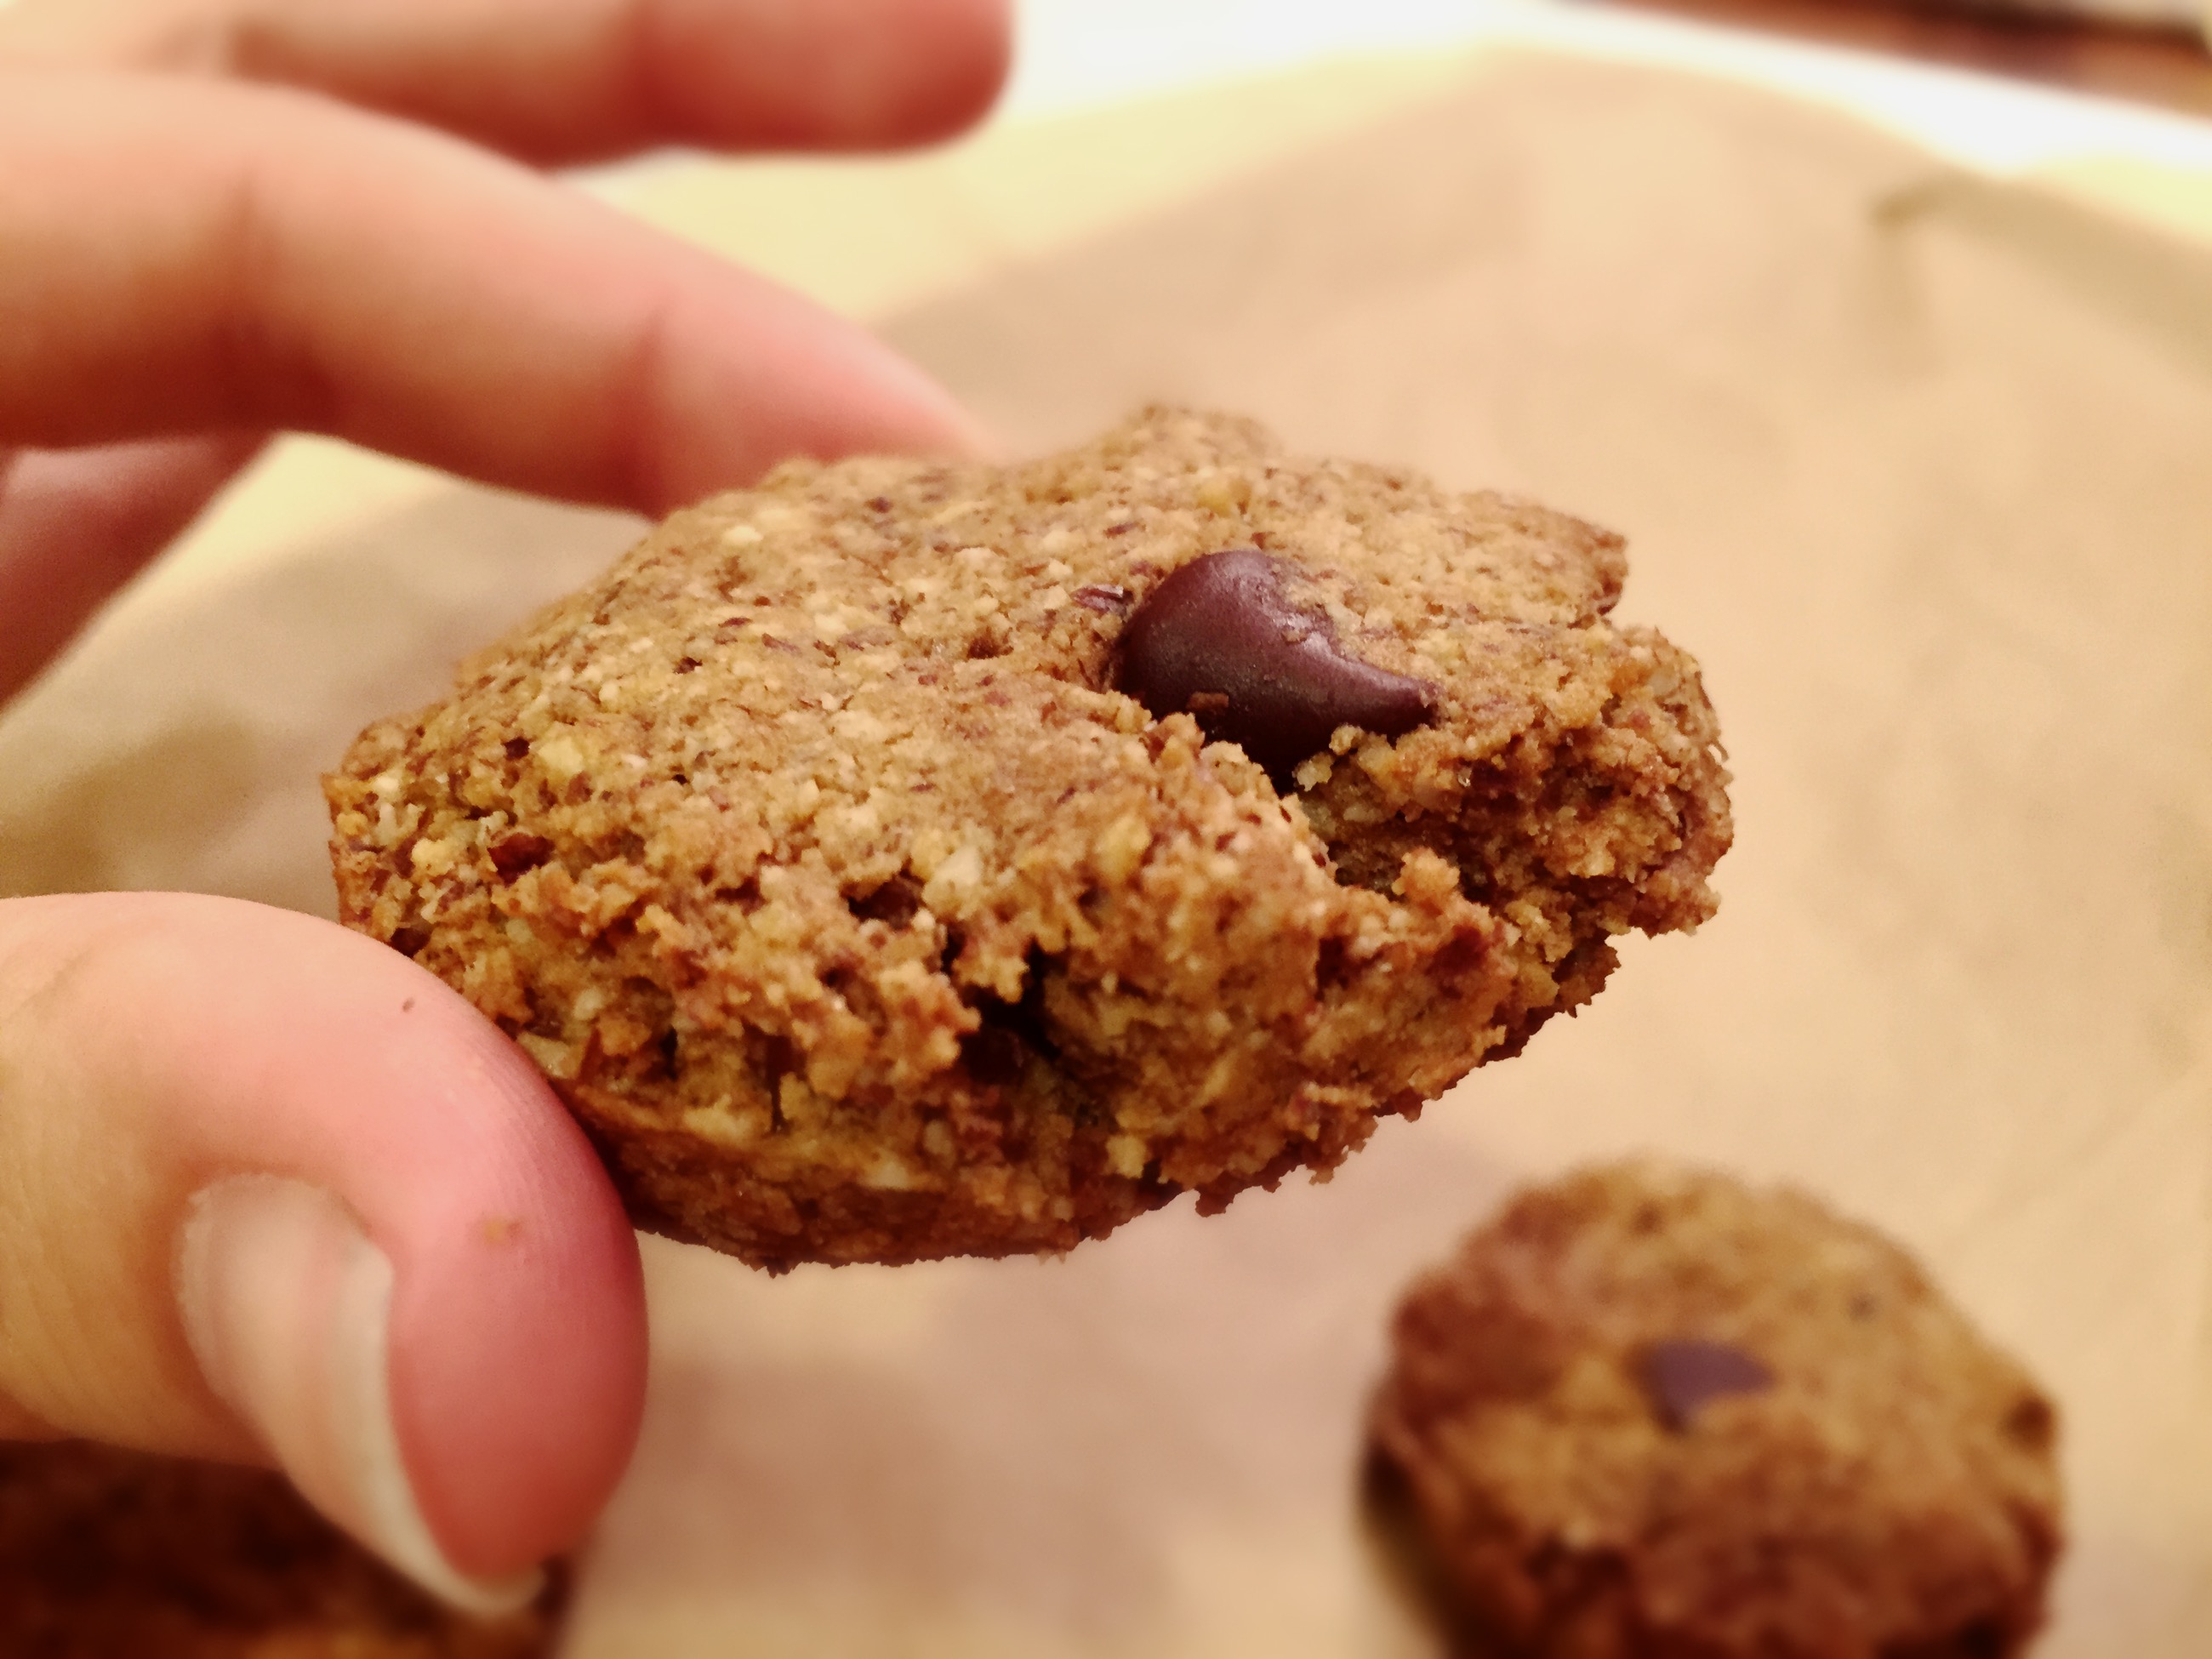
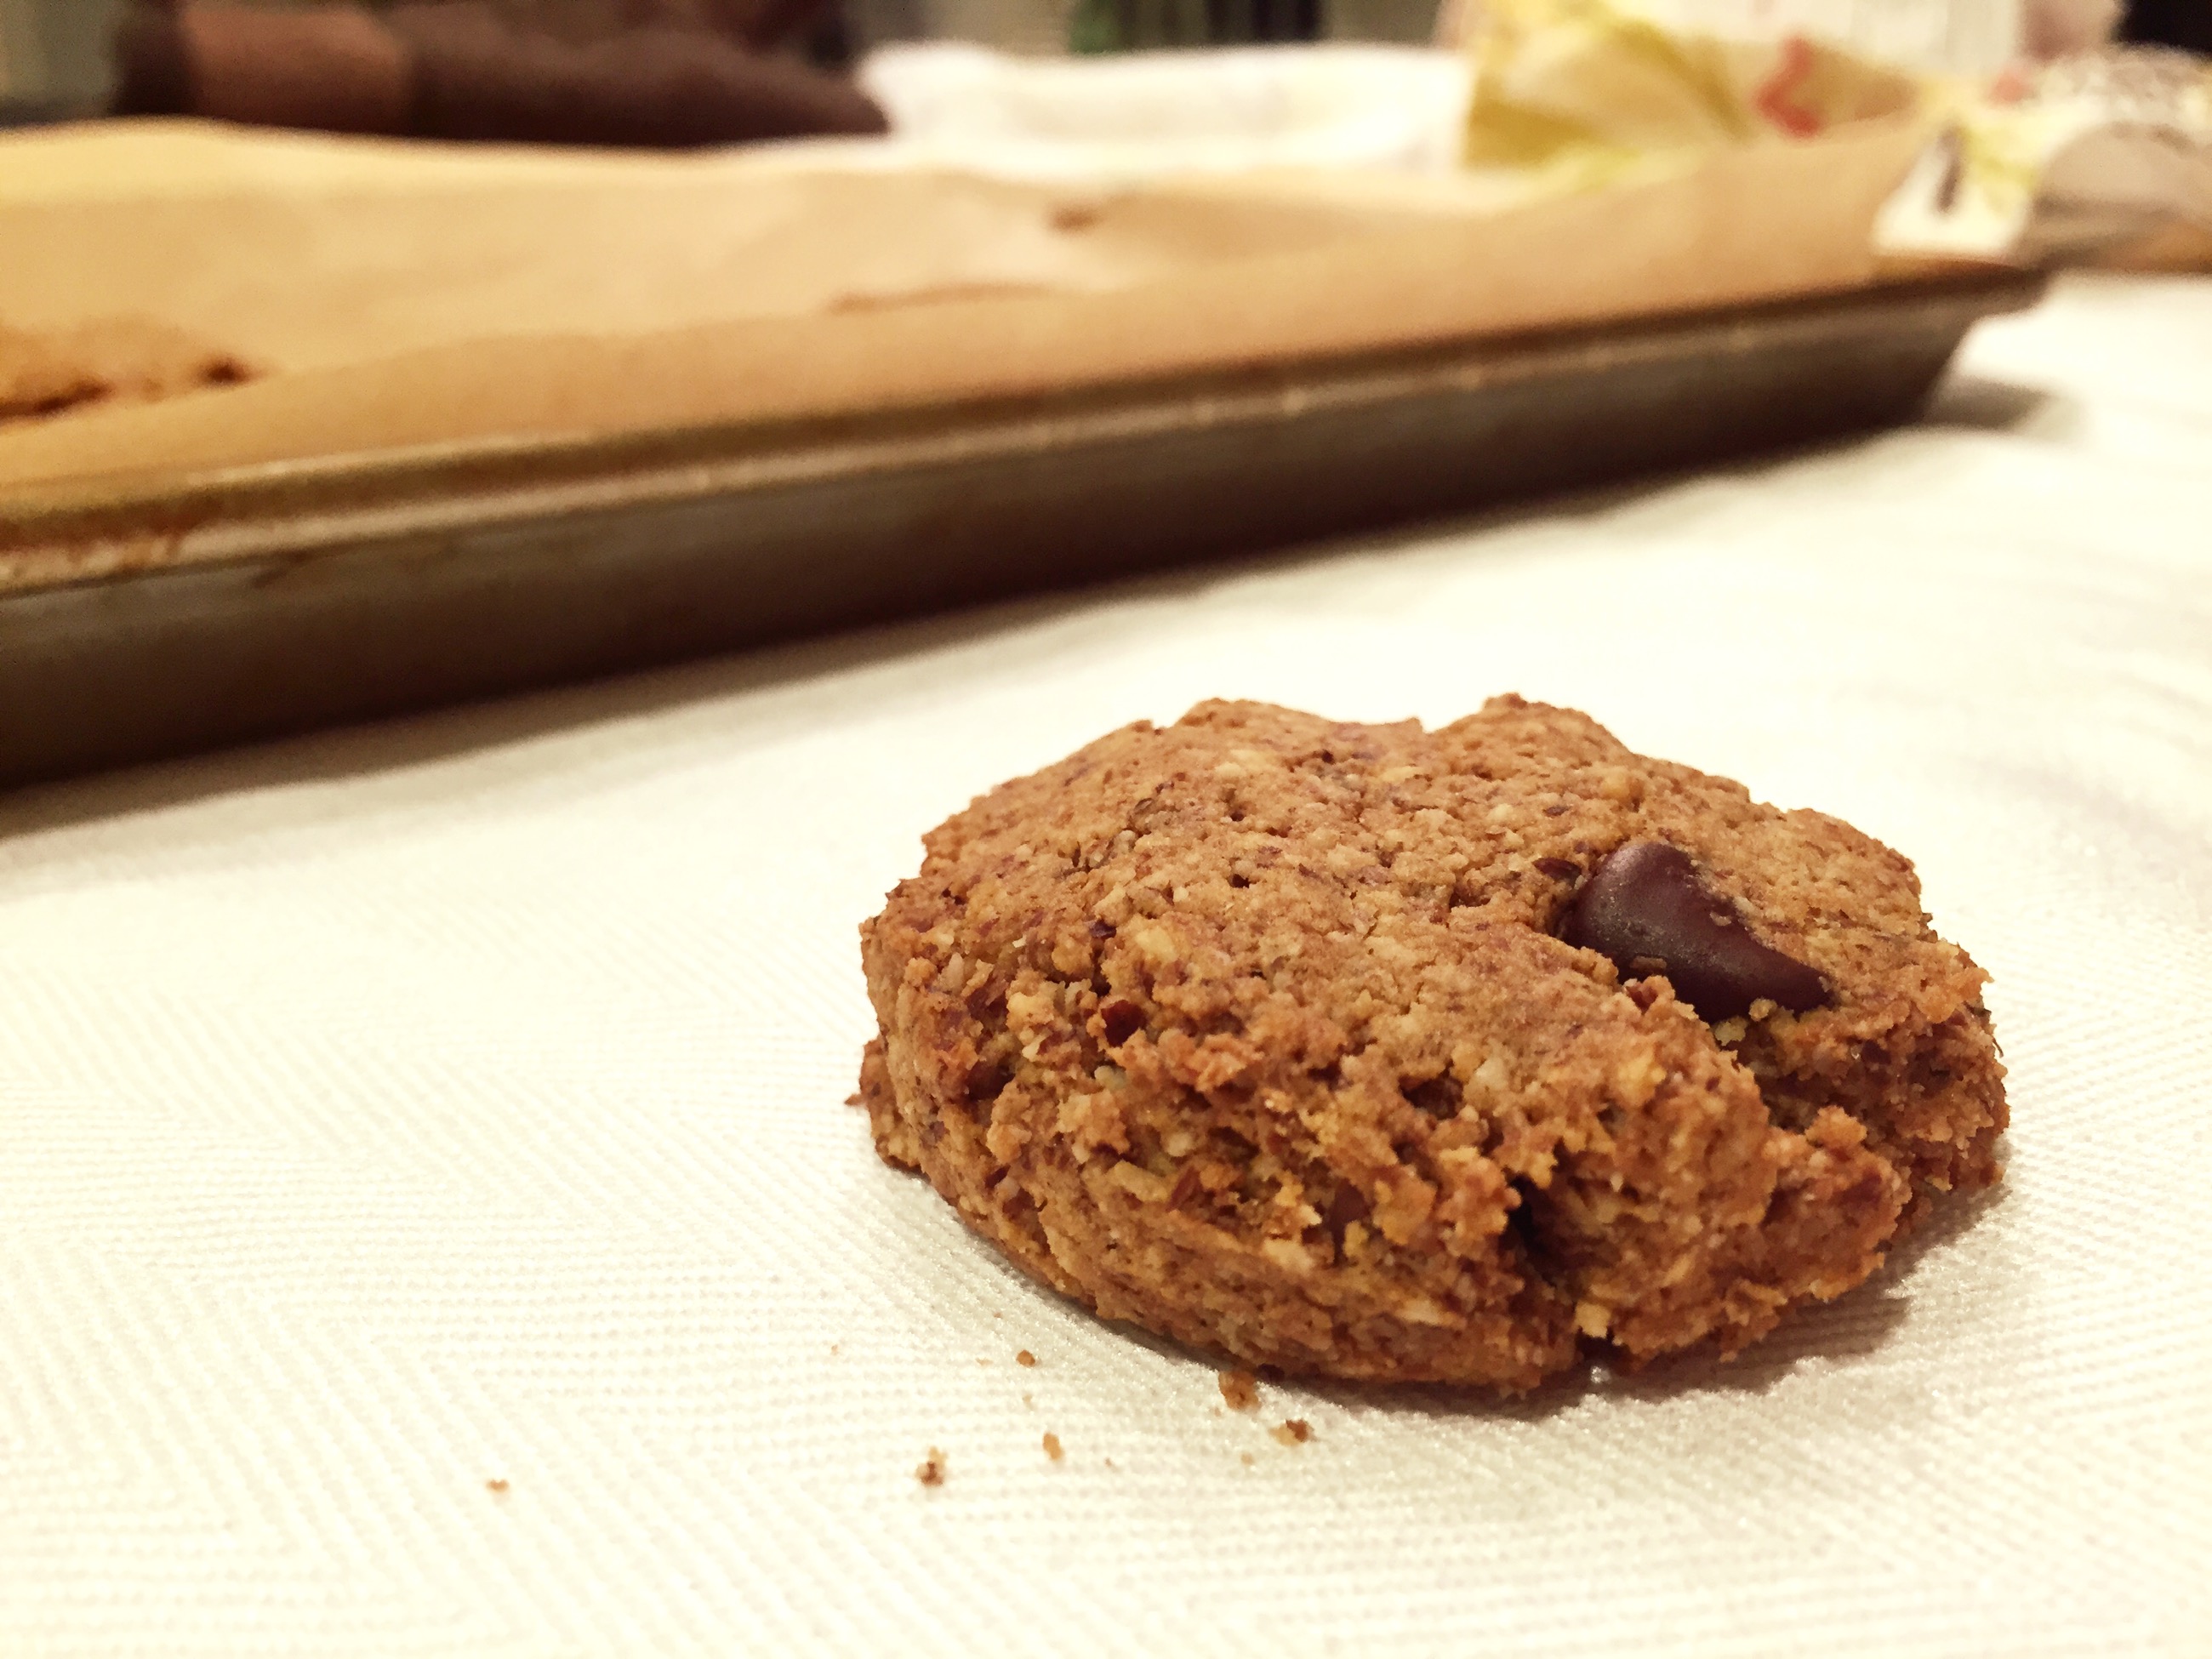
Chocolate Chip Cookies (GF, DF + Paleo-friendly)
One of my friends kindly made me some gluten free dairy free chocolate chip cookies from Simple Mills, a healthy mix company. Their products feature simple, minimalistic ingredients such as almond flour, coconut sugar, etc.. When I tried their chocolate chip cookies, I fell in love.
So, I rushed home, determined to make my own version and perhaps, even better! And I did.
This classic recipe is super easy, and could be made with the ingredients in your household. Also, there’s a paleo option!
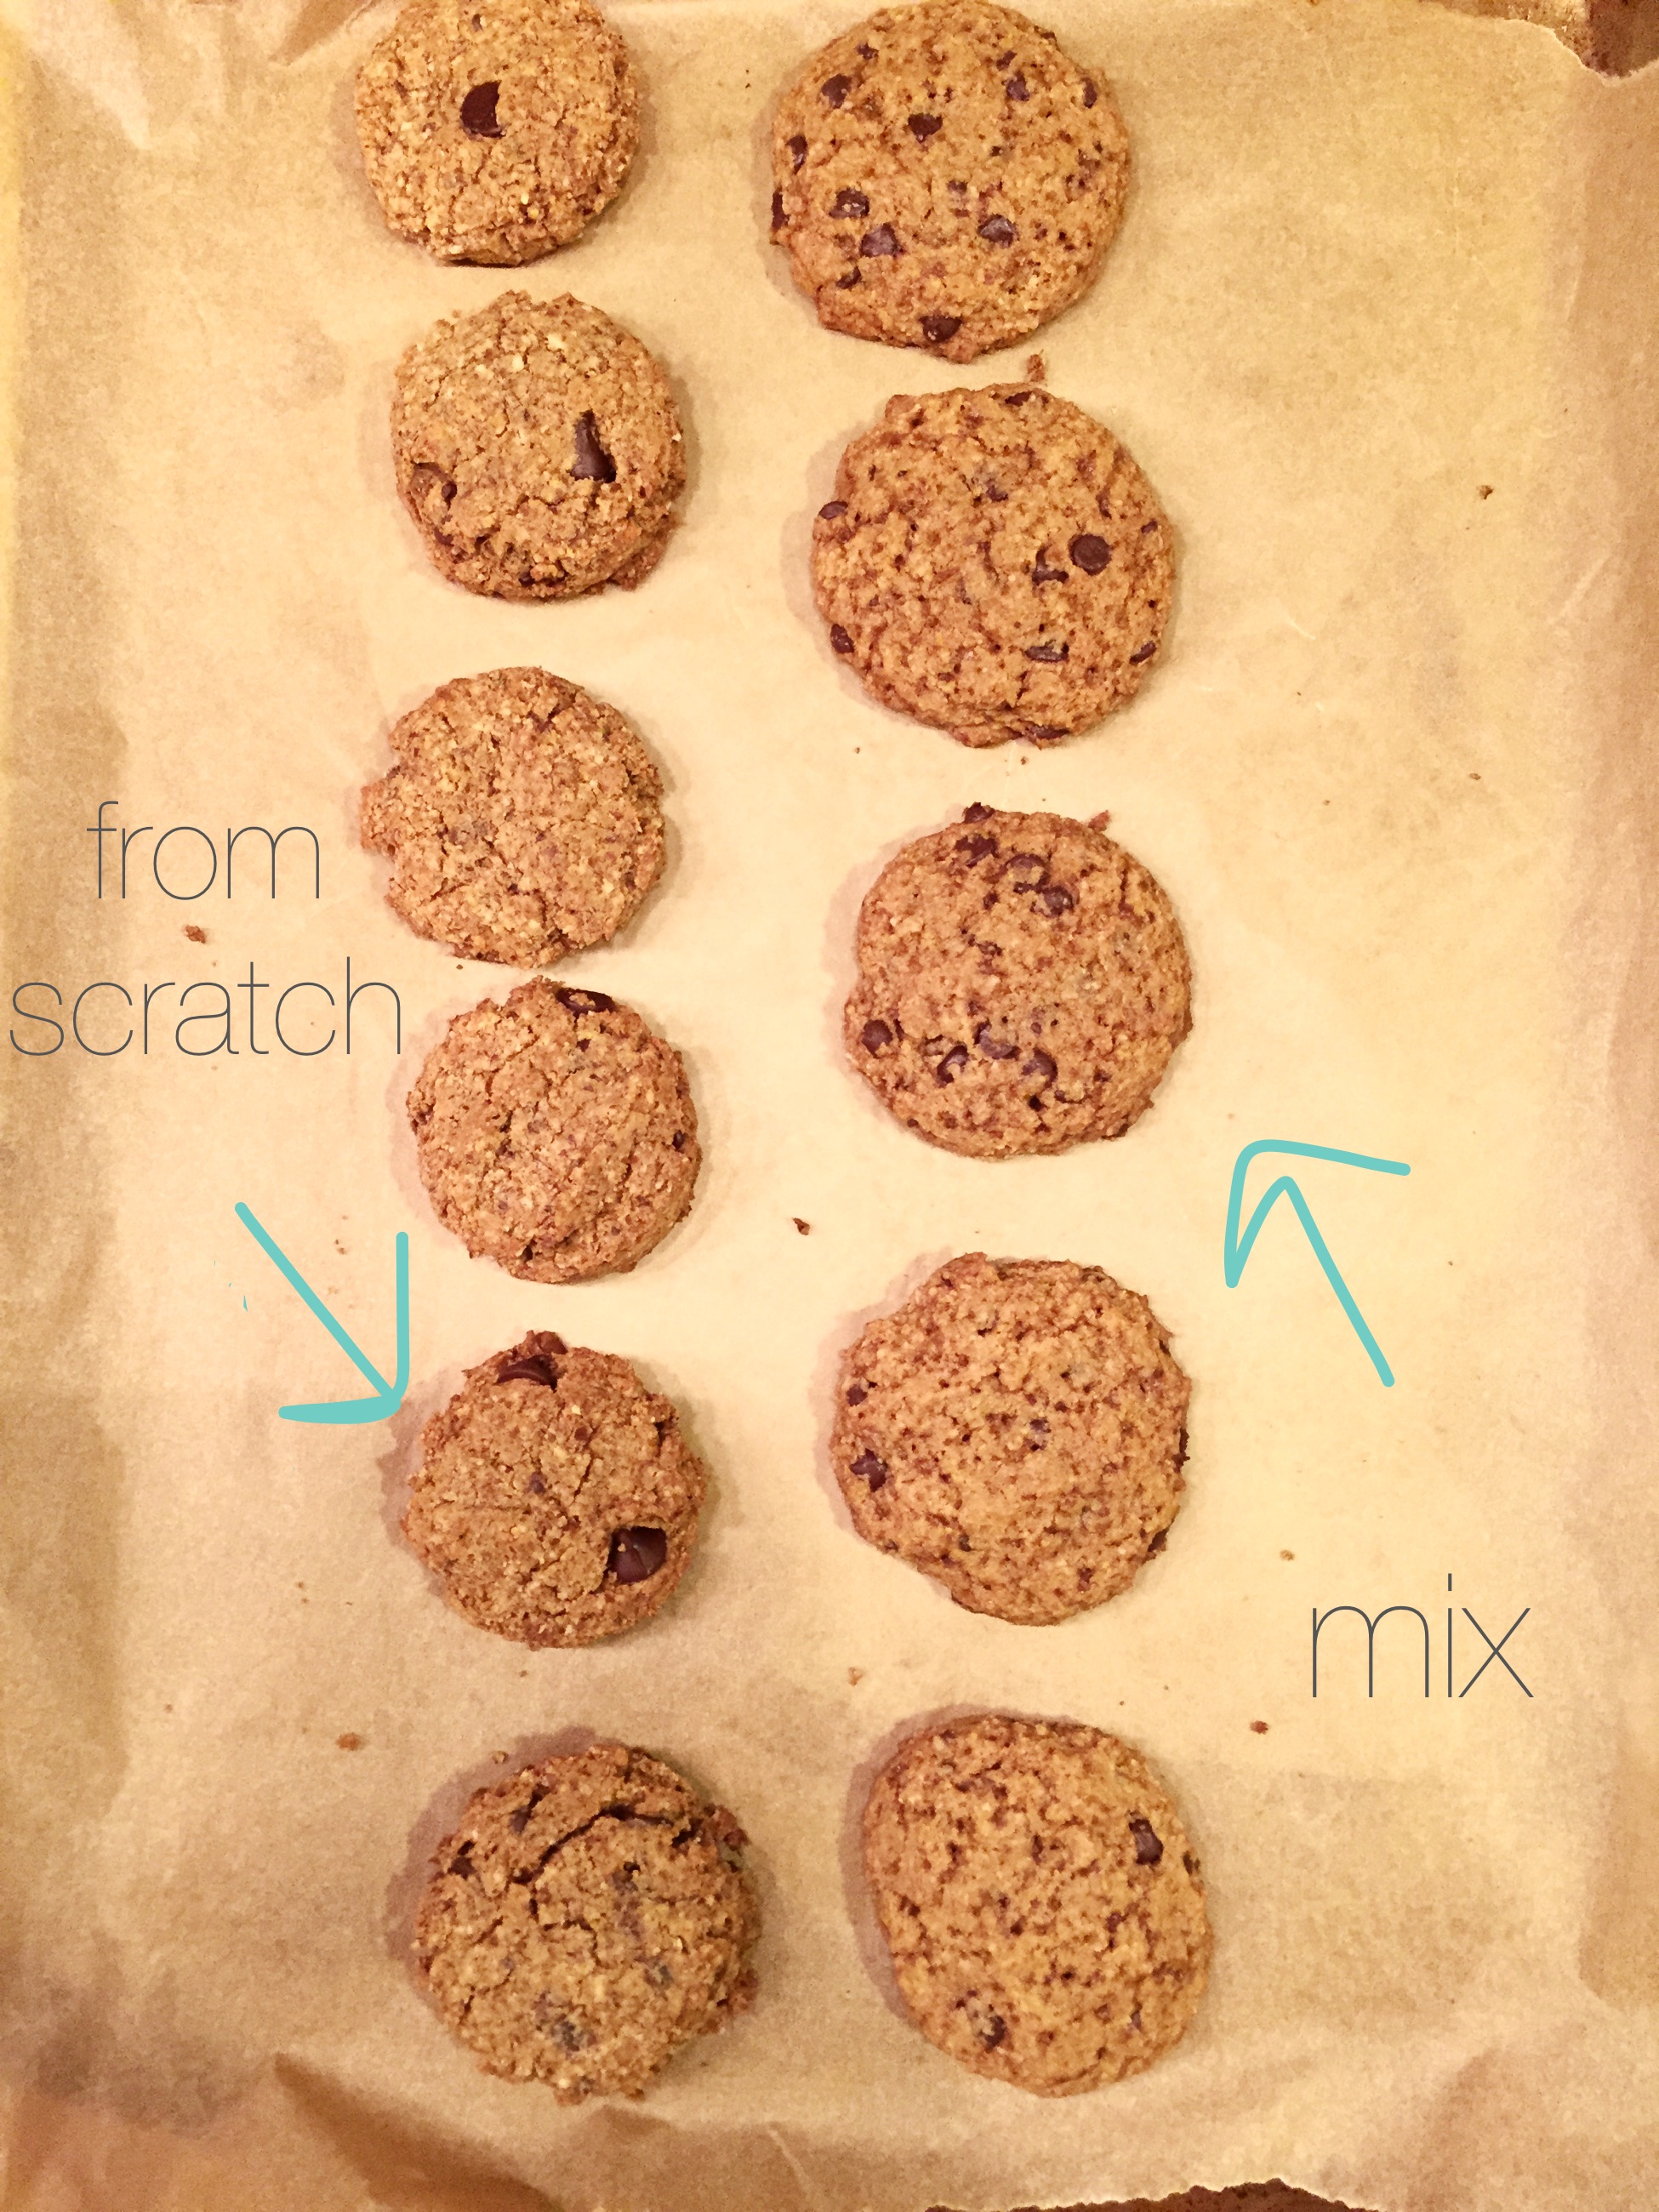
To compare tastes, I also made Simple Mill’s chocolate chip cookies. Their cookies were sugary and crunchy, while mine were hearty and had more depth in flavor. Overall, it depends on what you prefer in a chocolate chip cookie!
Enjoy!
- ⅔ cup almond flour
- ⅓ cup coconut sugar
- ¼ cup arrowroot powder
- ¼ cup coconut flour
- 1 tbsp granulated sugar*
- ¾ tsp baking soda
- 1 tbsp flaxseed meal + 1 tbsp water
- 1 egg
- 3 tbsp melted vegan butter or coconut oil
- 2 tsp vanilla extract
- ¼ tsp salt
- chocolate chips (however much you want)
- Preheat oven to 350 degrees F.
- Mix flaxseed meal with water let rest for 3 minutes.
- Mix wet ingredients in bowl.
- Mix dry ingredients in separate bowl.
- Put dry into wet. Stir.
- Bake in oven for 14-16 minutes. Let cool for 10 minutes.
- Eat!
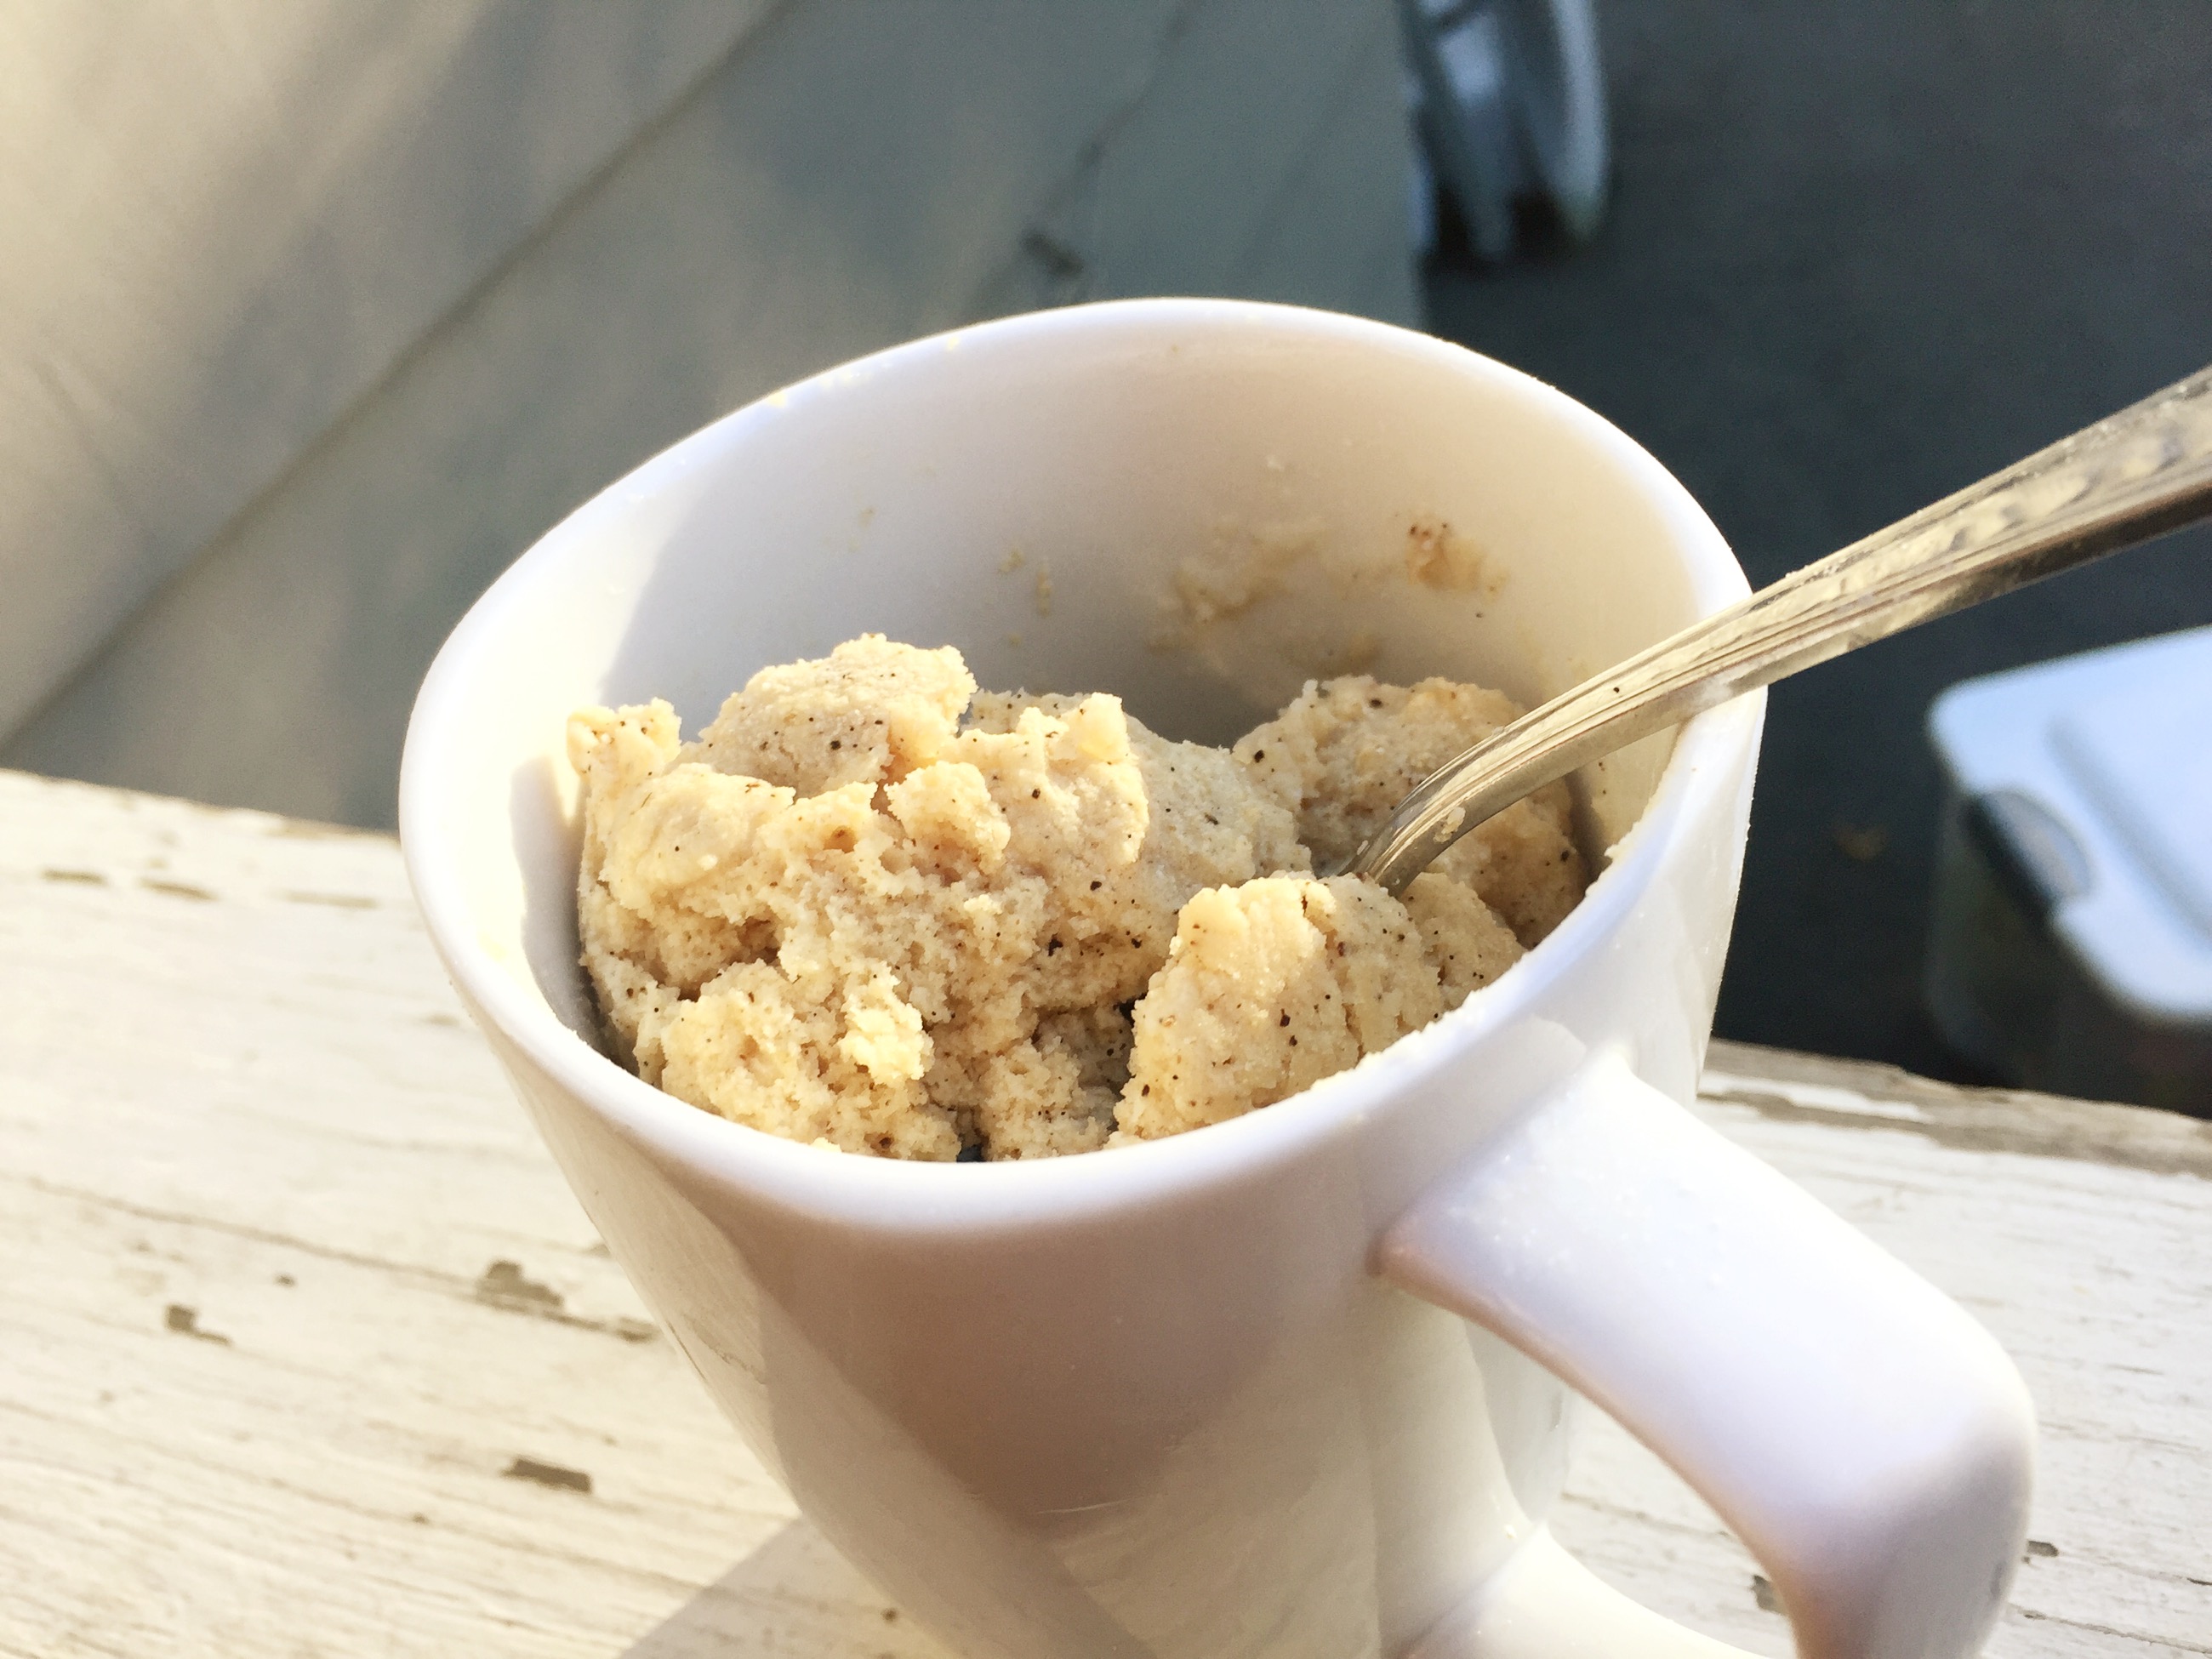
Gluten Free Dairy Free Vanilla Bean Mug Cakes
A mug cake is something you can make under 5 minutes without having to go crazy with all the ingredients… The problem is the mug cake’s taste and texture. We’ve all experienced the moment our mug cakes were too gooey or too dry, or that simply tasted like dog food. Fortunately, you’re in luck because an easy, delicious, moist mug cake is coming your way. After several test tries, and the help of my friends, I was able to create a delicious cake. I mean mug cake!
You can do so much with this recipe like add in cinnamon, nutmeg, or some dark chocolate chips! My final test of the mug cakes included vanilla beans, and my friends (who are not gluten free or dairy free) said, “This is it. It’s so good!” And they are right. Enjoy making it and eating it!
- 2 tbsp coconut flour
- 2 tbsp oat flour*
- ¼ tsp baking powder
- 1½ tbsp granulated sugar
- 4 tbsp almond milk (or dairy free milk)
- 2 tbsp egg white
- ¼ tsp coconut oil
- vanilla extract and vanilla beans
- Mix dry ingredients together in a coconut oil greased mug.
- In a separate bowl, mix in almond milk, egg whites, and vanilla extract.
- Pour wet ingredients in dry. Mix. Add in coconut oil.
- Mix until combined. Do not over mix.
- Put the mug into a microwave for 1½ minutes.


Gluten Free Olive oil cake
I have always been a fan of Mario Batali. It’s a real treat to go celebrate my birthday at one of his restaurants, Babbo, in New York City. The place is amazing. Gorgeous seating, lovely waiters, and above all, fresh, delicious, food. For dinner, I allowed myself to have one thing with gluten – the olive oil cake. It was absolutely delicious – one of the best cakes I have ever had.
After a couple of weeks thinking about it, I was determined to make it gluten free so everyone can enjoy it. I was fortunate to come across and discover Mario Batali’s book called The Babbo Cookbook, and I am proud to say that I have made it (and maybe even better than Mr. Batali).
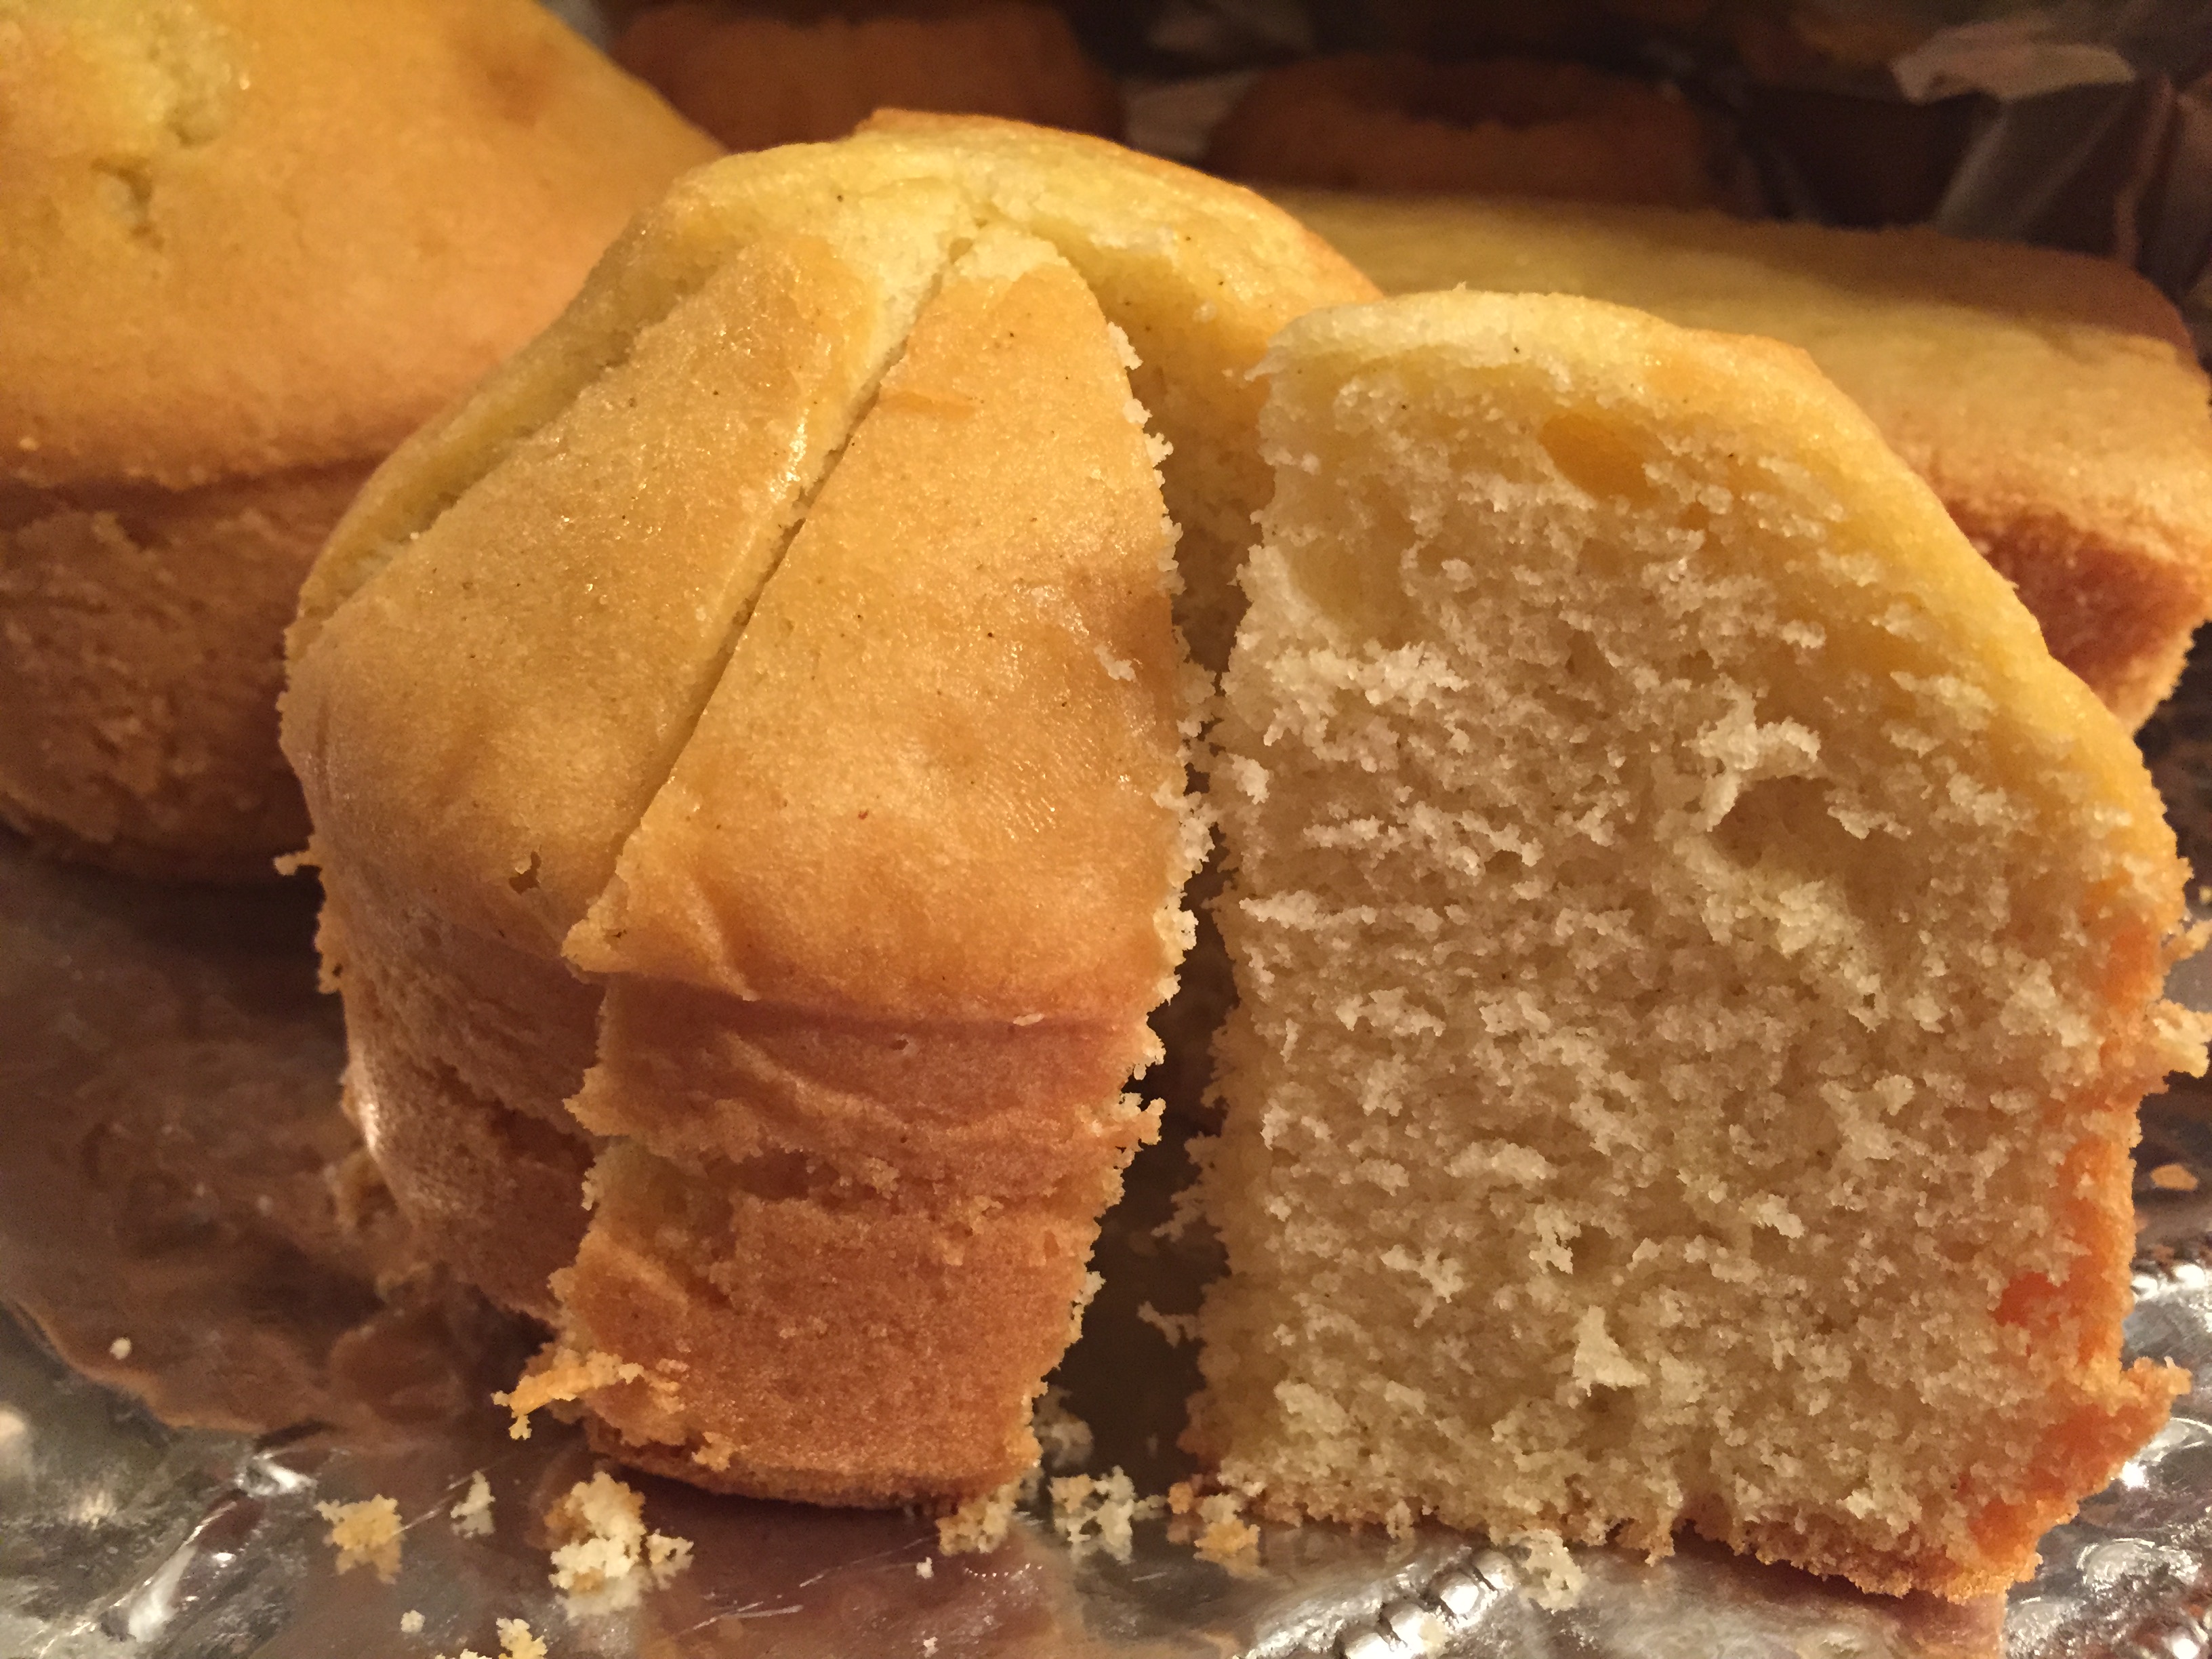
I tested a couple of flour blends, and found that Bob’s Red Mill Gluten Free 1:1 Baking Flour worked the best. As for the olive oil you use in the recipe, you want to be careful not to pick anything with a strong flavors, which includes Spanish olive oil. Instead, I used Whole Food’s 365 Extra Virgin Cold Pressed olive oil (100% Italian) – it’s a little lighter, but it still is tasty. As always, Italians like to add lemon juice to all their desserts, so I add a tablespoon or more to add more flavor. Lastly, I cut down on the sugar of the recipe. You can really put this recipe into any pan, but in my picture I chose to put it in three small springform pans.
I served this during the holidays, and it was a hit! Enjoy!
- 4 large eggs
- ⅔ cup sugar
- ⅔ cup extra virgin olive oil
- 1½ Bob's Red Mill Gluten Free 1:1 Baking Flour
- 1 tbsp baking powder
- ½ tsp salt
- optional add ins:
- vanilla extract
- lemon
- Preheat oven to 325⁰F.
- Coat a 9-inch circle pan with extra virgin olive oil.
- In a bowl of an electric mixer, use the paddle attachment to beat the eggs for 30 seconds. Add sugar and continue to beat until the mixture is very foamy and pale in color.
- With the mixer running, slowly drizzle in the olive oil.
- If using vanilla extract or lemon stir in now.
- In a separate bowl, whisk together the flour, baking powder and salt.
- With the mixer on low speed, gradually add the dry ingredients to the egg mixture.
- Pour the batter into the prepared pan.
- Bake for 45 to 50 minutes, rotating the pan halfway through for even color.
- The cake is done when it is golden brown.
- Allow the cake to cool briefly in the pan, then tip out onto a cake rack to continue cooling.
- This cake is best the day of. If there are left overs, refrigerate them.

